Find a Desk using Reservations Assist and reserve a Desk (Web)
Use the reservations assist to quickly filter for desks and you can filter for the following:
- date and time
- space type
- equipment
Follow the Steps
Click the Desks icon.

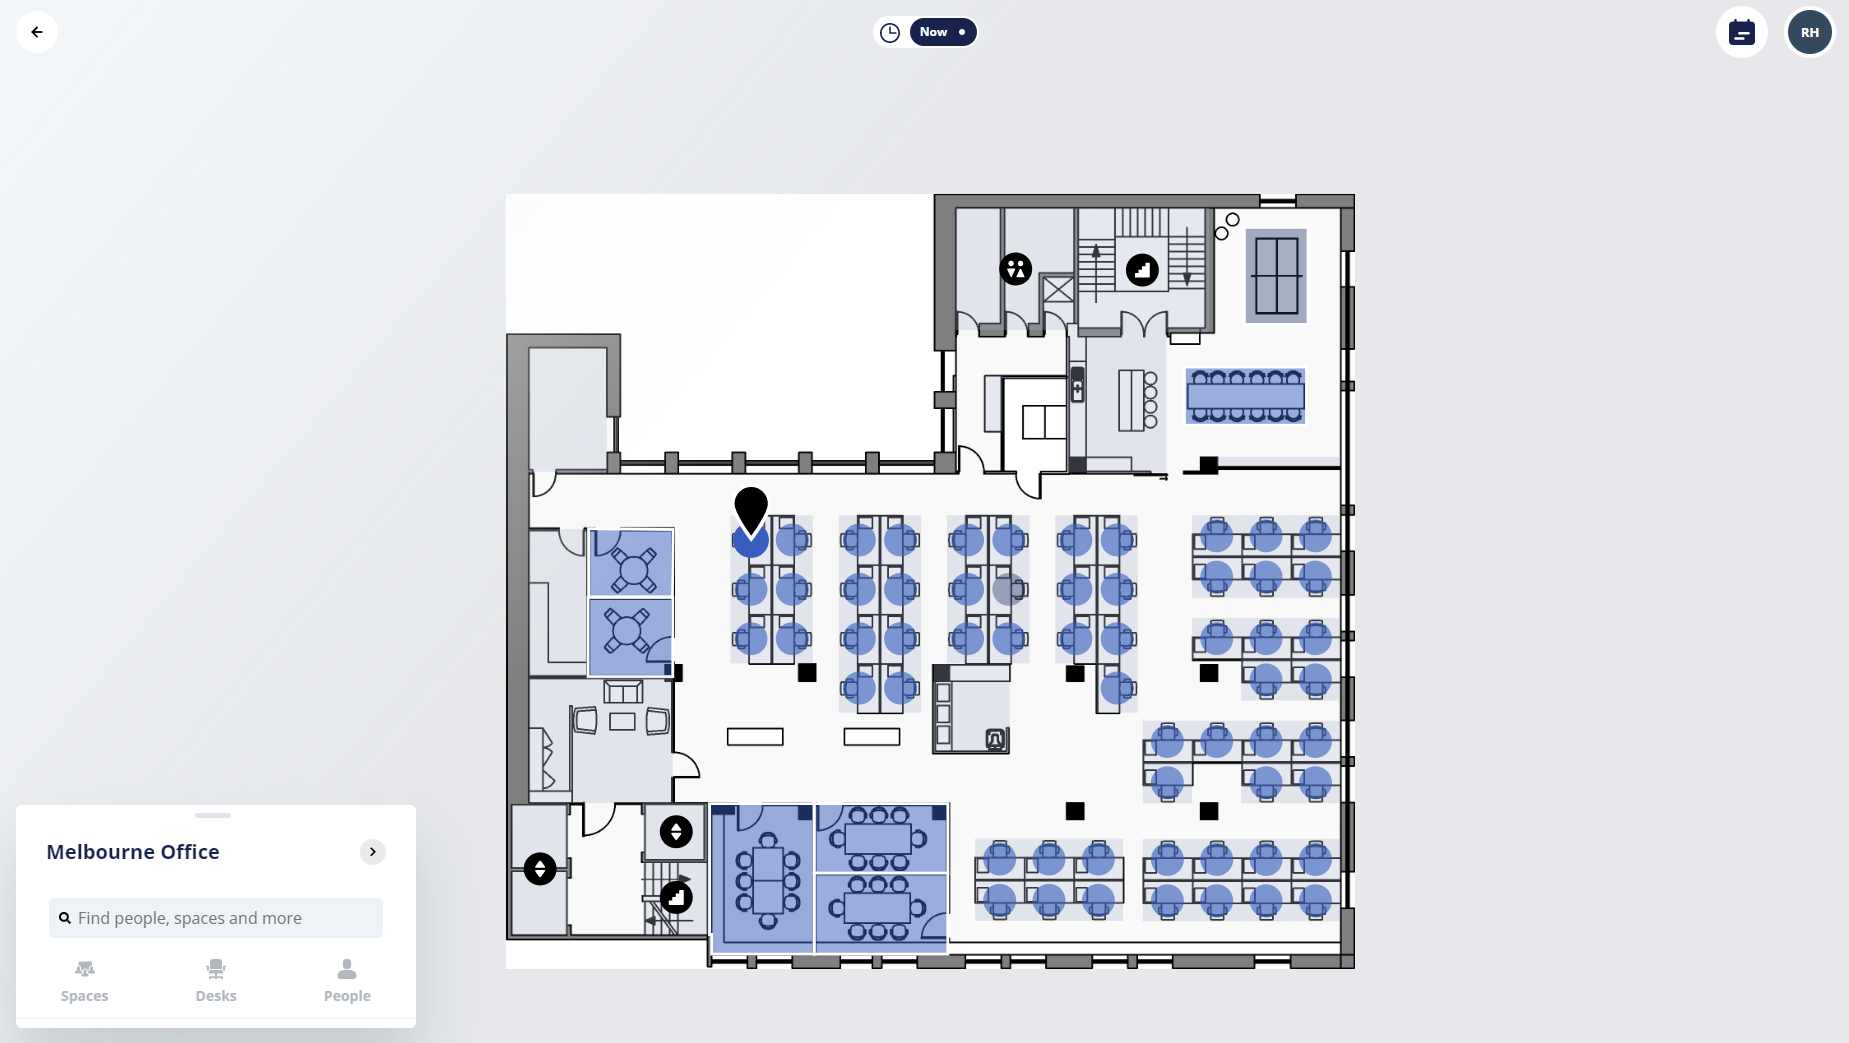
The desks display in a list. Click the Reservation Assist icon.
![]()
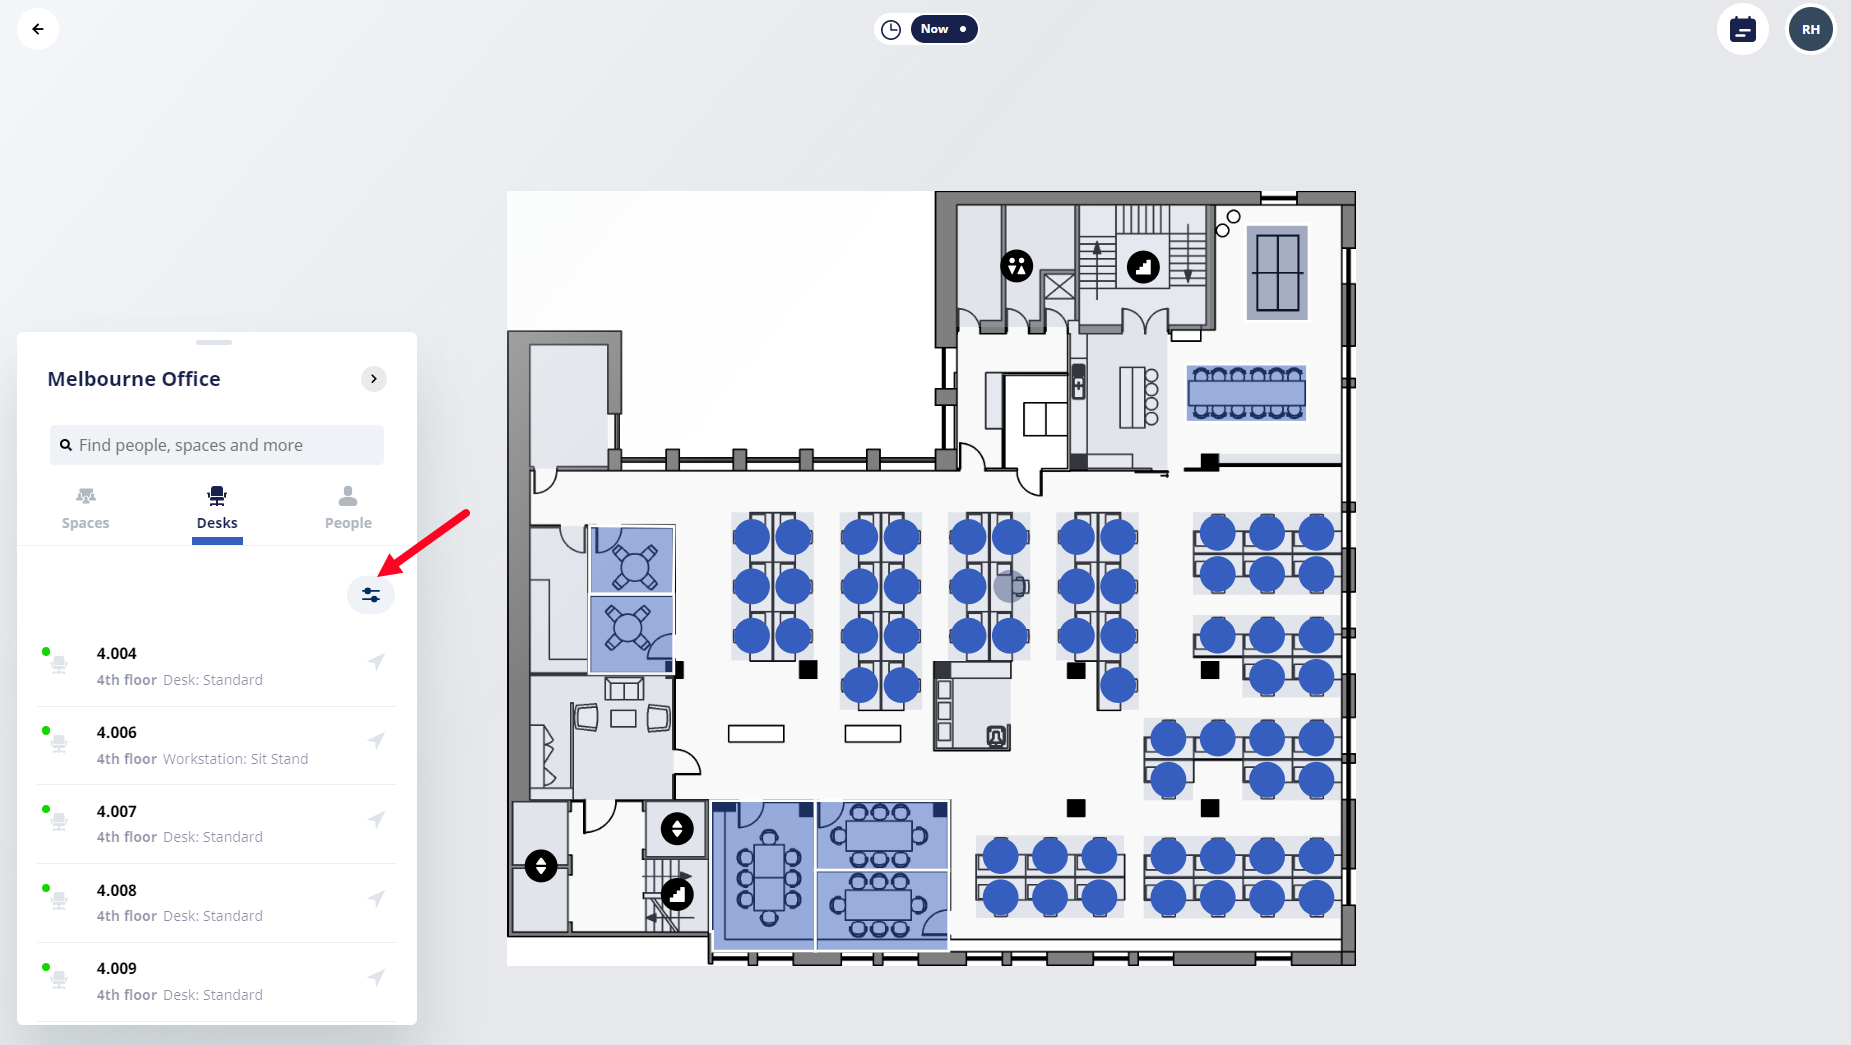
The Reservation Assist displays which you can use to filter for the following:
- date and time
- space type
- equipment
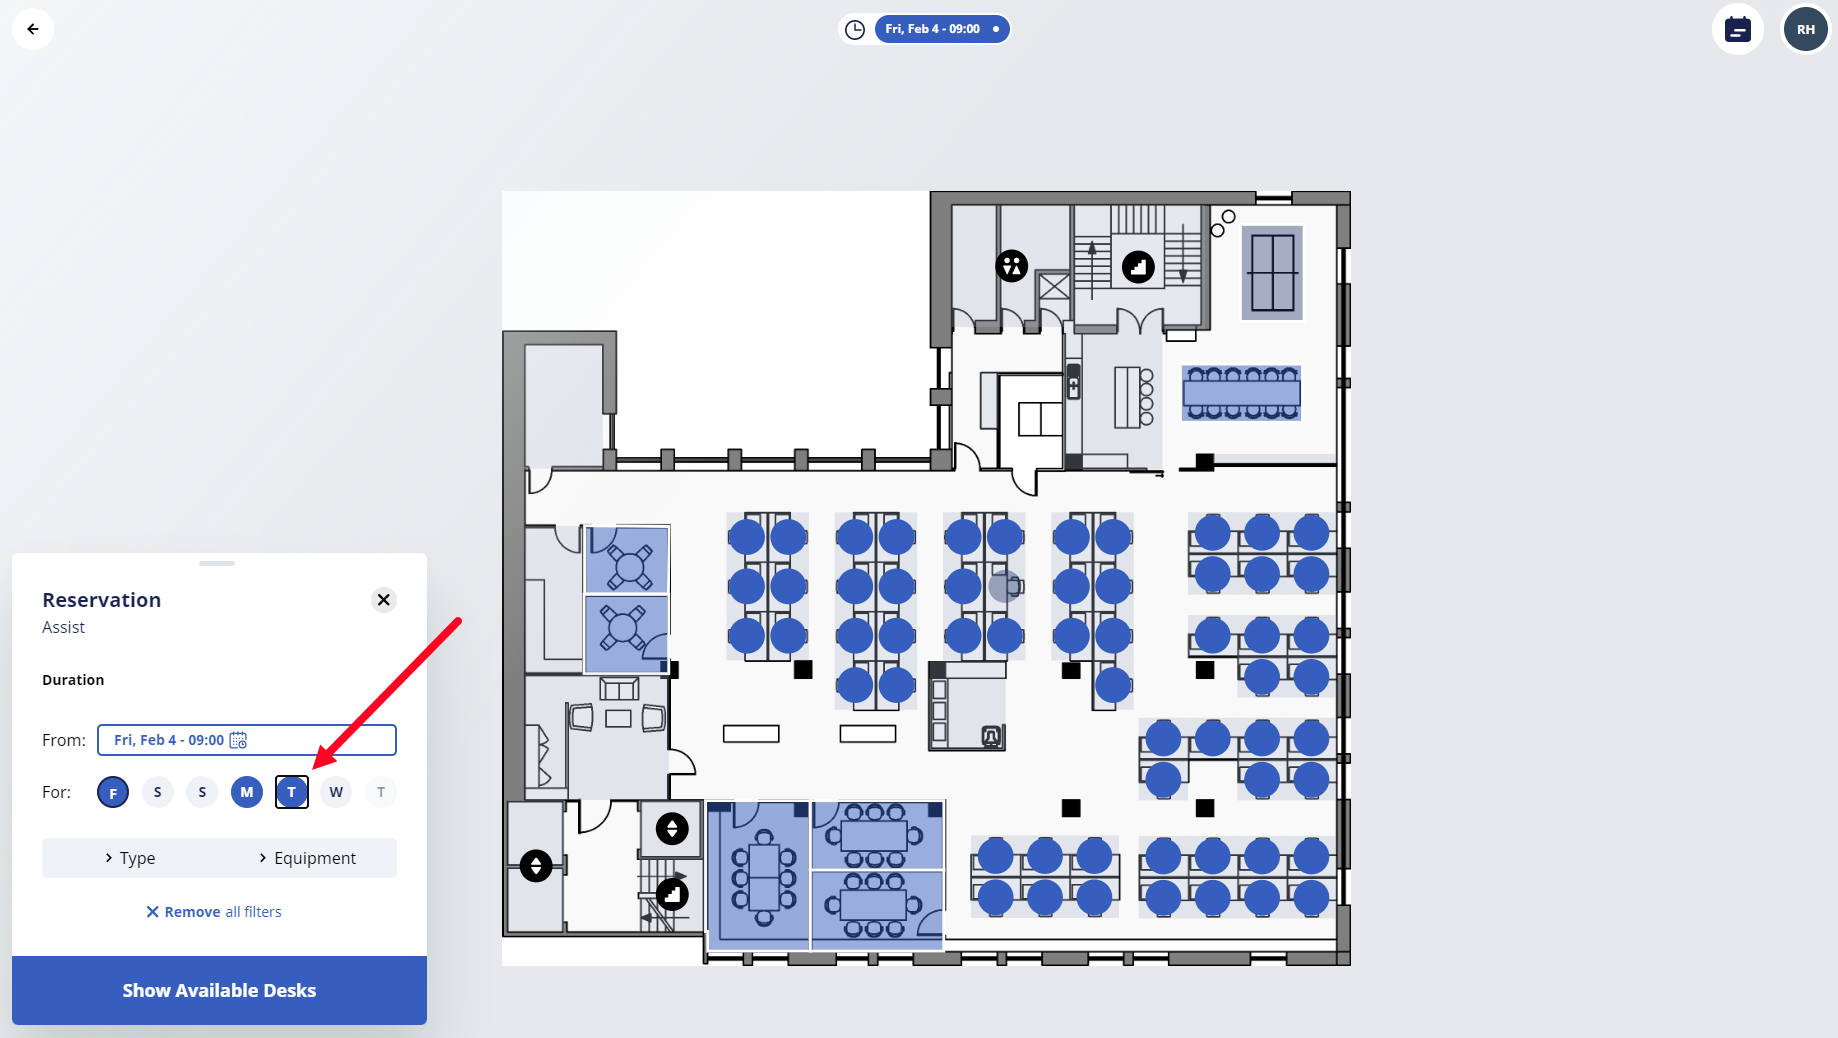
Select the From date.
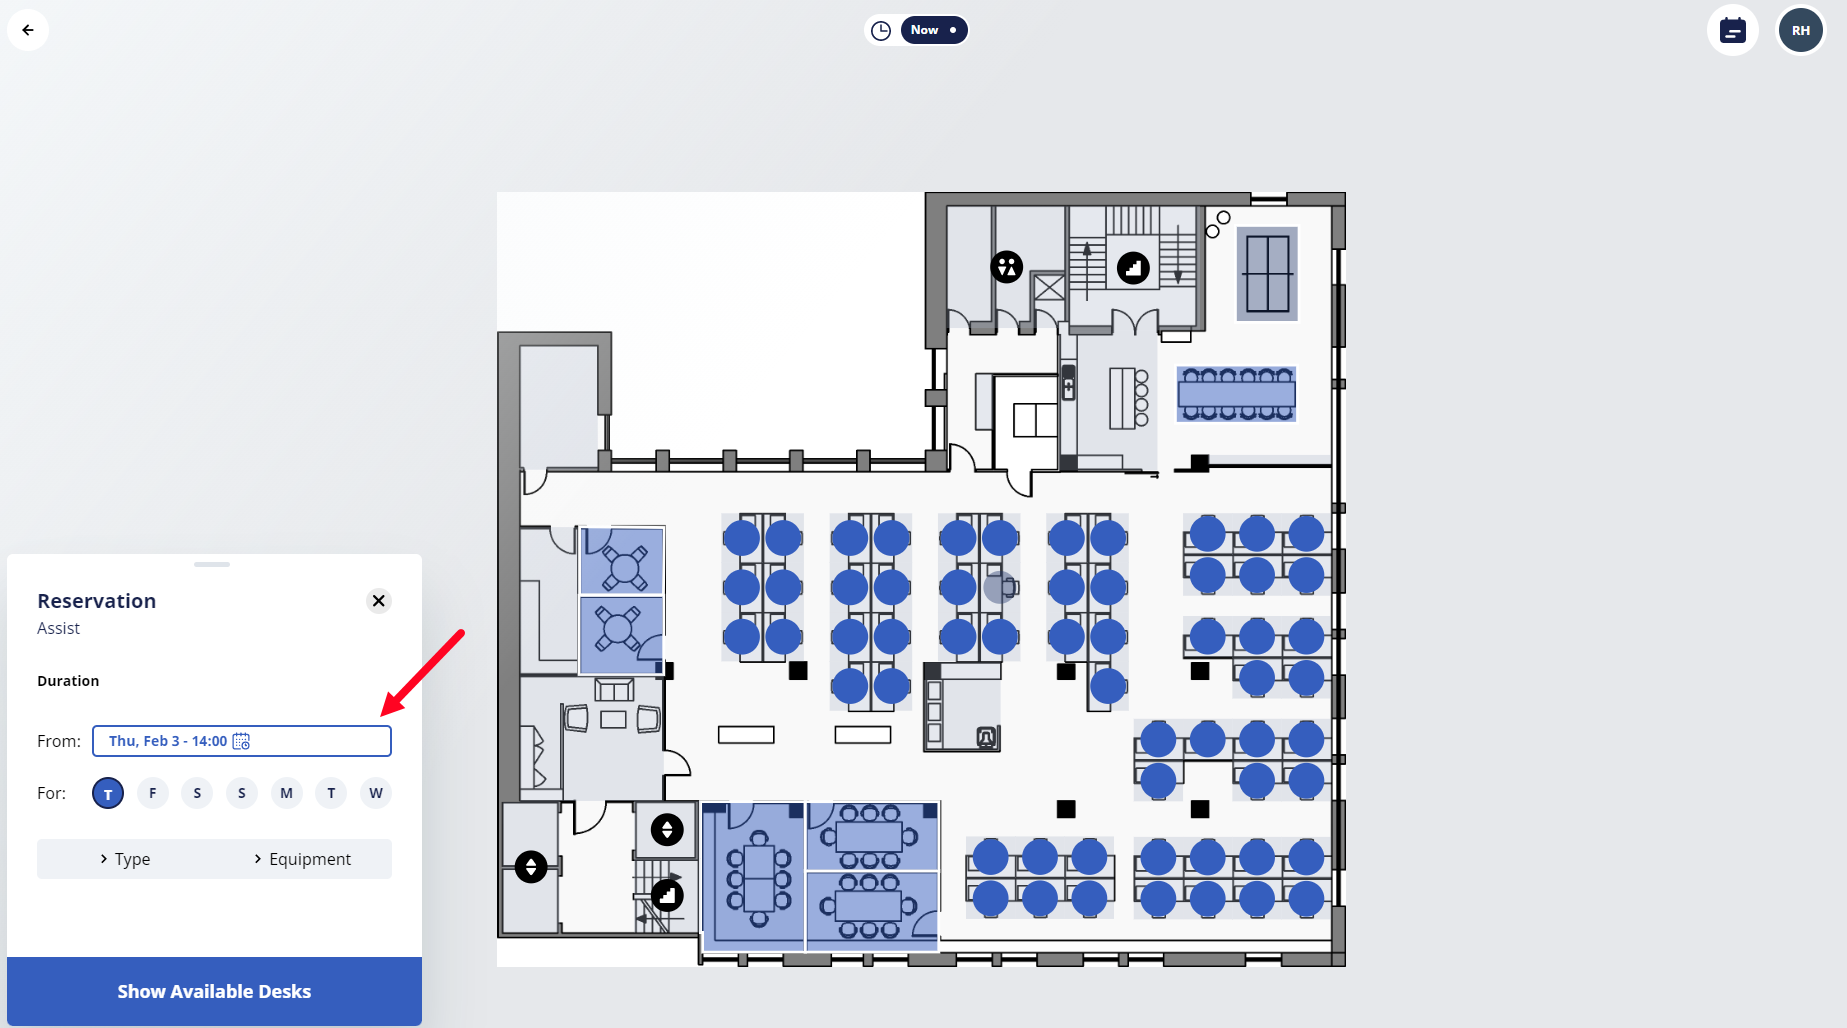
The date and time selection displays.
Select the date and time and then click the Select button.
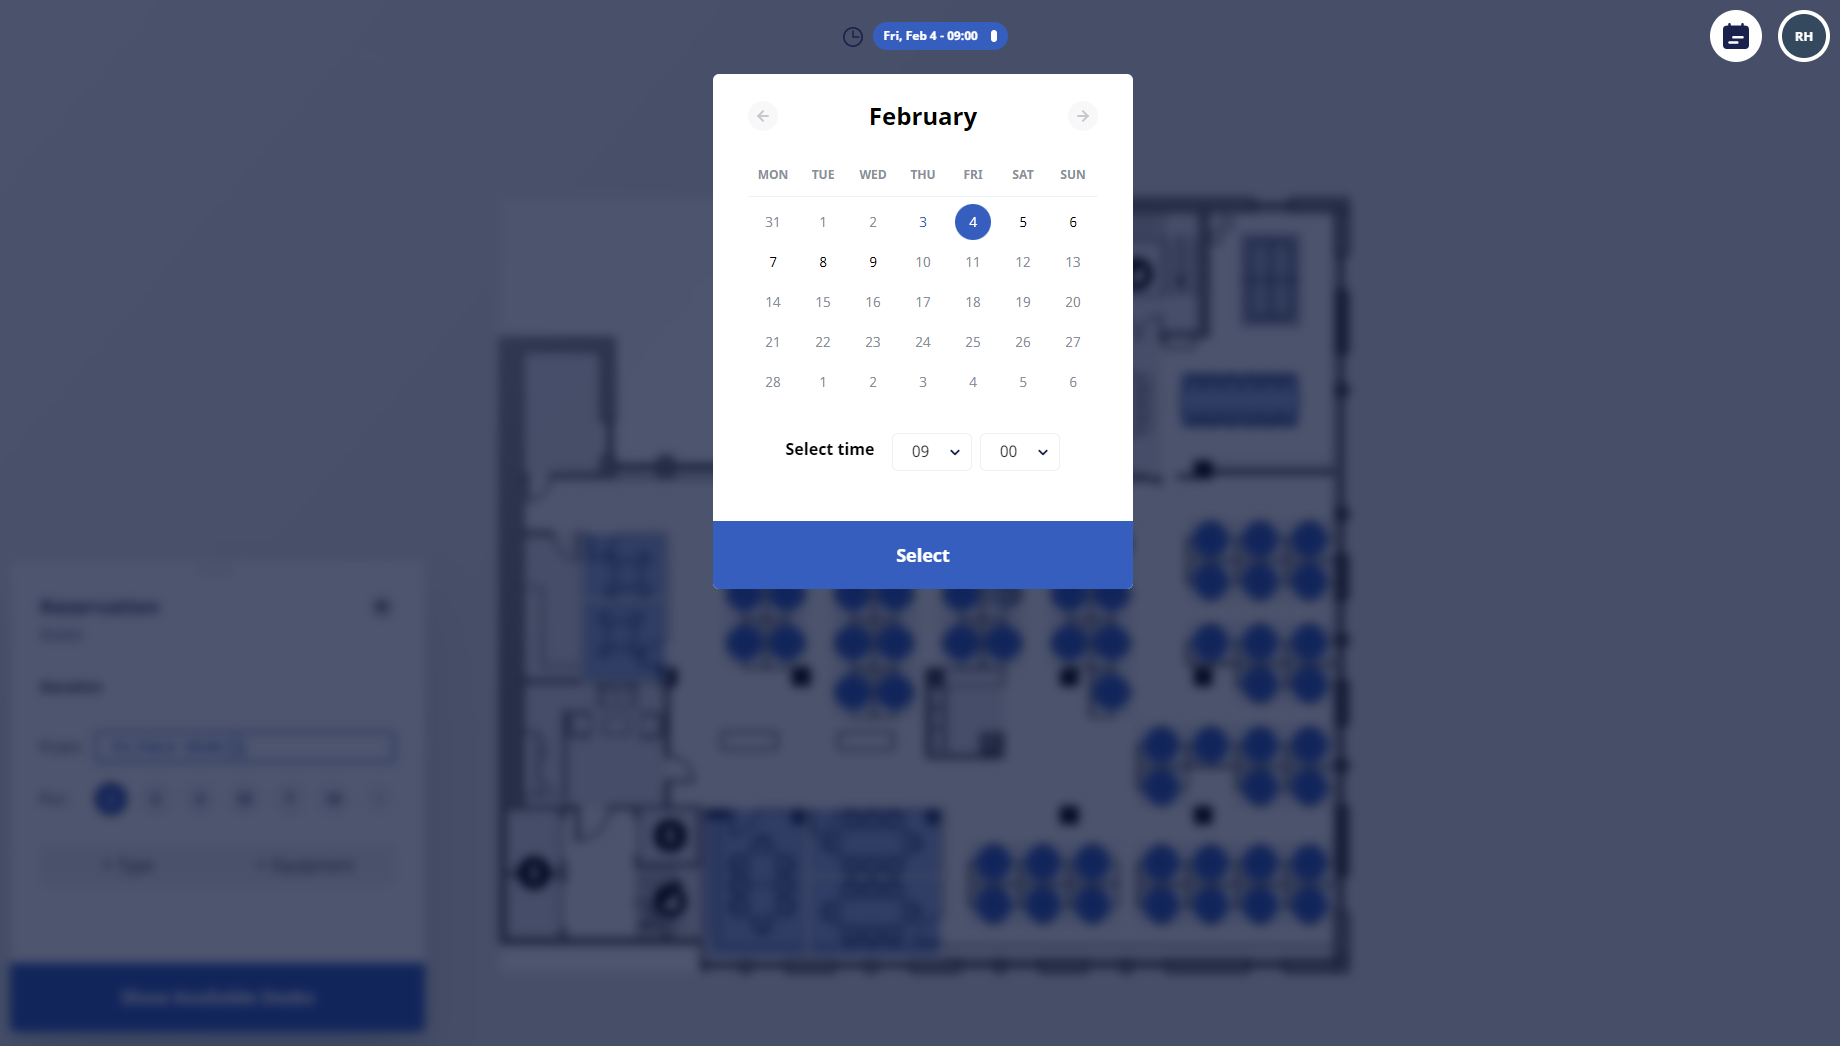
After you have selected the date, now select the days.
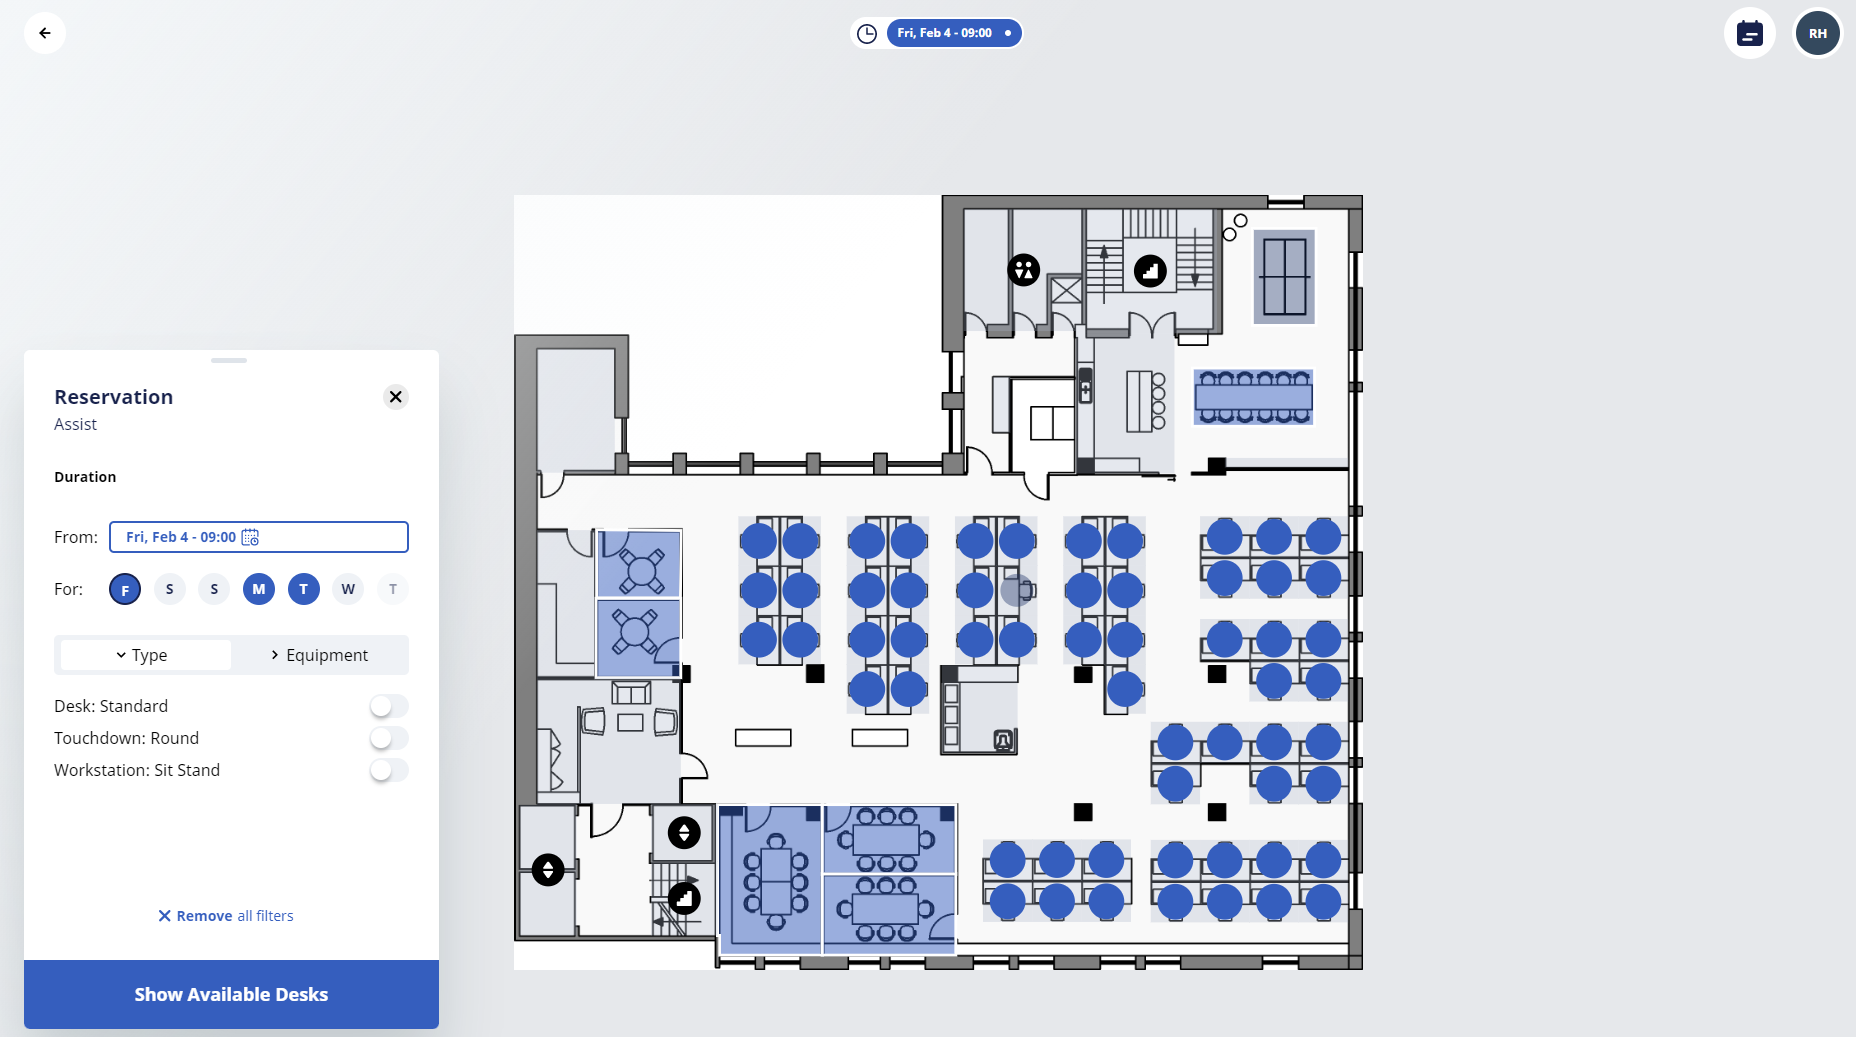
Next, you can filter by Type and Equipment.
In this example, we will filter by Type.
Click the Type to display the filter options.
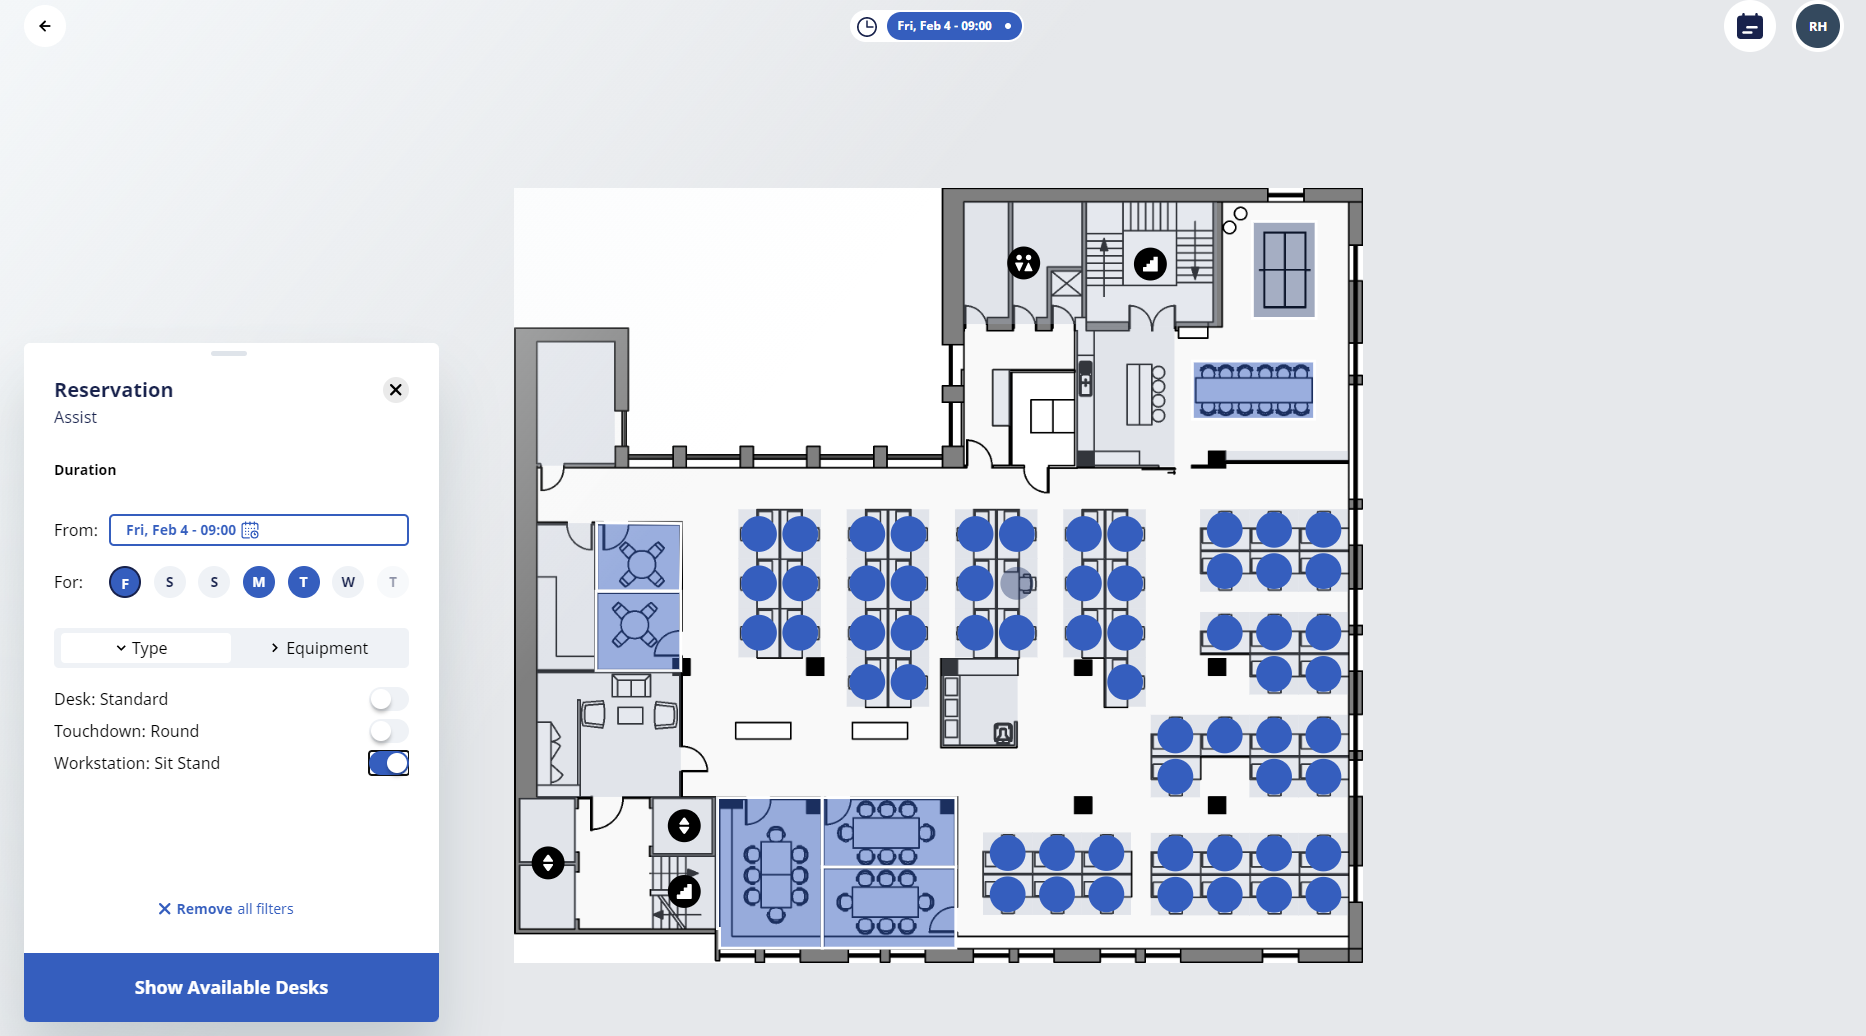
Click the Workstation: Sit Stand filter to turn it on.
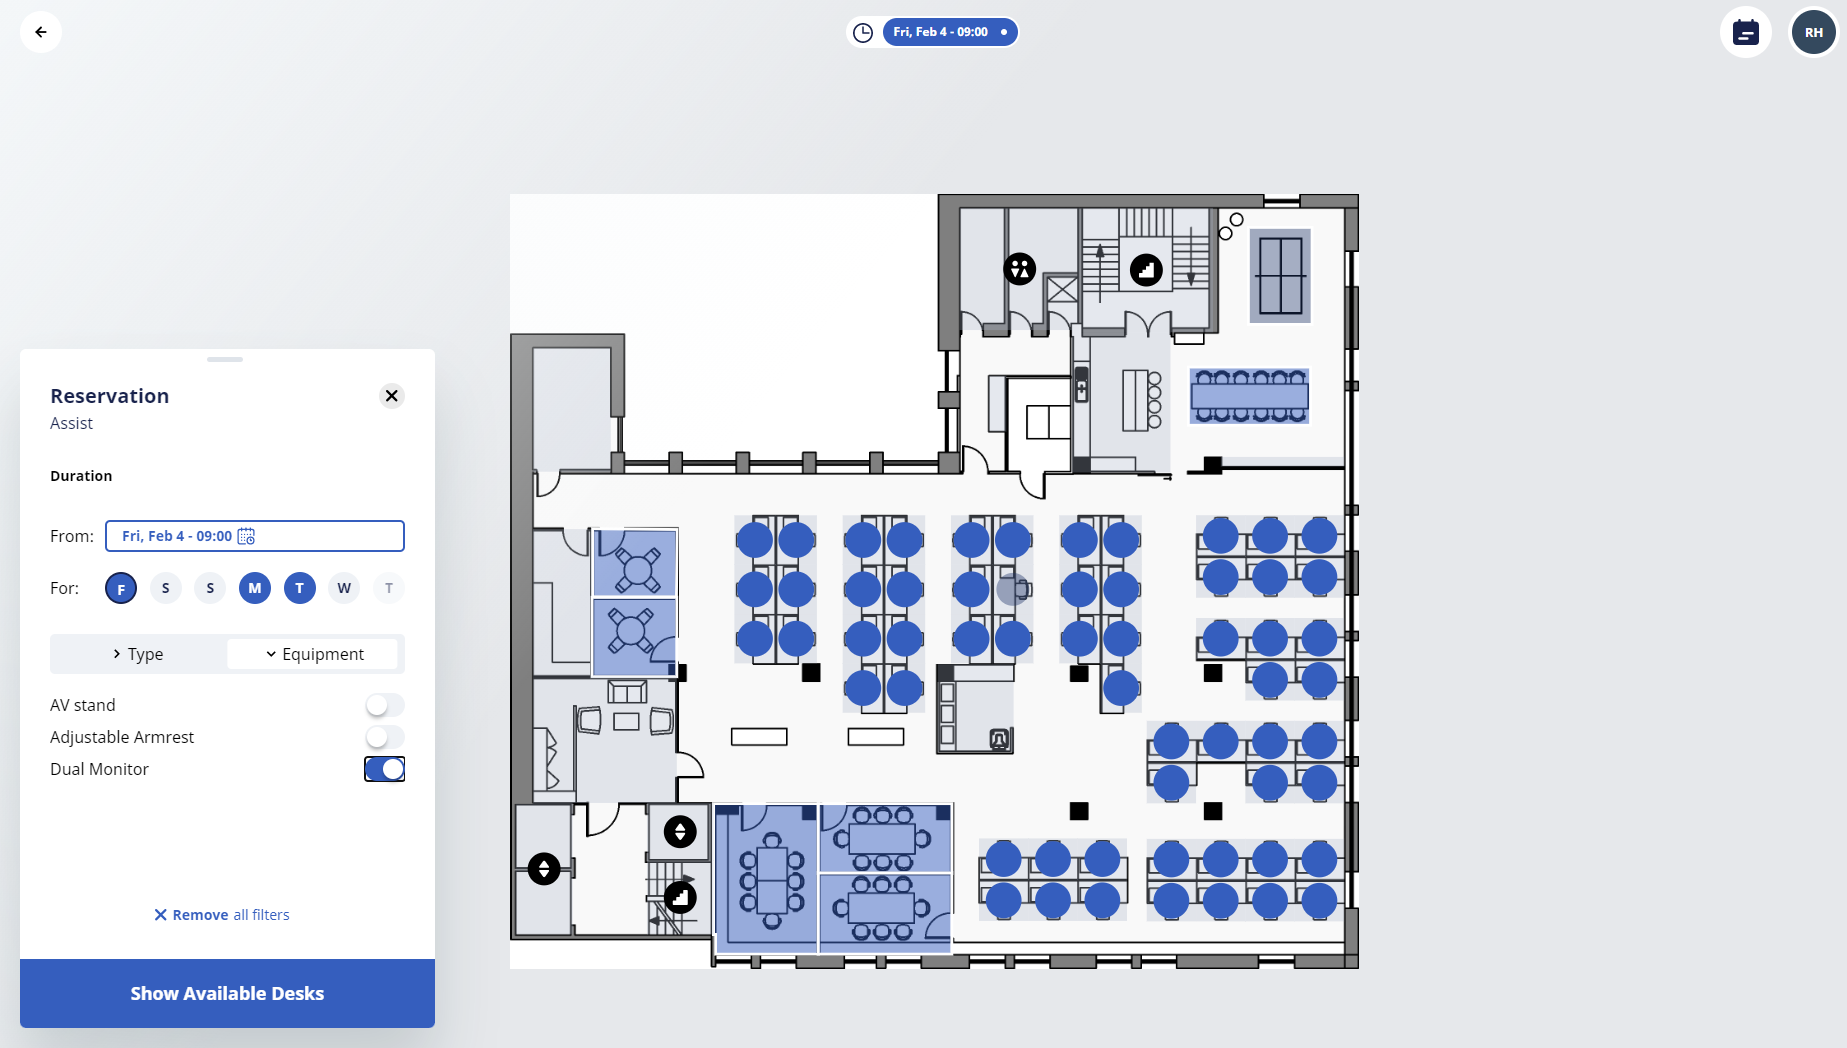
Next, let's filter by Equipment.
Click the Equipment to display the filter options.
Click the equipment filter option to turn it on.
When you are finished selecting filters, then click the Show Available Desks button.
The list of desks displays.

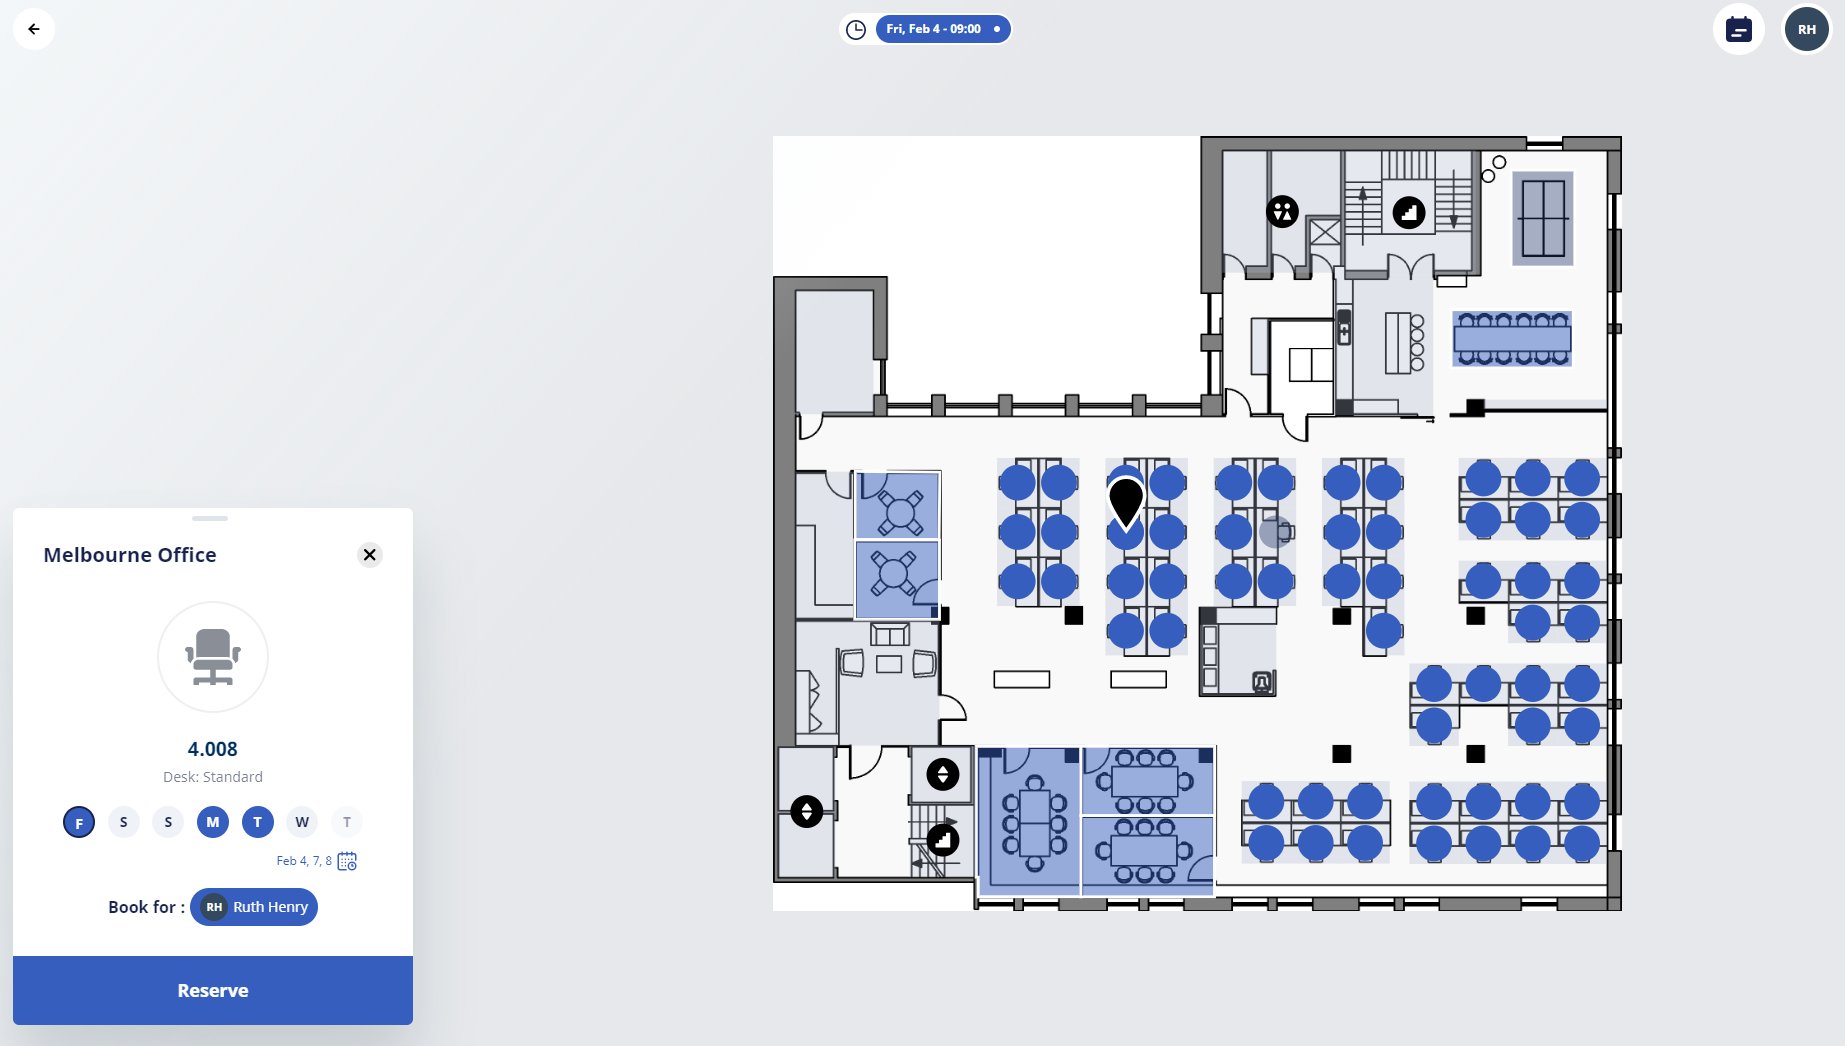
From the list, click the desk you want to reserve.
The space's location displays. You can click the Reserve button and then the desk is reserved.
Email Confirmation
The confirmation email is sent to the person for whom the booking is for.
An optional feature to send a confirmation email to employees when they make a desk reservation. For more details, refer to Set up Engage to send out Confirmation Emails and Engage Emails.