Create a Service Request
- From left-menu click Service Requests. The Manage Service Requests screen displays.
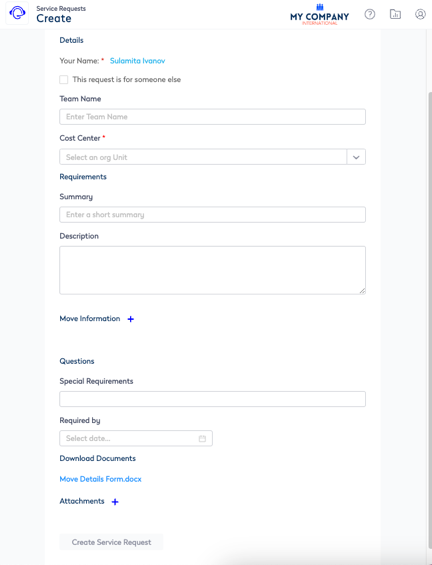
- Click the + Service Request button. The Create Service Request screen displays.
Complete the following:
Details
| Field | Description |
|---|---|
| Your Name field | The field displays your name. If this request is for someone else then check the This request is for some else checkbox and in the people field, enter the person's name. |
| Team Name field |
If you are assigned to a team then the form will automatically populate with your team's name or if this field is blank then enter the name of the team. |
| Cost Center drop-down |
If you have a cost center assigned then the form will automatically populate with your cost center or if this field is blank then select the cost center. |
Requirements
| Field | Description |
|---|---|
|
Reason for Request drop-down |
Select the reason. |
| Summary field | Enter a brief summary of the request. |
| Description field | Enter the description of the request. |
Move Information
From the Move Information heading, click the Add![]() icon. The Select a Move Type dialog displays. You can add one or many move requests.
icon. The Select a Move Type dialog displays. You can add one or many move requests.
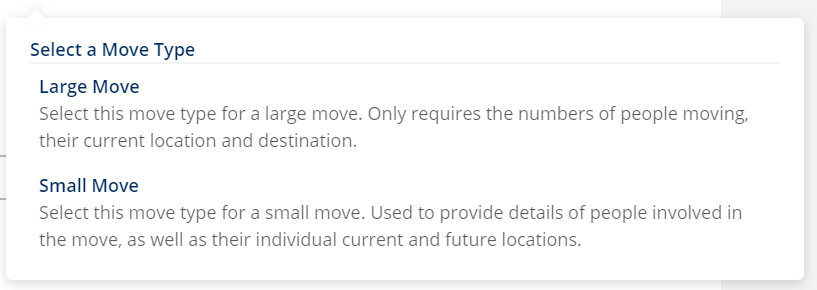
Select either:
- Large Move - Select this move type for a large move. Only requires the number of people moving, their current location and destination.
- Small Move - Select this move type for a small move. Used to provide details of people involved in the move, as well as their individual current and future locations.
Large Move
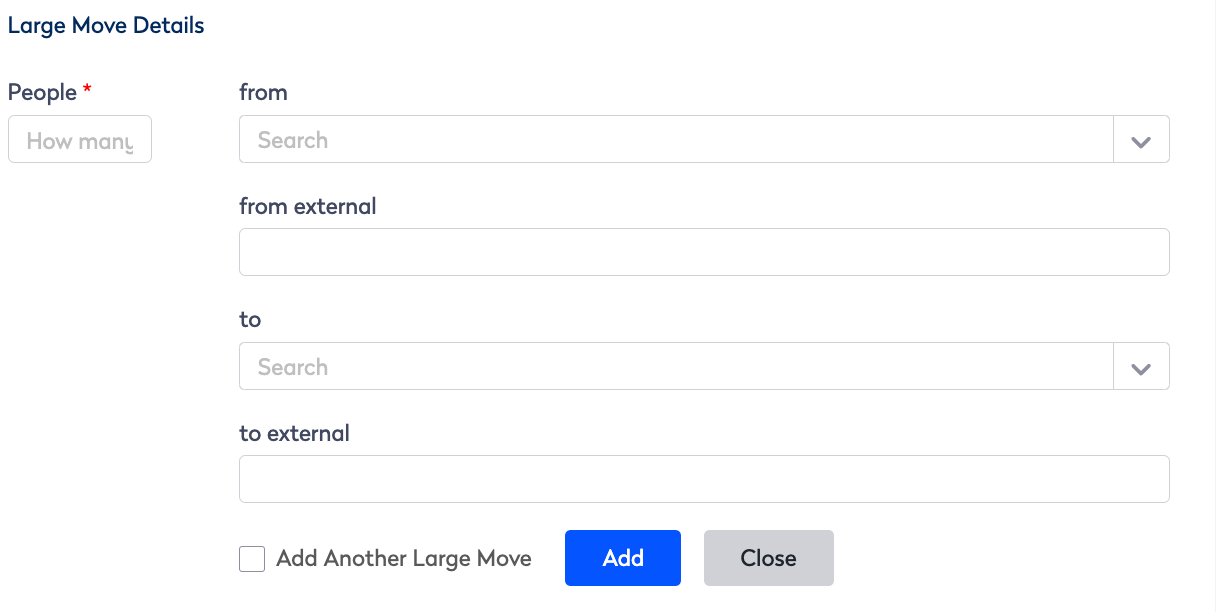
Complete the following:
| Field | Description |
|---|---|
| People spin box | Enter or select the number of people. |
| From location drop-down | Enter or select your current location. |
| From external location drop-down | Enter the external location. |
| To location drop-down | Enter or select the to location. |
| To external location drop-down | Enter the external location. |
Click the Tick ![]() icon to complete the Move Request.
icon to complete the Move Request.
If needed you can either:
- add another Move Request, click the Add
 icon.
icon. - edit the Move Request, click the Pencil
 icon.
icon. - delete the Move Request, click the Trash
 icon.
icon. - to delete the large move, click the x icon and the large move is removed from the service request.
Small Move
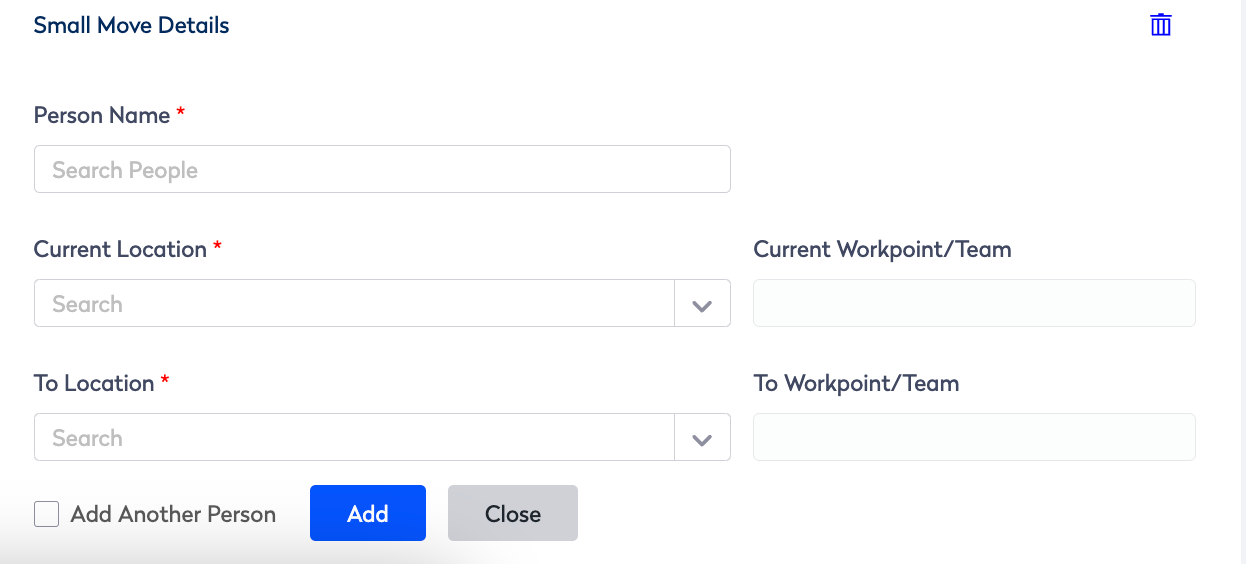
Complete the following:
| Field | Description |
|---|---|
| Person Name field | Enter the name of the person, as you type the results display and then you can select the person. |
| Current Location drop-down | Enter or select your current location. |
| Current Workpoint/Team | If the person has a workpoint/team assigned then this will display in the field. |
| To Location drop-down | Enter or select the to location. |
| To Workpoint/Team | If you know the workpoint/team the person is moving to then enter in the workpoint or team name. |
| Add Another Person check box | Check the Add Another Person check box to keep adding more people. |
Click the Add button. If you have added multiple people via the Add Another Person check box and now have finished then click the Close button.
If needed you can either:
- add another person, click the Add another person.
- edit the person's name, click the Pencil icon.
- delete the person, click the Trash icon.
- to delete the small move, click the Trash icon in the top-right corner. The warning message displays Are you sure you want to delete all small moves in this service request". Click the OK button. The small move is removed from the service request.
Questions
| Field | Description |
|---|---|
| Required By calendar picker | Select the date. |
Attachments
- In the Attachments heading, click the Add icon. The Edit attachments dialog displays.
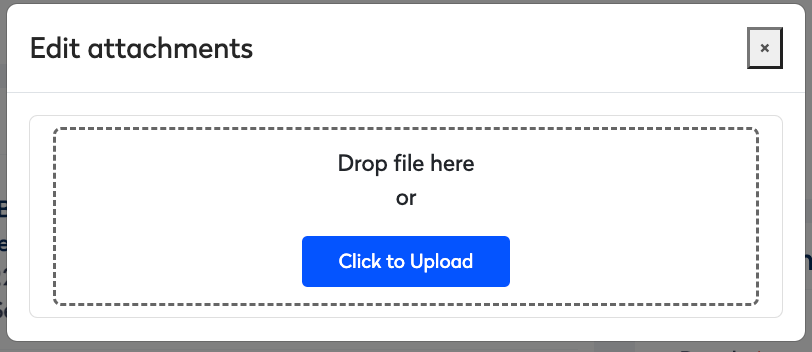
2. Complete the following:
a. Either drop the file on the dialog or click the Click to Upload button to attach the file.
b. Wait unit the attachment displays in the dialog. If required, you can click the delete link to remove the attachment.
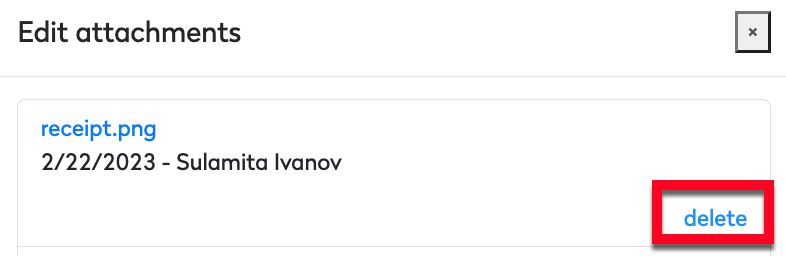
3. Click the x icon to close the Edit Attachments dialog.
Users require the secured action General - Can Upload Files to upload attachments.
If you require access, then contact your System Administrator. For information on how to add secured actions to a role, refer to Manage User Roles.
Create
- When you have completed the service request, click the Create Service Request button.
Learn more about how to modify the form in Create Service Request Form Configuration.