SSL Configuration
Pre-requisites
TCP Port
This describes how to enable SSL for a TCP port. The port number where the service will listen for connections is a prerequisite.
Certificate
To configure a service to use SSL, you must have an SSL certificate whose validity can be verified by clients. The certificate must:
- Be provided as a .pfx file.
- Include private key information.
- Be issued by a trusted certificate authority.
- Have extended key usage OID 1.3.6.1.5.5.7.3.1 (Server Authentication).
- Have Subject Name/CN matching the name clients will use to connect to the server.
It is recommended that the certificate will:
- Use a secure signature algorithm like SHA-2 (SHA-1 and MD5 are insecure).
Certificate management is a security critical task that must be completed by an IT security professional familiar with how certificates are issued and managed in your network.
Contact the SpaceIQ Onnboarding team and/or your IT department to complete the configuration steps below.
Steps to Create a Certificate
- Create a new certificate describes how to create an untrusted root authority certificate and use it to issue an SSL certificate. In production deployments, the SSL certificate must be issued by a root authority certificate that is trusted by clients in your network.
- Add the certificate to Server Certificate Store.
- Get the SSL Certificate's Thumbprint.
- Bind the SSL Certificate to Port.
Steps to Renew a Certificate
The renewal will cause the MLS to be down for a short period when it is restarting. We recommends that this is complete outside business hours.
- Create a new certificate.
- Add the certificate to Server Certificate Store.
- Get the SSL Certificate's Thumbprint.
- Stop the Serraview MLS Service, refer to MLS Troubleshooting for how to stop the MLS Server.
- Run netsh http delete sslcert ipport=0.0.0.0:443
- Add new SSL binding, refer to Bind the SSL Certificate to Port.
- Start Serraview MLS Service, refer to MLS Troubleshooting for how to start the MLS Server.
Create a certificate
Certificate management is a security critical task that should be completed by an IT security professional familiar with how certificates are issued and managed in your network.
This section describes how to create an untrusted root authority certificate and use it to issue an SSL certificate. In production deployments, the SSL certificate must be issued by a root authority certificate that is trusted by clients in your network.
MakeCert.exe
The instructions in this appendix use MakeCert.exe, a tool provided by Microsoft as part of the Windows SDK.
https://msdn.microsoft.com/en-us/library/windows/desktop/aa386968(v=vs.85).aspx
Create a self-signed root authority certificate
- Start a command prompt with administrative privileges.
- Create a self-issued certificate authority and private key. When prompted, create a password.
> makecert -n "CN=SelfIssuedCA" -a sha256 -r -sv SelfIssuedCA.pvk SelfIssuedCA.cer

Succeeded
Create an SSL certificate
- From a command prompt with administrative privileges, run the following command.
> makecert -pe -iv SelfIssuedCA.pvk -n "CN=server-name.com" -eku 1.3.6.1.5.5.7.3.1 –a sha256 -sky exchange -ic SelfIssuedCA.cer -sv SelfIssuedSSL.pvk SelfIssuedSSL.cer

Succeeded
Replace 'server-name.com' in the command with the DNS name that clients will use to connect to your server.
Enter the password for the private key of the issuing certificate if prompted.
2. Enter the following command to combine the private key and certificate into a .pfx file. The password should be the password you used when creating the certificate in the previous step.
> pvk2pfx -pvk SelfIssuedSSL.pvk -spc SelfIssuedSSL.cer -pfx SelfIssuedSSL.pfx -pi password
The certificate SelfIssuedSSL.pfx created in this step can be used to complete the configuration steps described above for testing purposes. For production purposes, the certificate used must be issued by your organization's IT security team.
Add the certificate to Server Certificate Store
This describes how to add the server's SSL certificate to the Windows certificate store. These steps must be performed on the server that will be hosting the service you want to secure.
- Copy your SSL certificate .cer file to a folder on the server.
- Click Start, click in the Start Search text box, type mmc, and then press the Enter key .
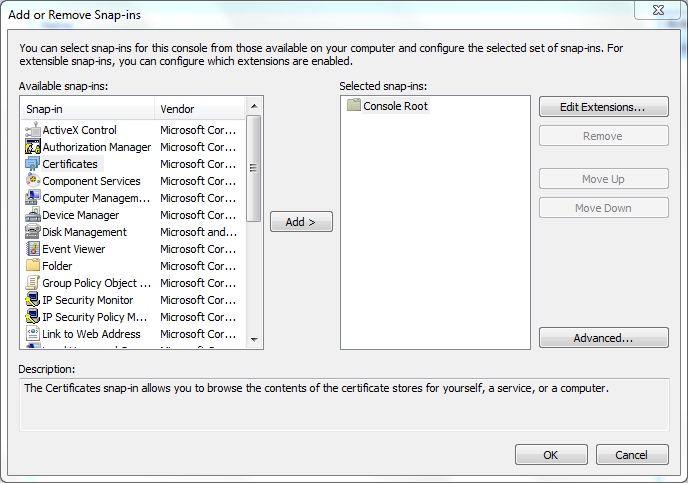
- Click File, Add/Remove Snap-In.
- Select Certificates and click the Add > button.
5. Click the Advanced button.

6. Select Computer account.
7. Click the Next button.
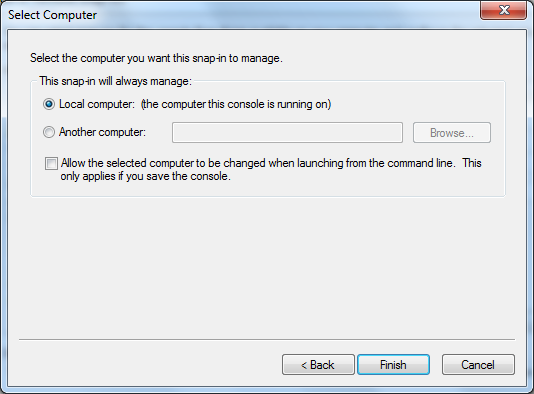
8. Select Local computer.
9. Click the Finish button.
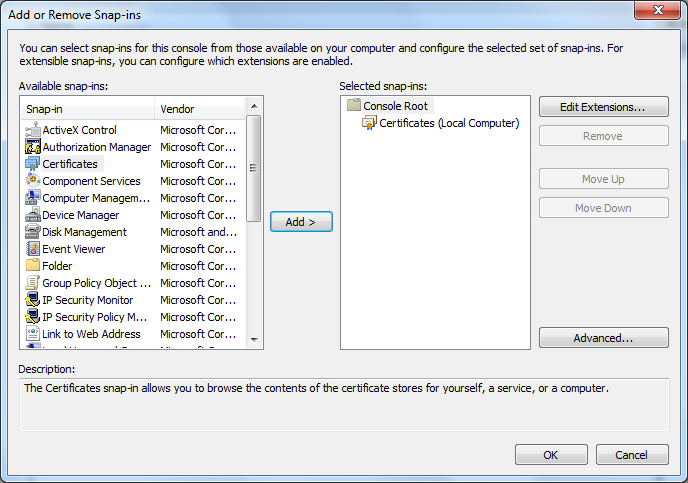
10. Click the OK button.
11. Expand the Certificates folder.
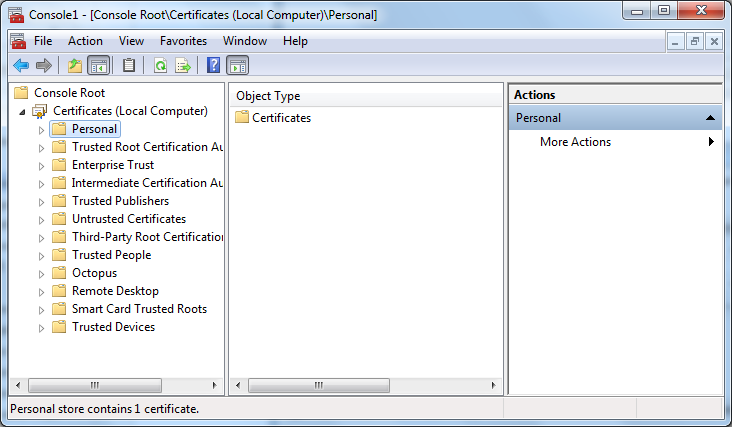
12. Right-click Personal and click All Tasks, Import…
13. Click the Next button in the import wizard.
14. Browse to select your SSL .cert file
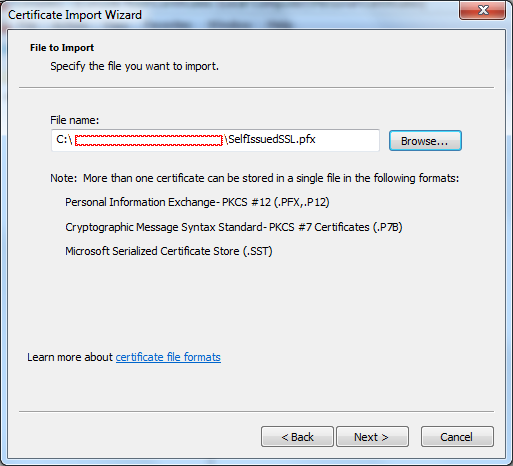
15. Click the Next button.
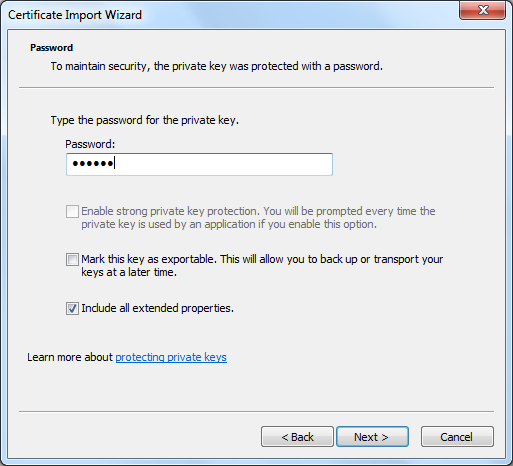
16. Enter the password for the private key.
17. Click the Next button.

18. Select Place all certificates in the following store with Personal.
19. Click the Next button.
20. Click the Finish button. The message "The Import was successful." displays.
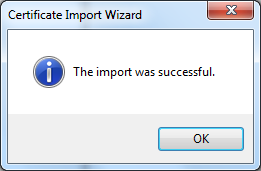
21. Click the OK button.
22. Double click on the certificate in the certificate manager to verify that the certificate has been imported with the correct information.
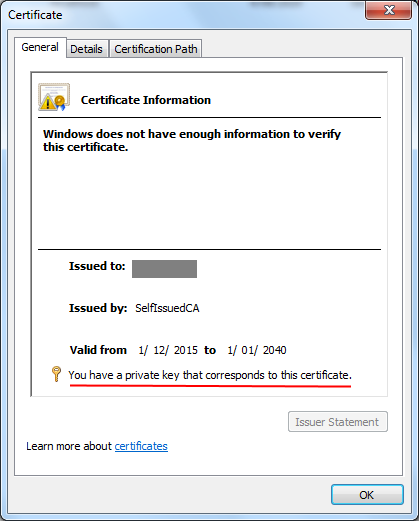
23. Confirm that the text "You have a private key that corresponds to this certificate" is present and that the Valid from and to dates include the dates when you intend to use the certificate.
24. If these details are not correct, then correct the details before continuing.
Get the SSL Certificate's Thumbprint
The certificate's thumbprint will be used to identify and locate the certificate.
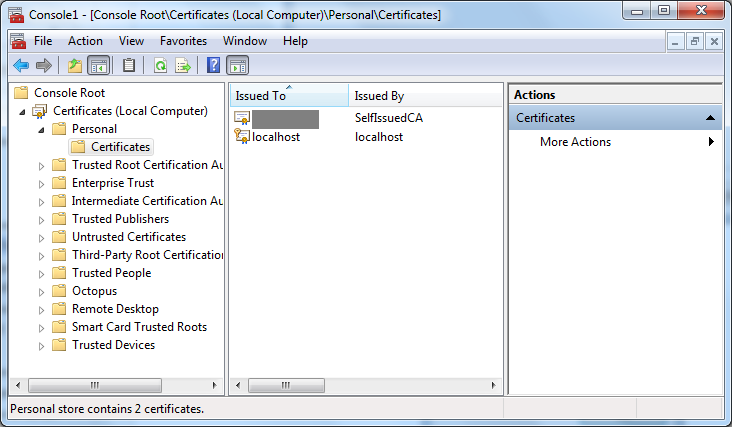
- Still in mmc, expand Certificates (Local Computer), Personal, Certificates.
- Locate the certificate you imported in Add the certificate to the Server Certificate Store section above.
3. Double-click on the certificate to open the properties window.
4. Click the Details tab and locate the Thumbprint.
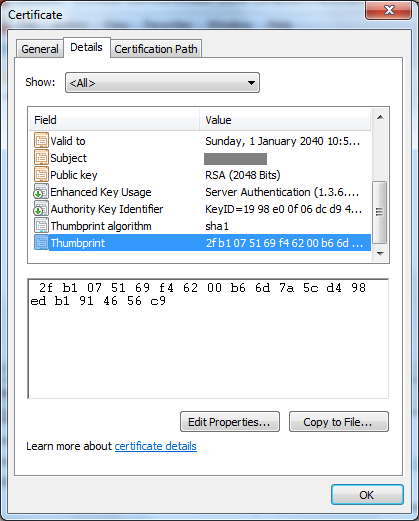
5. Make a note of the thumbprint as this will be needed in the next section.
Bind the SSL Certificate to Port
- Open a command prompt with Administrative permissions
- Enter the following:
- Replace 443 with the TCP port where the service will be running.
- Replace certhash with the certificate thumbprint found in the Get the SSL Certificate's Thumbprint section above.
- Replace the appid with a new randomly generated GUID (https://www.guidgen.com/).
> netsh http add sslcert ipport=0.0.0.0:443 certhash=18e1628ac1cd7cae3495e718f87e5b6188193c81 appid={9168E8B4-DF4B-497C-918E-36EBC2C69732}
The service can now be configured to use HTTPS and the connection will be secured by SSL using the certificate configured above.