Set up your Corporate Branding
Level: System Administrator
Your brand is important to you. That makes it important to us.
Prerequisites
You will need the following:
- Welcome Cover Image - For more information about the Welcome Cover Image's dimensions, composition, and file size, then read the About the Welcome Cover Image for Engage article.
- Company Logo (SVG format) - Ask your marketing team for a copy of your company logo, which needs to be in color.
- Brand Color (HEX format)
- System Administrator access to Engage Configuration settings
Update your Welcome Cover Image
You will need a (Width 375px x Height 812px) PNG image.
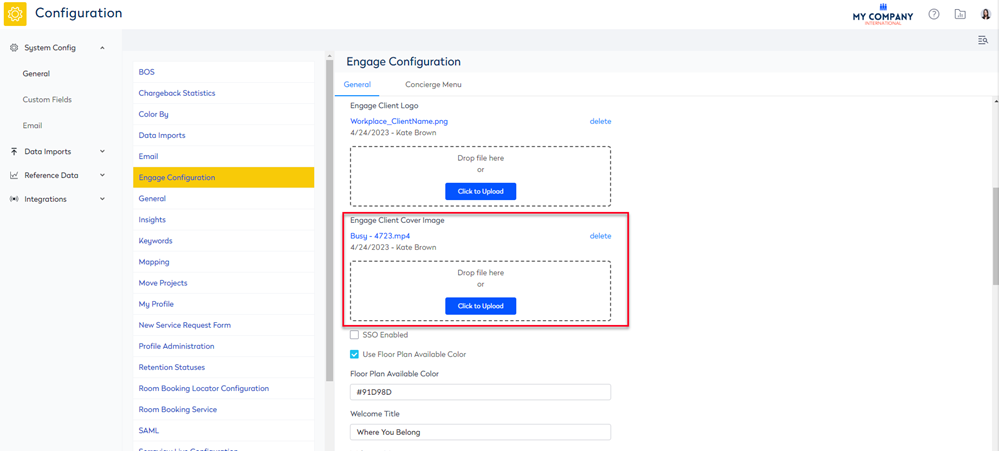
In the Engage Client Cover Image area, complete the following:
- Navigate to Admin Settings > System Config > General > Engage Configuration.
- In the Engage Client Cover Image section, for the existing image, click the delete link. The file upload displays.
- Either drag and drop the file OR click the Click to Upload button. The file displays.
- Click the Update button.
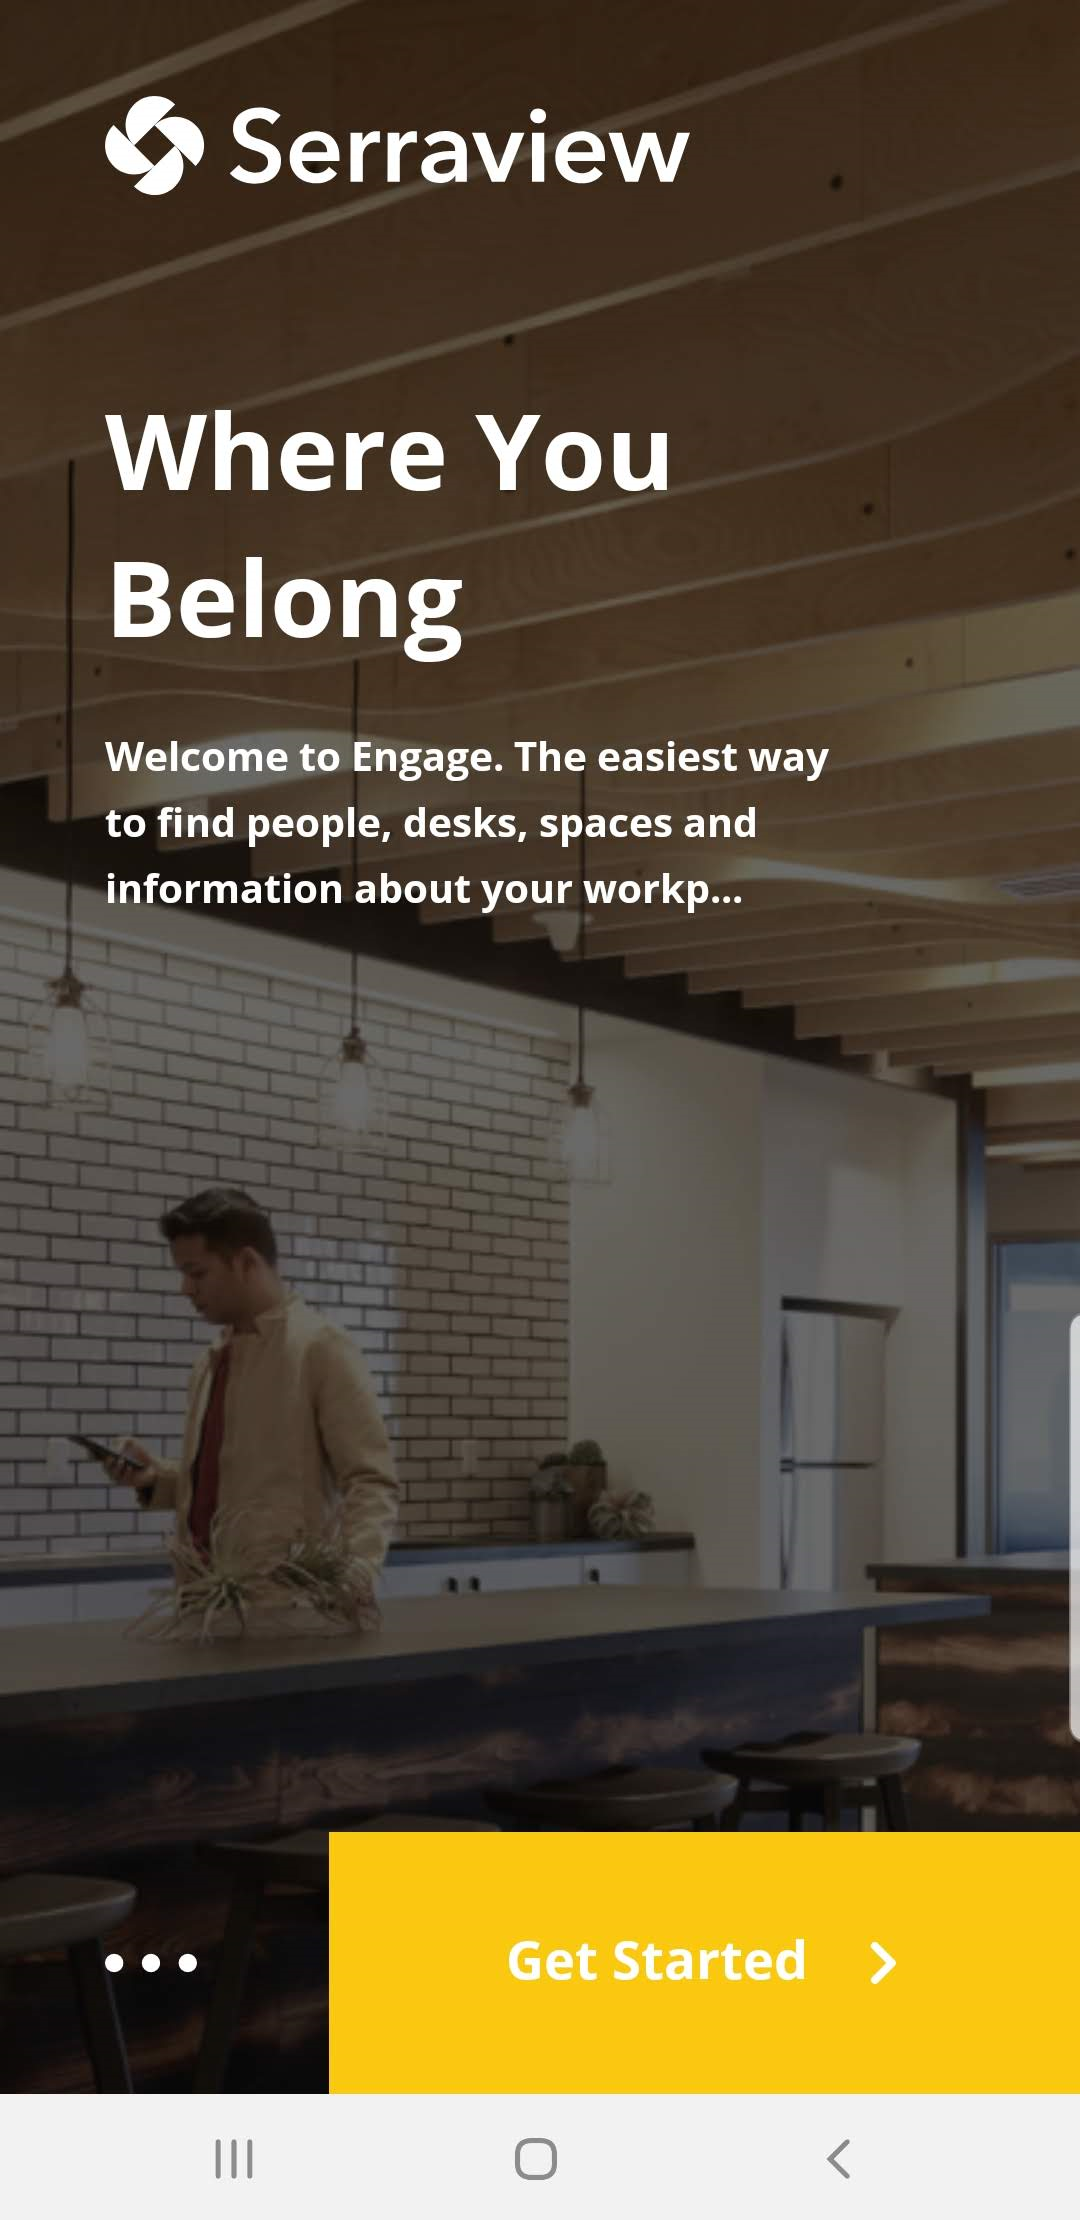
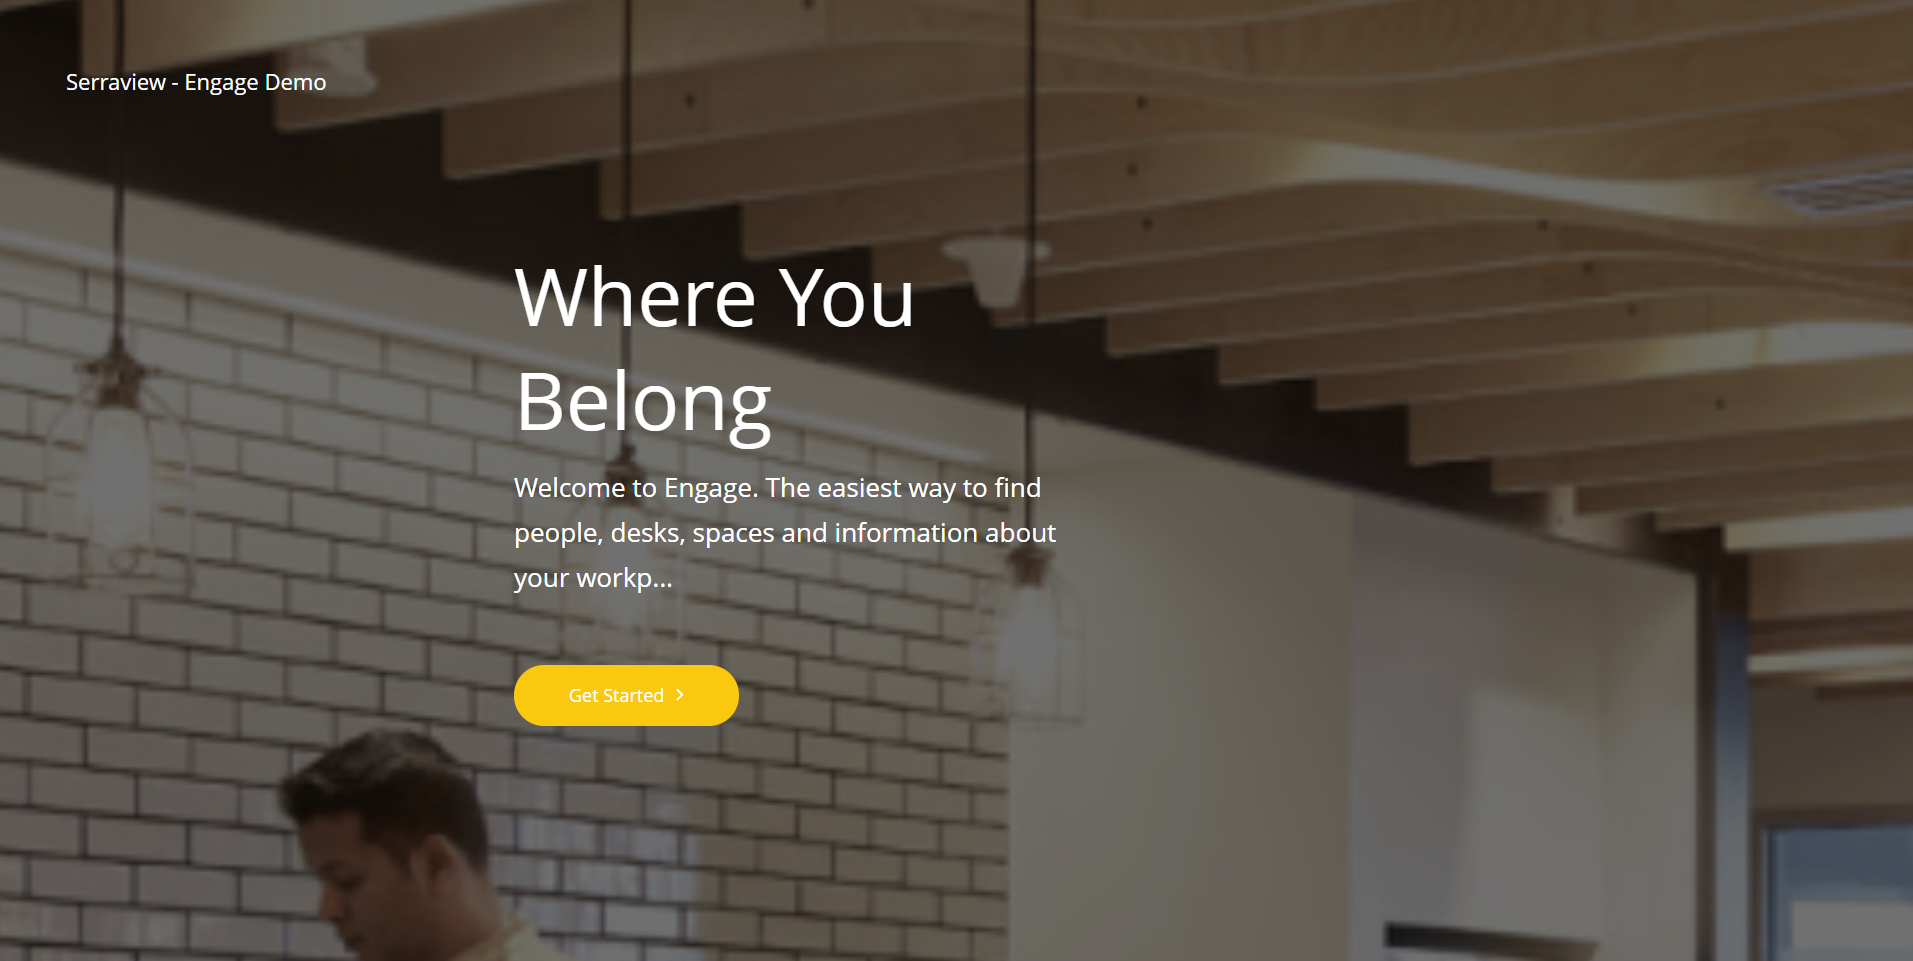
Update your Welcome Message
The Welcome Message that displays on the Cover Image.
From Serraview, complete the following:
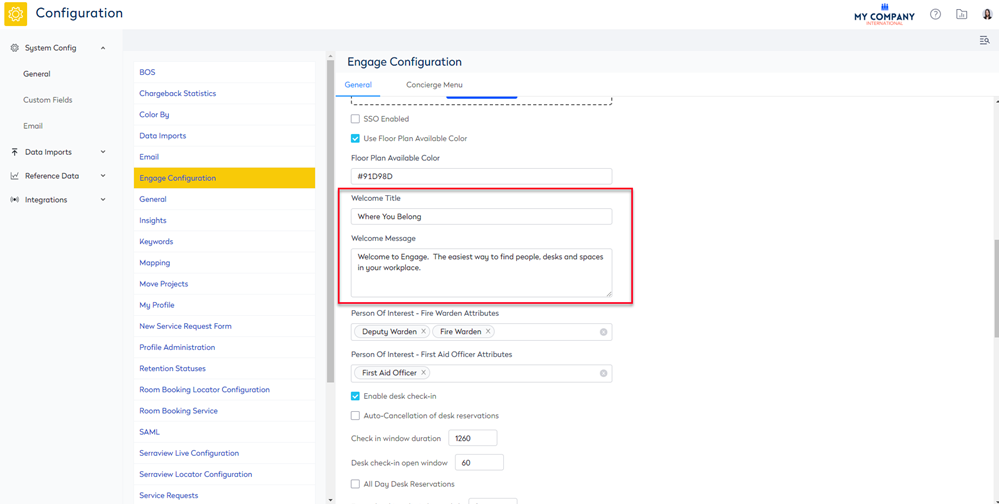
- Navigate to Admin Settings > System Config > General > Engage Configuration.
- In the Welcome Title field, enter in the welcome title.
- In the Welcome Message field, enter the brief welcome message.
- Click the Update button.
Update your Company Logo
Ask your marketing team for a copy of your company logo, and it needs to be in color (not monochrome) in SVG format.
Ensure that the SVG file:
- contains a clean SVG and not contain any propriety tags, as these are not supported.
- is not using hard coded styles.
- does not contain padding.
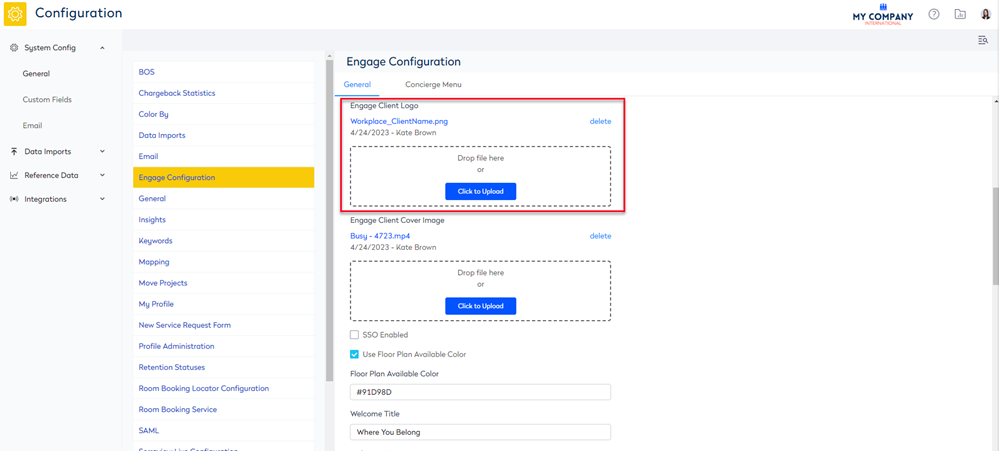
- Navigate to Admin Settings > System Config > General > Engage Configuration.
- In the Engage Client Logo section, for the existing image, click the delete link. The file upload displays.
- Either drag and drop the file OR click the Click to Upload button. The file displays.
- Click the Update button.
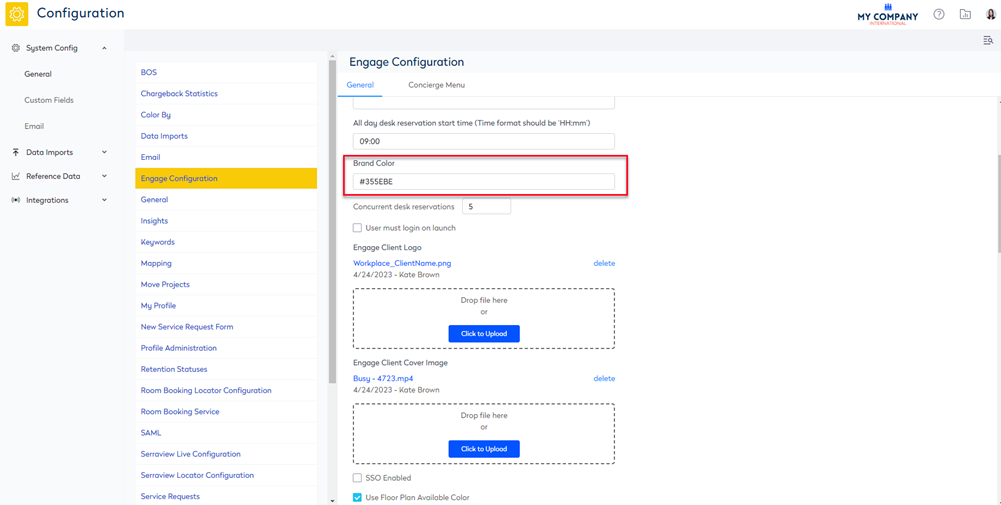
Update the Brand Color to match your Brand
You can apply your main brand color to Engage's user interface controls.
- Navigate to Admin Settings > System Config > General > Engage Configuration.
- In the Brand Color field, enter the hex code for the color. The example below updated the color #1EC2EF (Turquoise) to #F8CA08 (Yellow).
- Click the Update button.
- From your mobile device or web browser, open Engage.
- Check that the colors display.
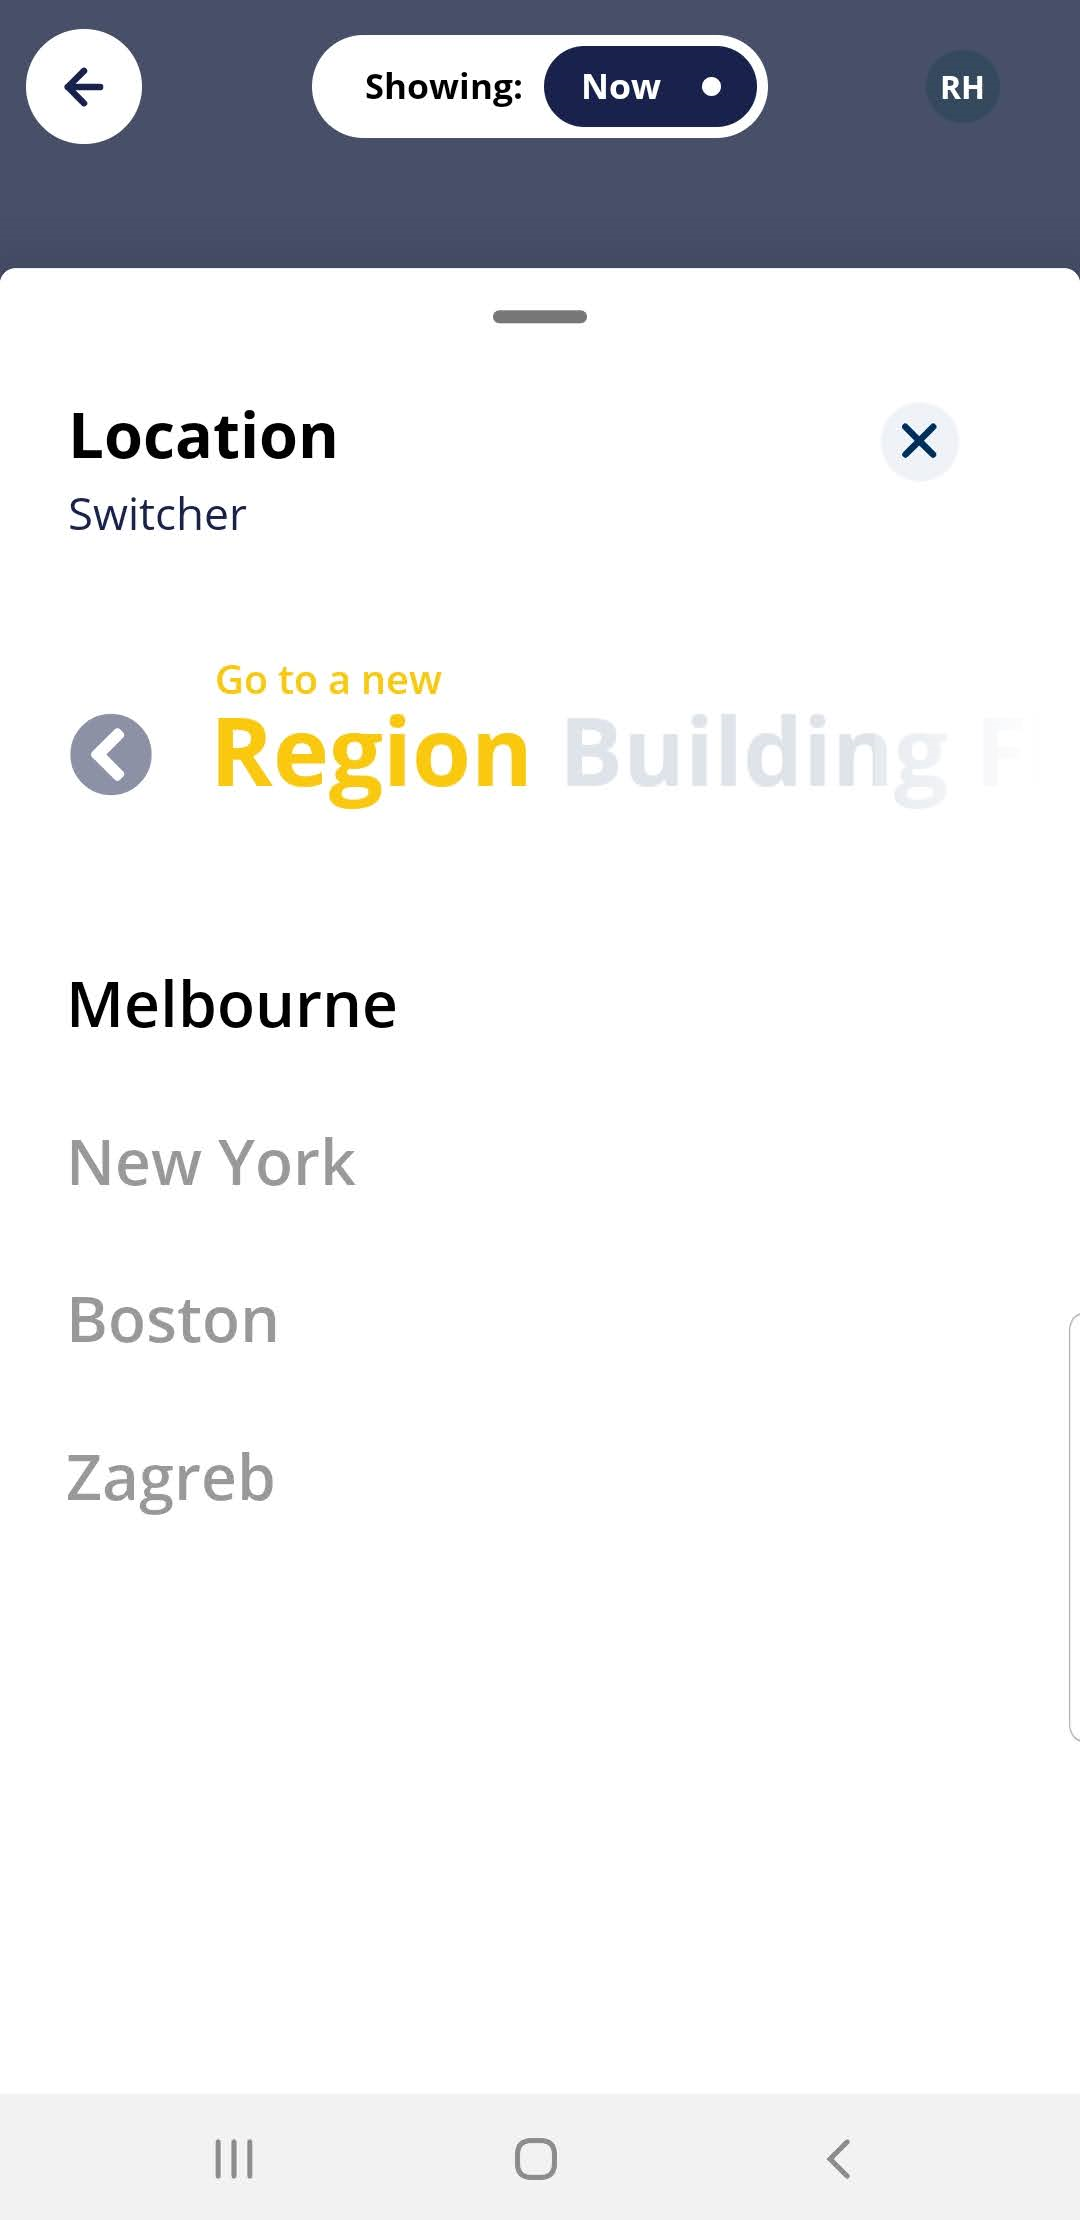
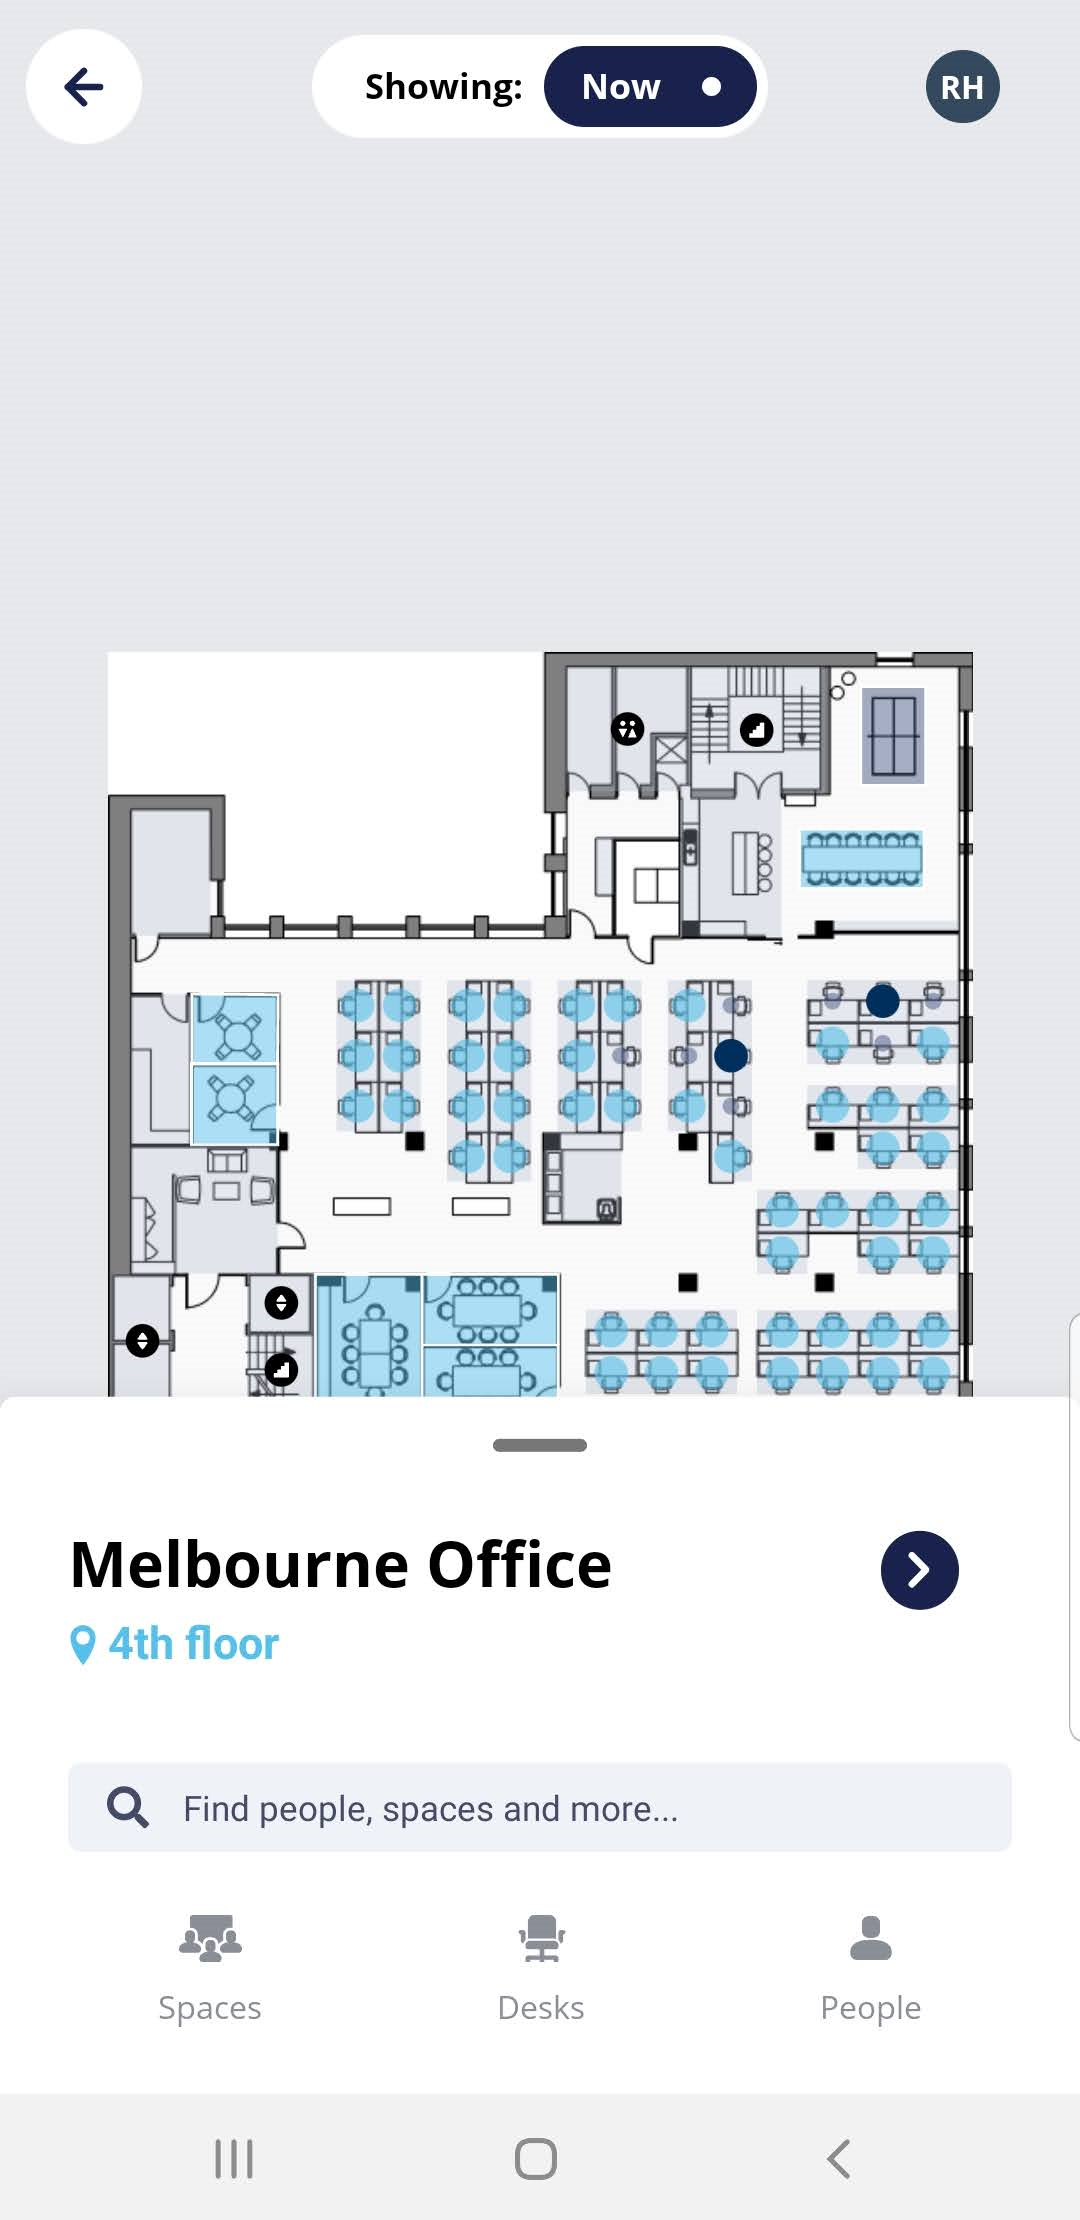
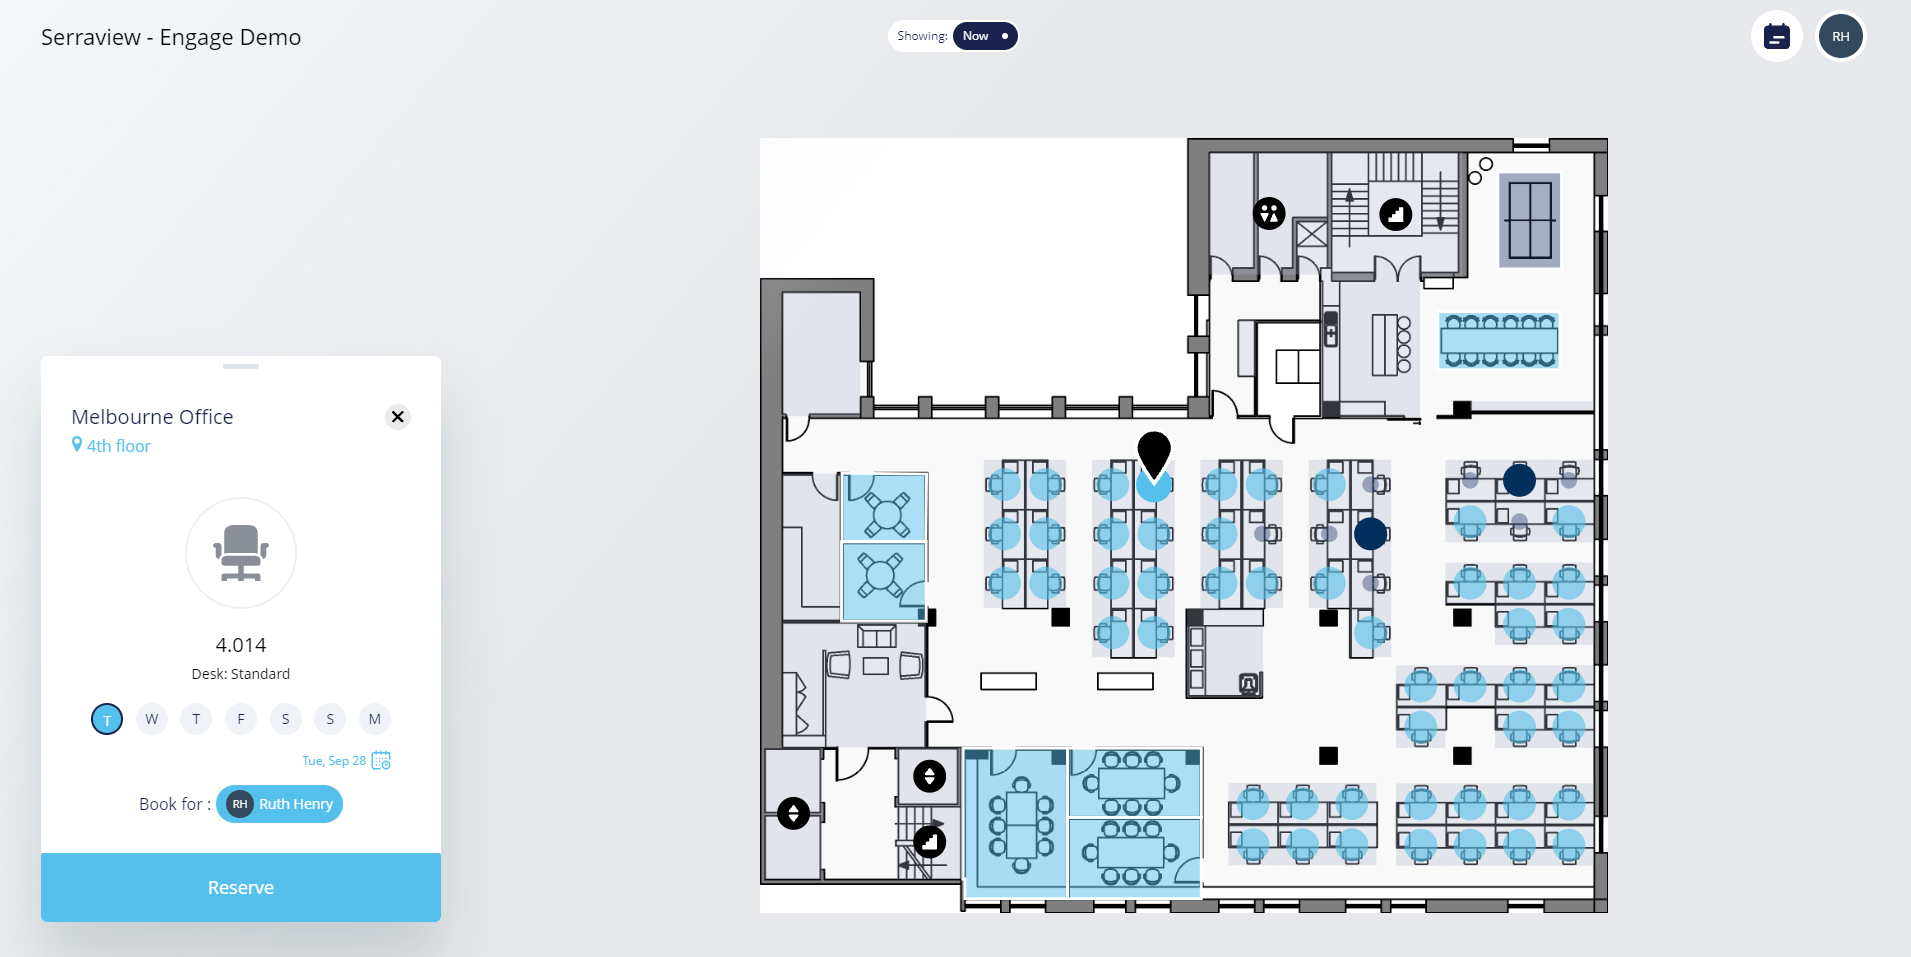
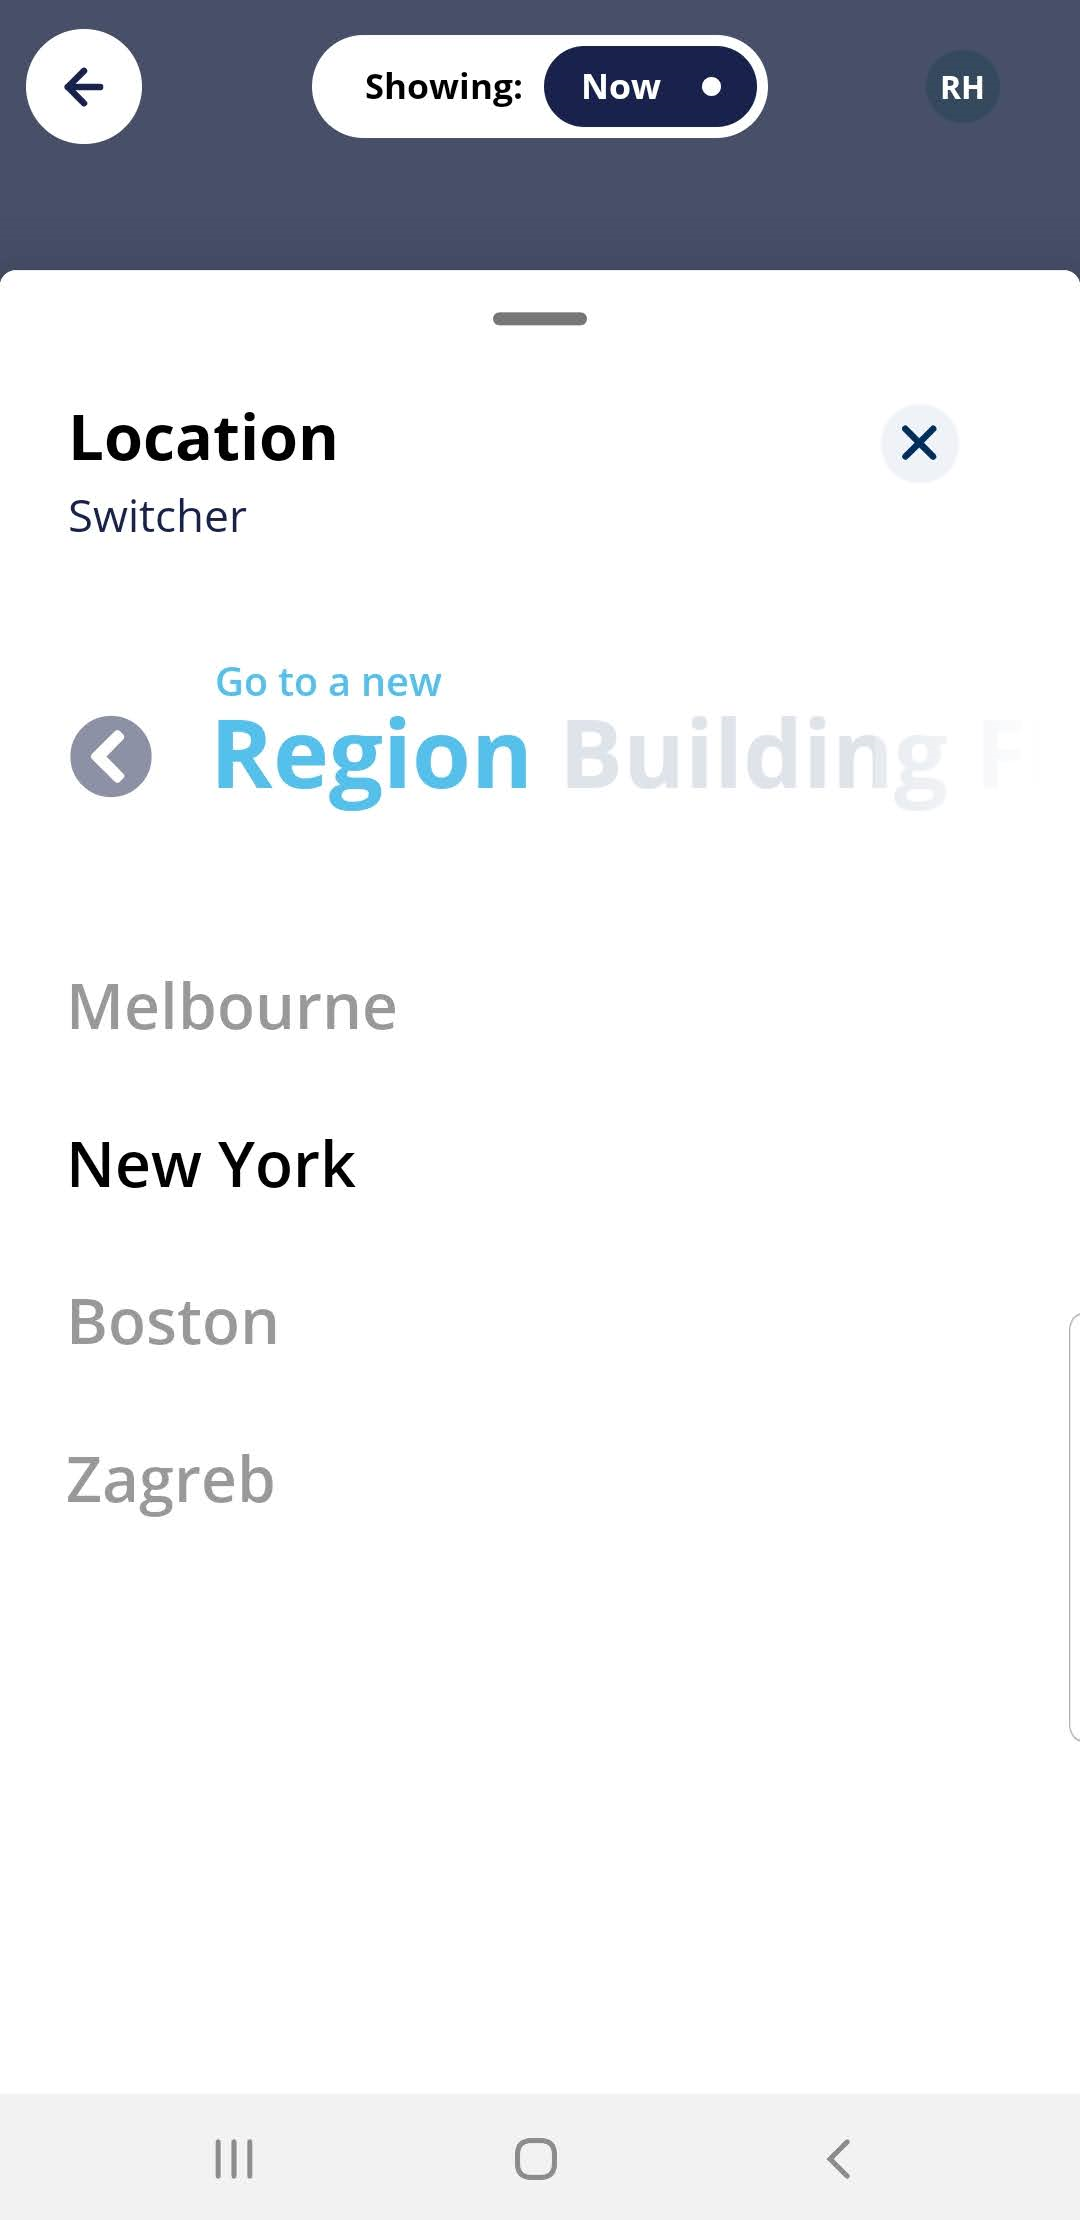
Blue Accent Color
| Engage Mobile | Engage Web |
|---|---|
|
|
|
|
|
|
|
|
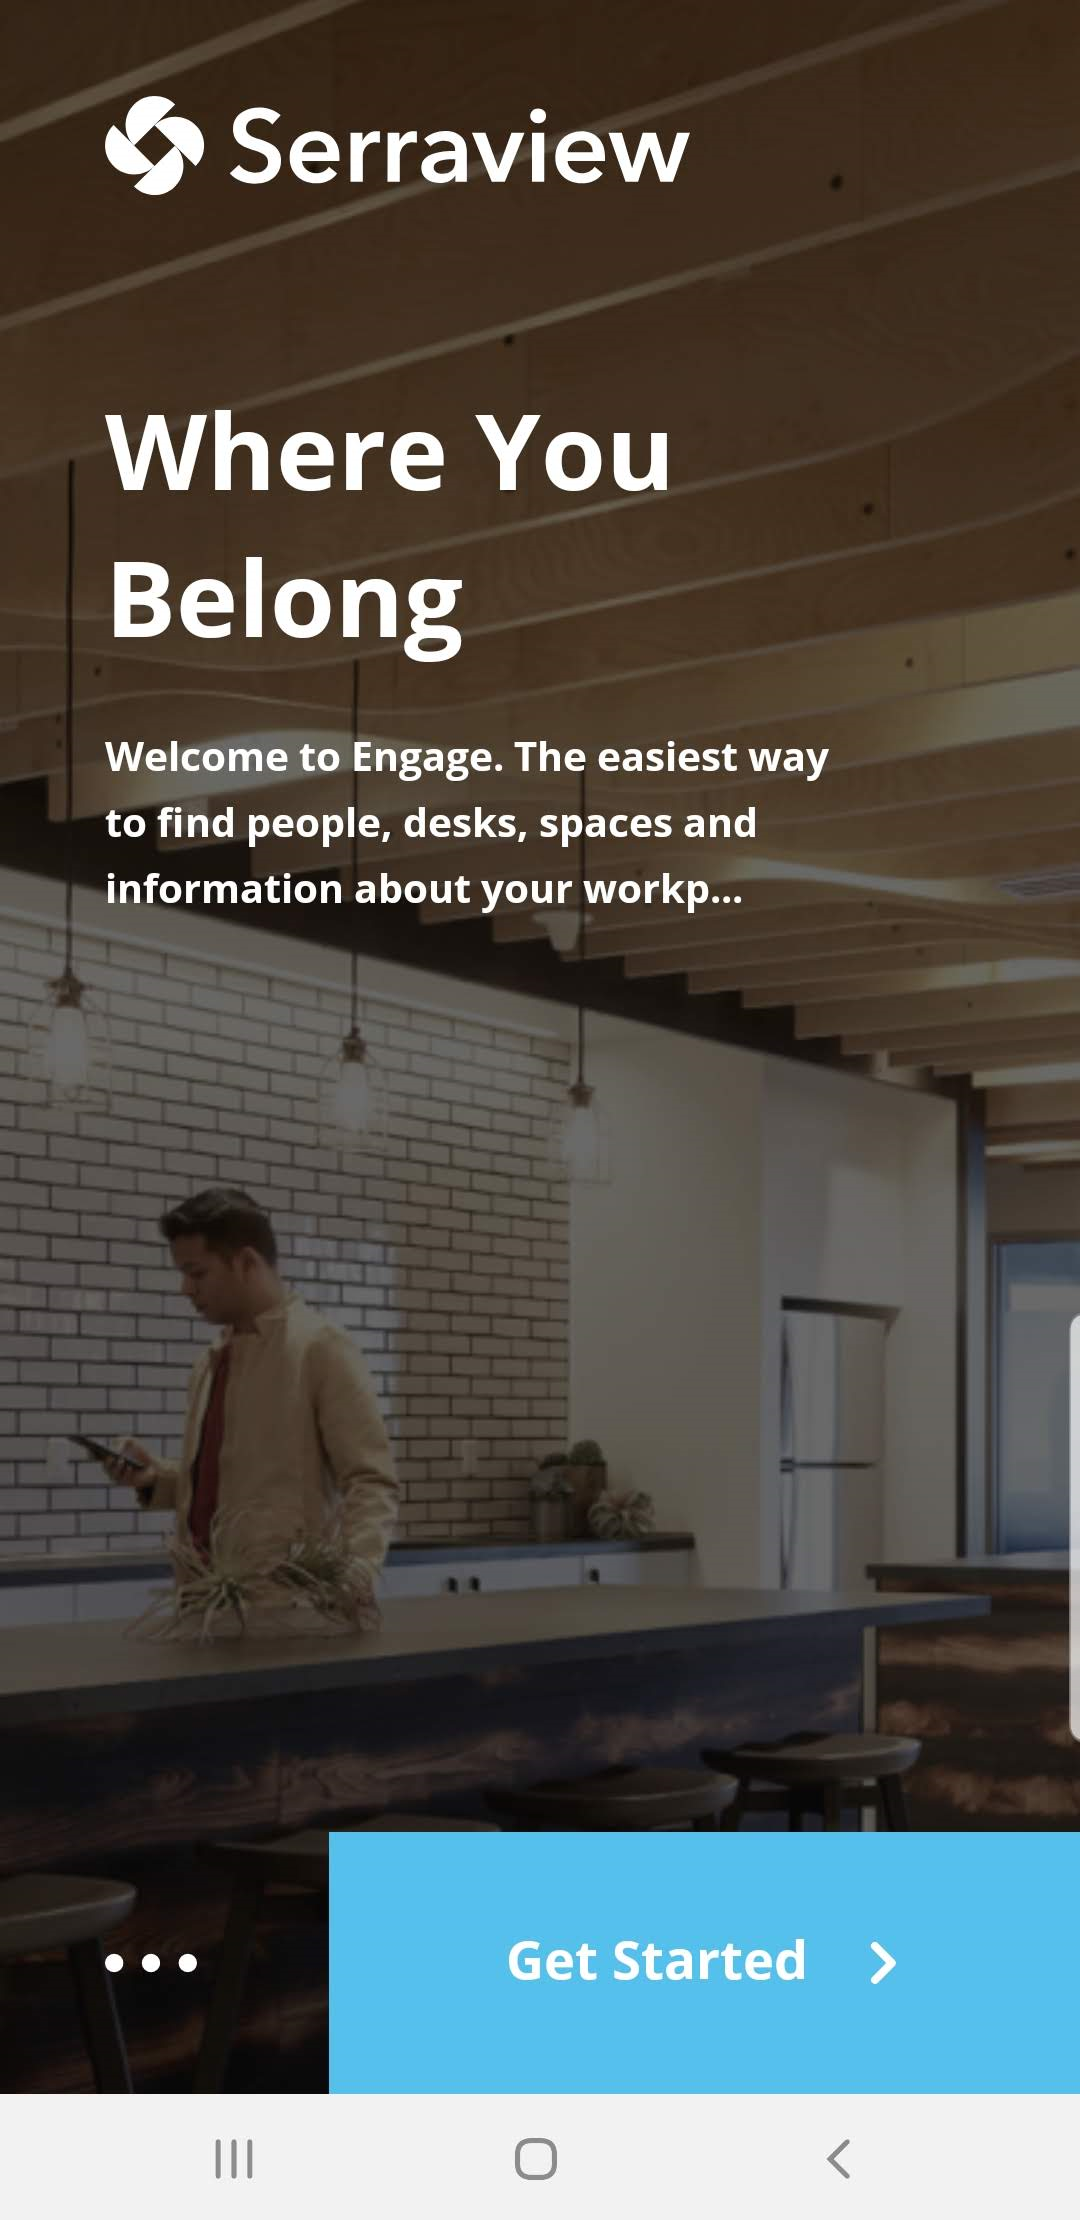

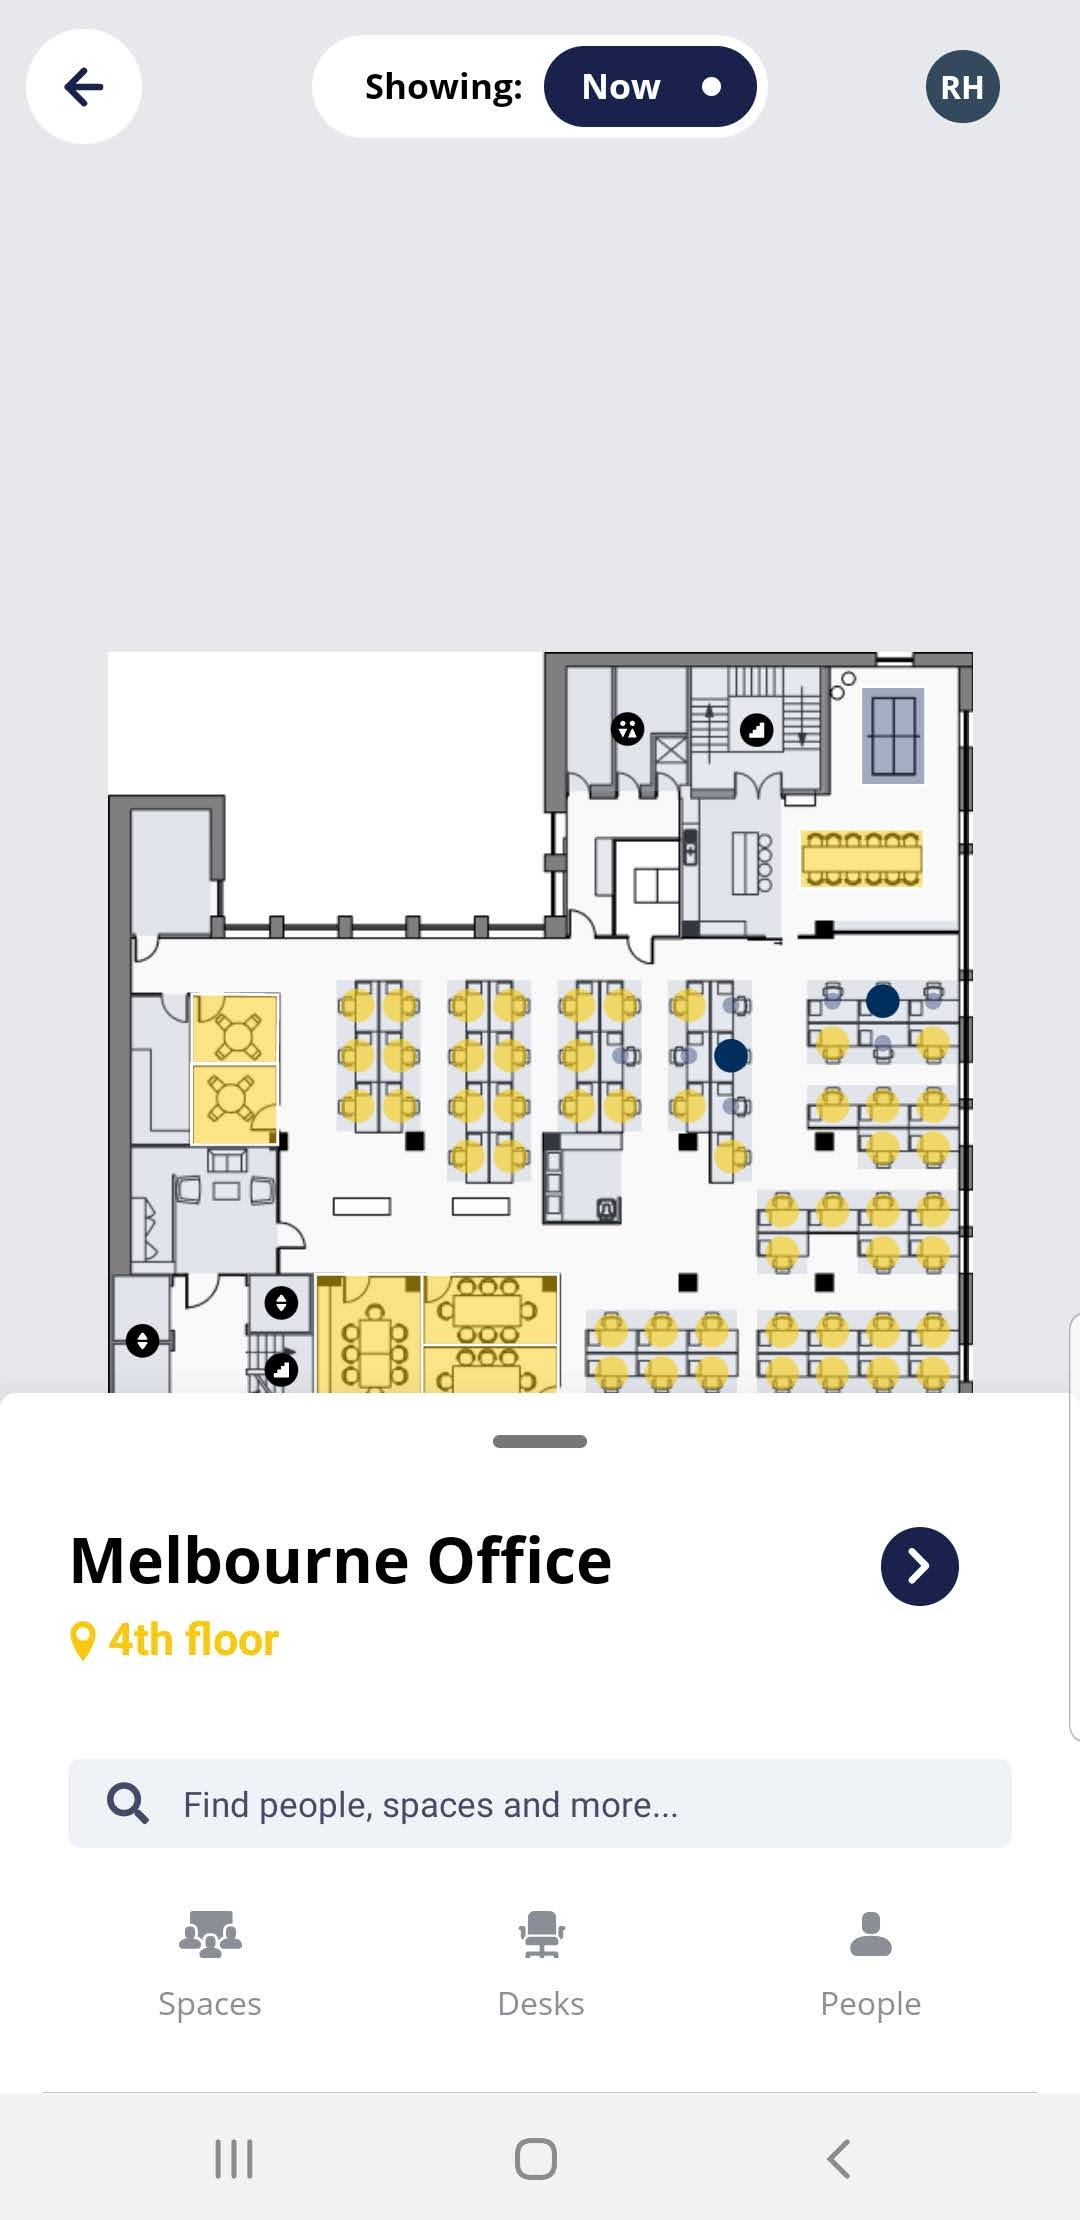
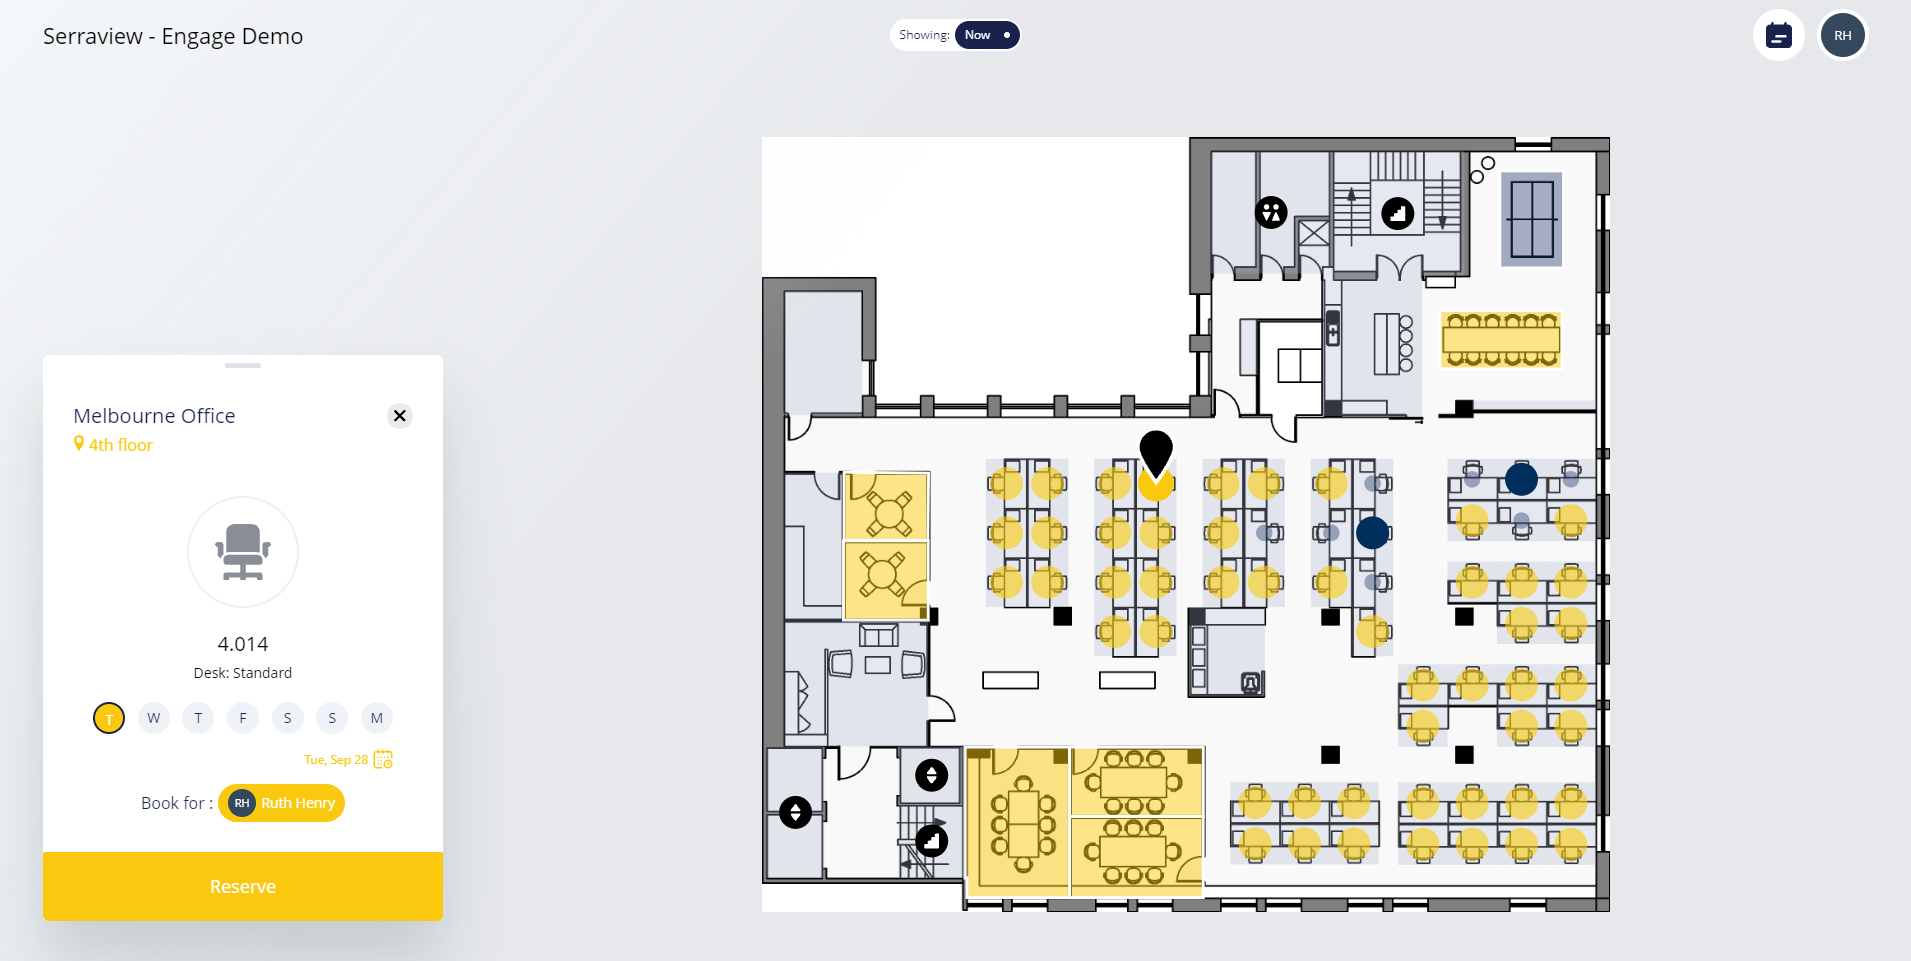
Yellow Accent Color
| Engage Mobile | Engage Web |
|---|---|
|
|
|
|
|
|
|
|