Locator Kiosk Setup
Prerequisites
- Set up a kiosk user with the secured action in Serraview.
Kiosk Launcher App
The Kiosk Launcher is a Windows .NET application that can be run on start up to:
- automatically launch Locator full screen in Kiosk mode.
- identify the kiosk and display the "You are here" graphic.
- prevent users from exiting the browser.
The app also has an automatic refresh interval built into it to ensure that it continues to self-heal by reconnecting to the server on a regular interval.
Kiosk Authentication
To provide a seamless and convenient experience, users are not required to sign in or authenticate at the kiosk. Instead, we assume that if they have physical access to the kiosk they can use it. To achieve this, Serraview will work with your IT team to allow access to the specific Kiosk (Locator) URL from anyone within your company's external IP range. The Kiosk (Locator) URL format is:
https://[client_instance].serraview.com/locator
Each Kiosk must be assigned a static IP address that can be identified and whitelisted by Serraview. After the external facing IP address of each Kiosk is known, please send this to your Serraview Implementation team.
Physical Kiosk identification and location on the floor plan
Serraview Implementation team requires the location of the physical kiosk, so we can set up the "You are here" graphic and the location of the kiosk and orientation of the floor plan.
Step 1. Set up the "You are here" graphic
For the graphic to be displayed, each kiosk must be:
- mapped at their position on the floor plan
-
uniquely identified by kiosk name e.g. kioskName=[kiosk]
When the location and kiosk name is known, please send this to your Serraview Implementation team.
Step 2. Set up the location of the kiosk and orientation on the floor plan
In Serraview, set up the location of the kiosk on the floor plan.
Step 2.1 Add the SvKiosk space type to the floor plan
From the Spaces module complete the following:
- From the left-menu, click Spaces.
- Use the Location Selector drop-down to navigate to the building and floor or enter the location.
- Click the Edit Floor icon.
- Toggle the space types to display the SvLive Kiosk, refer to Toggle Space Types.
- Click the Add Polyline
 icon. The Add Polyline panel displays. For more details, refer to Add Serraview Polyline.
 - From the Select a Space Type selector, enter in SvLive Kiosk and select the space type.
- Click on the floor plan where the Kiosk will be located. The Kiosk is added as a point.
- Click the Publish Changes icon.
The kiosk must be added to a parent space type, such as Primary Circulation or Corridor.
Step 2.2 Edit the floor plan's SvKiosk
- Double click the kiosk. The Edit Space form displays.
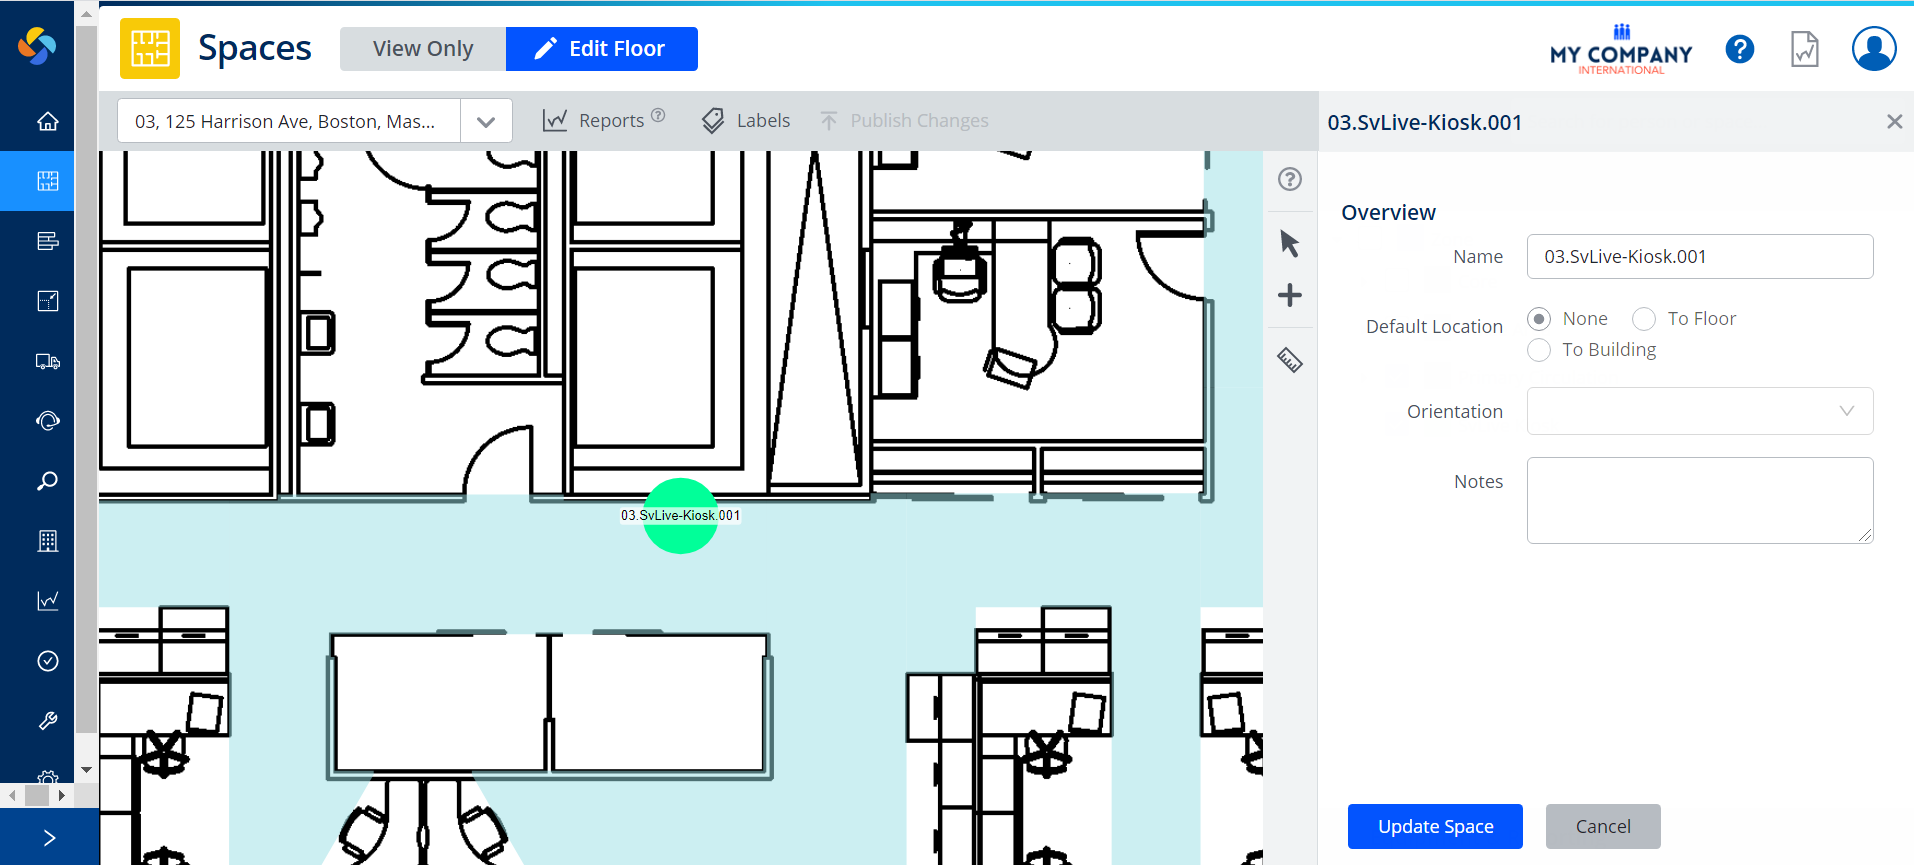
2. In the Name field, enter the kiosk's name. The name must match the machine name or the device name.
3. Optional - For the Default Location options buttons select either None, To Floor, or To Building.
4. From the Orientation drop-down list, select either: Default, 90, 180, or 270.
5. Optional - In the Notes field, enter any notes.
6. Click the Update Space button.