Install and Set up Engage Kiosk
Serraview Engage
Level: Customer IT Team and Serraview System Administrator
This describes what is involved in getting your Engage Kiosk up and running for your employees and visitors to use. Make sure you complete all the prerequisites before you install and then start your Engage Kiosk App.
- Prerequisites
- Download the Engage Kiosk App from the Microsoft Store
- Start the Engage Kiosk App
- Watch Engage Kiosk in Action
Prerequisites
Before you install the Engage Kiosk, make sure the prerequisites are completed so that when you start the kiosk it will display correctly and have the concierge menu running.
The following must be set up:
- Set up a Touchscreen Device
- Set up the Engage Kiosk User Role and Profiles
- Step 1. Add the Kiosk Profile in Serraview’s People Directory
- Step 2. Create the Kiosk Profile's User Account and assign the Role
- Step 3. Send out the Kiosk Profile's Login Email
- Step 4. Set the Kiosk Profile's Password
- Set up the Engage Kiosk Space
- Set up the Engage Kiosk Concierge Menu
Set up a Touchscreen Device
Source a Touchscreen Device and arrange to have it installed. System and Hardware Requirements are found in Operating Environment.
Remember to not have a screen saver or screen timeout set on for the kiosk.
Set up the Engage Kiosk User Role and Profiles
When you log in to the Engage Kiosk, you will be prompted to use an account that is registered in Serraview. To ensure the correct kiosk features are established, we recommend you create a separate custom User Profile and Role in Serraview for your kiosks.
To get the best customization and control over Engage Kiosk, reservations, and reporting we recommend establishing a unique Engage Kiosk Profile per Engage Kiosk, or per building with an Engage Kiosk. This will assist you in reporting on reservations and activities made by each kiosk.
Step 1. Add the Kiosk Profile in Serraview’s People Directory
You will need to add a Kiosk Profile as a person in the People Directory. For example, Melbourne Kiosk OR Melbourne Kiosk Level 4.
From Serraview, complete the following:
1. Navigate to Resources > People.
2. Click the + Add Person button. The New Person form displays.
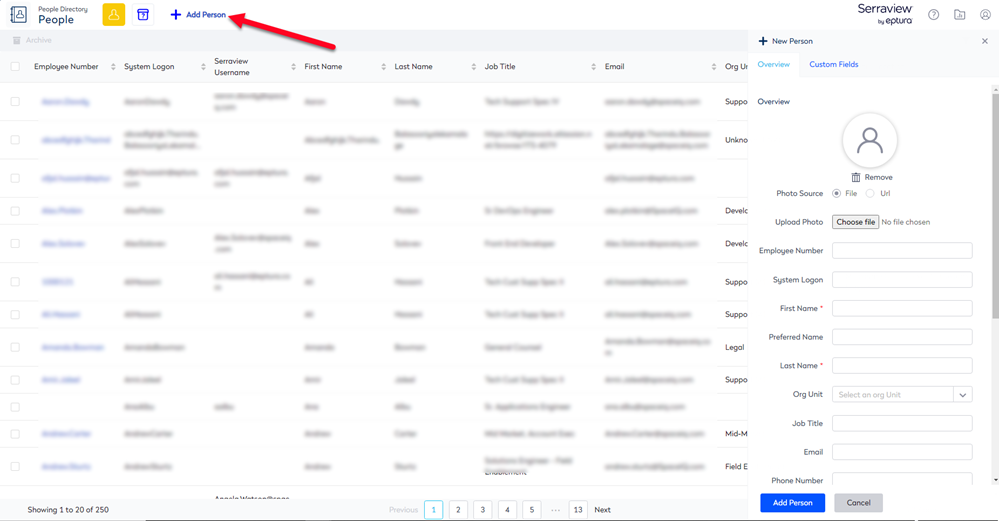
3. In the First Name field, enter the first name of the profile. Such as Melbourne Kiosk Level 4.
4. In the Last Name field, enter the last name or the profile. Such as Kiosk.
5. In the Email field, email address. This is a unique email for the Kiosk Profile and you will need access to this email address as Serraview will use this email to set up your password during the User Account setup.
We recommend the Kiosk Profile's email address is NOT an active person use instead a monitored IT Support email address.
6. Clear the Archive if not present in import check box.
Make sure the check box is NOT selected as you don't want your Kiosk Profile to be archived when an import occurs.
7. Click the Add person button.
Step 2. Create the Kiosk Profile's User Account and assign the Role
You need to create the user account and then add a Kiosk user role for all your Kiosk Accounts
From Serraview, complete the following:
1. Navigate to Resources > User Security.
First, you need to add a new user role.
2. Click the Roles  icon. The Roles screen displays.
3. Click the + Add Role button. The Add Role form displays.
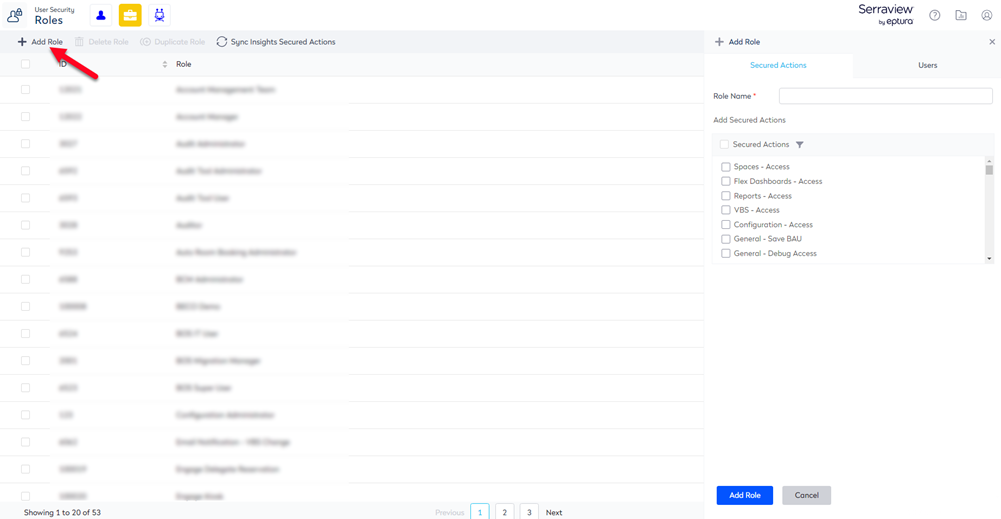
4. In the Role Name field, enter the name of the role. For example Engage Kiosk.
5. In the Add Secured Action section, filter for the secured action and select the checkbox to add it.
Required Secured Actions
- Reservations - Book on behalf of another person
- Reservations - Bypass concurrency Limit
Optional Secured Actions
If you want your Kiosk User Account to be able to reserve a desk anywhere then you must include the following secured actions:
- Reservations - Bypass booking rules (This will allow the kiosk to make reservations in all workpoints.)
- Reservations - Book for any team (This will allow the kiosk to make team reservations.)
Multiple Kiosk Users
If your company has multiple kiosks then you will need to set up multiple Kiosks Users and Roles. The Roles will be based on what access the kiosks has to the spaces, either:
- Full Access - Give your Kiosk User Account the required and optional secured actions. This will allow you guests to reserve a desk at any workpoint.
- Partial Access - Give your Kiosk User Account the required secured actions and then set the Engage Booking Access to the space.
Learn more about access in Set up your Kiosk to access a Space.
6. Click the Update Role button. The role is saved.
Next, you must add the user and give them the user role.
7. Click the Users  tab. The Users screen displays.
8. Click the + Add User button. The Add User form displays.
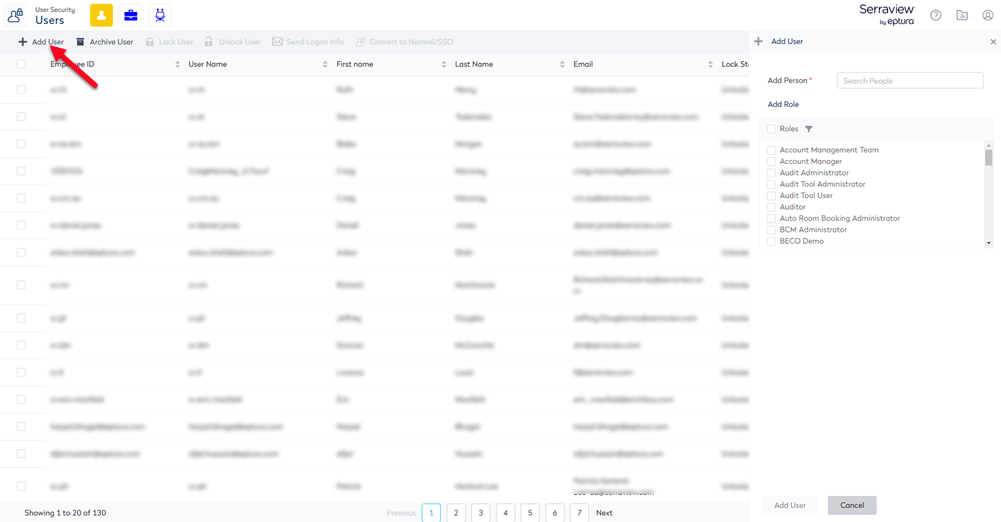
9. In the Add Person field, search for the Kiosk Profile's name you created in the Person Directory. For example Melbourne Kiosk Level 4.
10. In the Roles section filter for the role and select the checkbox to add it.
11. Click the Add User button.
This will create the user account.
Step 3. Send out the Kiosk Profile's Login Email
From the User screen, you will need to send out the Reset Password Email for the Kiosk Profile.
Remember, Serraview has a Password Expiry In Days setting that can be changed from the default setting so that the kiosk password won't expire every 2 months. This setting is a Serraview Only Configuration, see General Configuration, so you will need to contact our Support team to get it changed.
1. In the Search field, enter the Kiosk Profile's user account name.
2. Select the user account's check box.

3. Click the Send Logon Info button.
The Reset Password Email is sent out.
Step 4. Set the Kiosk Profile's Password
When you access your email account, you will find the Serraview's Reset Password Email.
1. Open the Reset Password Email.
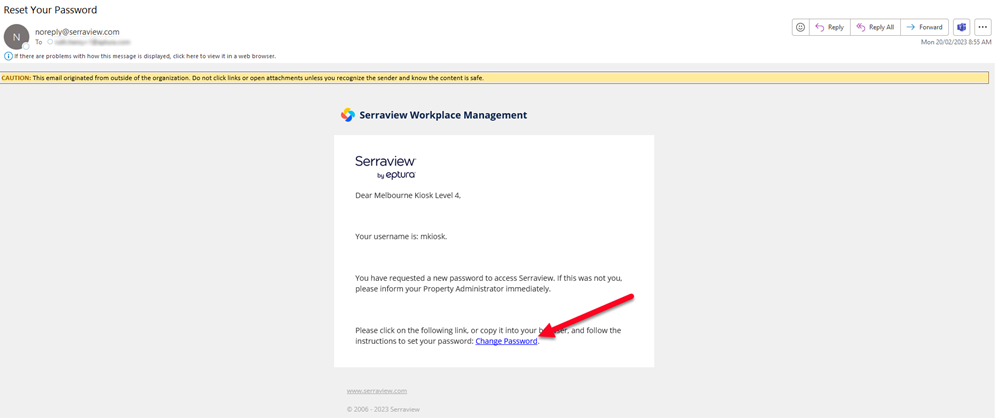
2. Click the Change Password link.
The Create Password screen displays.

3. In the Password field, enter the new password.
4. Click the Reset Password button.
The password is set and now ready for you to use when you start the Engage Kiosk app.
Set up the Engage Kiosk Space
You must add the Engage Kiosk point on the floorplan where the Kiosk is physically located on the floor and then complete the settings.
From Serraview, complete the following:
1. Navigate to Spaces.
2. Click the Edit Floor button.
3. Use the Location Selector drop-down to navigate to the building and floor or enter the location.
4. Click the Add Polyline  icon.
icon.
5. In the Select a Space Type drop-down, enter the Kiosk Space Type.
6. Click the floor map to place the kiosk where it is physically located.
7. Click the Publish Changes button to save your changes.
8. Double click Kiosk and the Space form displays.
9. In the Name field, either use the default space type name or enter the name of the kiosk.
10. Leave the Default Location as None as this setting is not used by Engage Kiosk.
11. Leave the Orientation drop-down blank as this setting is not used by Engage Kiosk.
12. In the Notes field, enter any details about the kiosk, this is an internal note for Corporate Real-estate and it does not appear in the kiosk.
13. In the Idle Dialog Show Timeout field, enter the time in seconds. The kiosk returns to a default state after a period of inactivity and this setting determines how long before the kiosk displays the countdown.
14. In the Idle Dialog Seconds field enter the time in seconds. When the kiosk has been idle a countdown will display to notify your employees that the kiosk session will be reset.
15. Optional - Select the Hide People Data checkbox to hide the People filter and search from Engage Kiosk.
Learn more about Engage Privacy, watch the video in Configure Employee Privacy.
16. Optional - Select the Heatmap Kiosk checkbox to enable heatmap view on the Engage Kiosk.
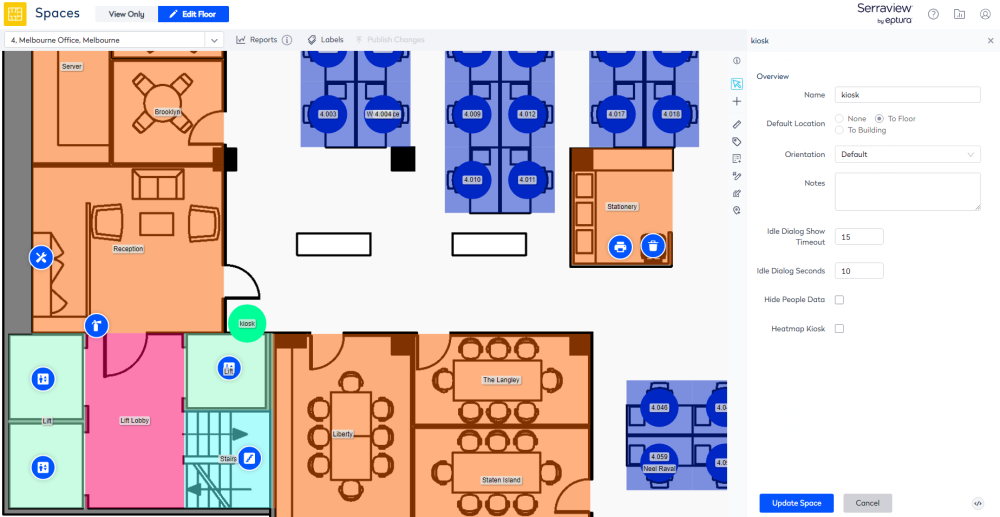
17. Click Update Space button.
Now your Kiosk space is set up and ready.
Set up the Engage Kiosk Concierge Menu
Finally, let's set up the Concierge Menu so that your employees have the necessary menu items. Below is an example screenshot of the concierge menu in Engage Kiosk.
From Serraview, complete the following:
1. Navigate to Admin Settings > System Config > General > Engage Configuration.
2. Click the Concierge Menu tab.
If are already using Engage for the Web app and/or Mobile app you will see the menu items set up. If you are setting up the Engage Concierge menu for the first time, we recommend you follow the instructions in Set up the Concierge Menu for 3 or more menu items.
3. Select the Kiosk's menu item checkbox for the items you want to display on the kiosk.
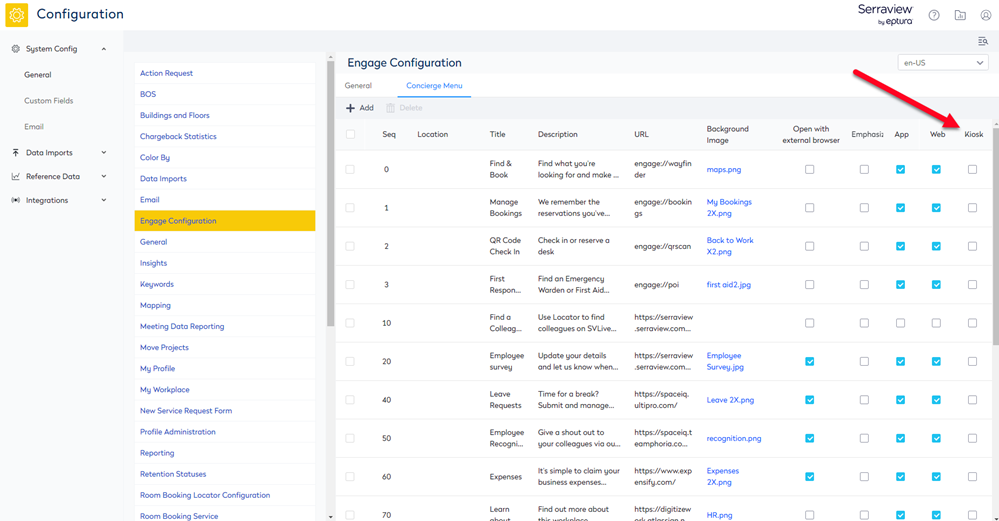
The settings will automatically save.
Download the Engage Kiosk App from the Microsoft Store
The Eptura Serraview Engage kiosk executable file can be found in the Microsoft Store.

Start the Engage Kiosk App
Now, you are ready to start the kiosk.
1. Navigate to the Download folder to find the Engage executable file (exe).
2. Double click the Engage.exe file.
The What's your workplace? screen displays.
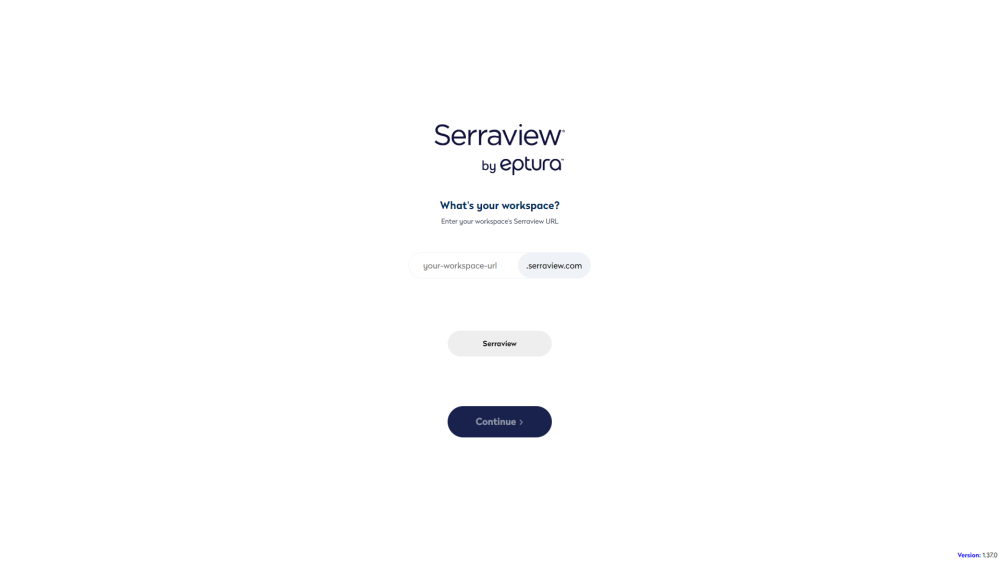
3. In the your-workplace-url field, enter your company's instance URL.
The Sign in to Serraview screen displays.
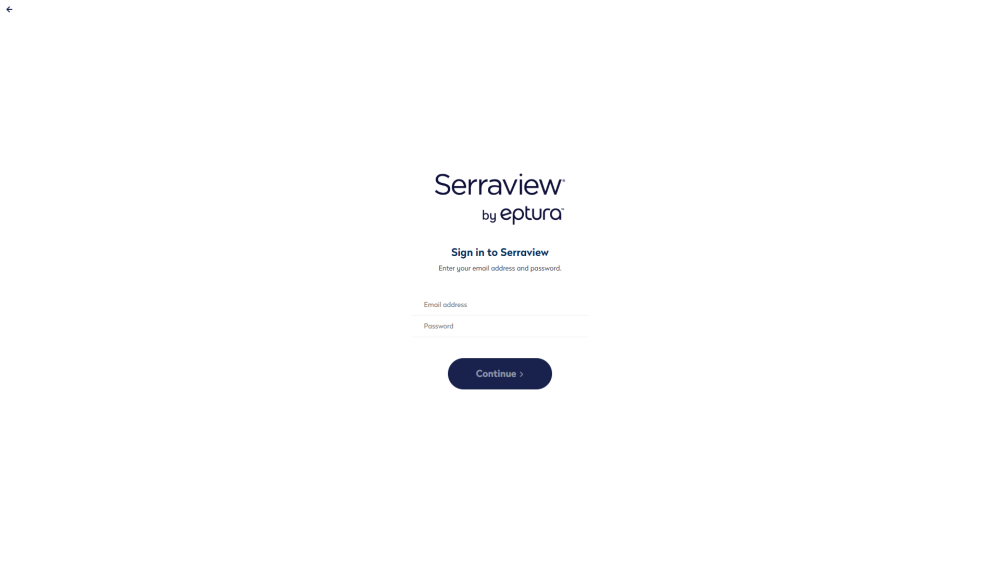
4. In the email address and password fields, enter your kiosk credentials.
5. Click the Continue button.
The kiosk selection screen displays.
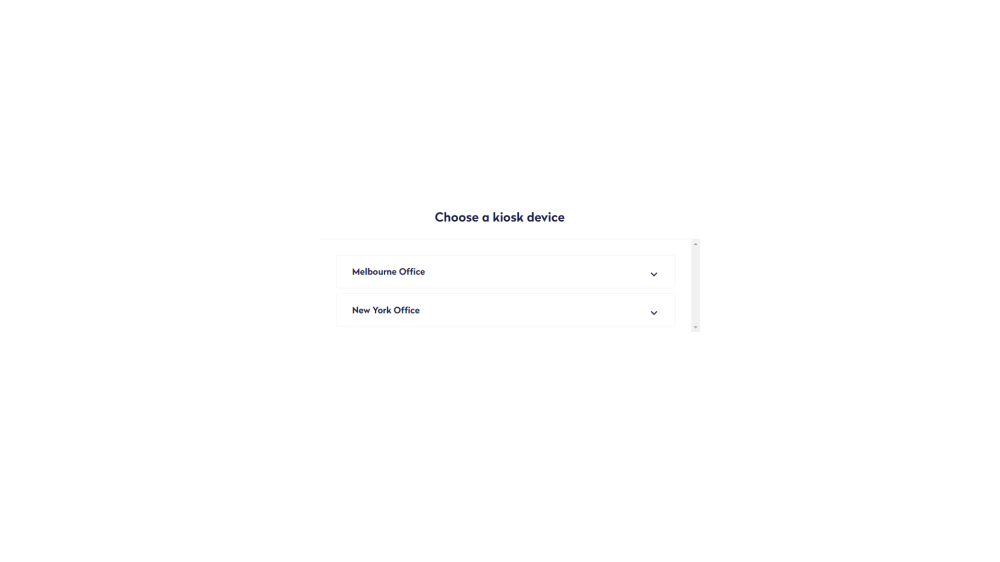
6. From the list, click the kiosk you want to run.
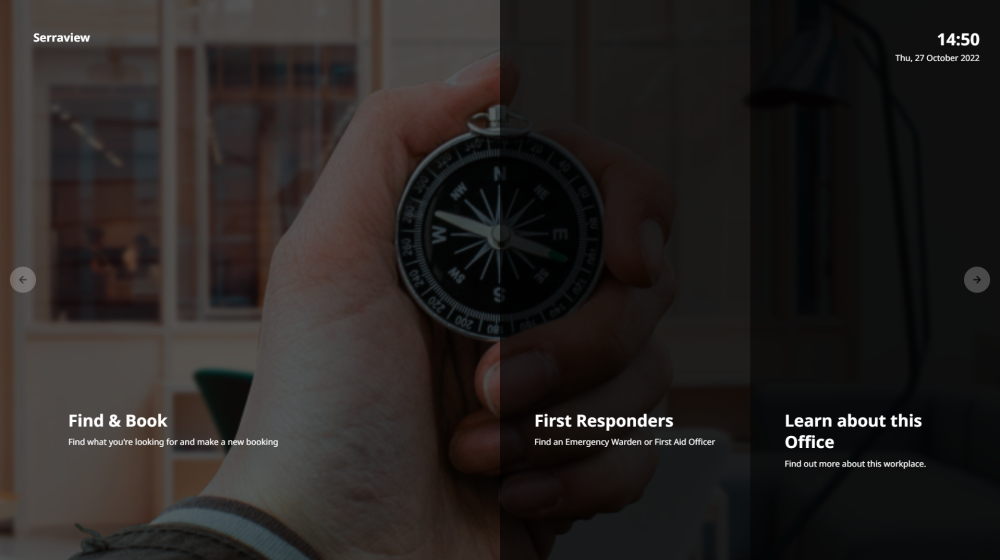
Engage's Welcome screen displays.

- Click the Get Started button to display the concierge menu.
Validate
We recommend that you complete a quick validation test to make sure your Engage Kiosk is running smoothly, head over to Validate Engage Kiosk. If you realize that your kiosk is set up in the wrong location or you have selected the wrong kiosk device, the article will explain how to fix this.
Watch Engage Kiosk in Action
Now, you have set up the kiosk, here is what your employees will experience.
- Watch the video in Engage Kiosk
- Using Engage Kiosk