Add user account in UAT environment
SSO
If your organization is using the SSO method, then you will need to contact your IT team to add the user. When a new user is created as an SSO user then this user will be created automatically in Serraview and will have a default user role. You can display the SSO user account in the list, click the SSO Users toggle.
The System Administrator can set the default user role, refer to set the default user role also they can modify the role's secured actions, refer to Manage User Roles.
For more information on SSO, refer to Single Sign On (SSO).
Manual
You can add a Serraview user account manually, however before the account is created the person MUST exist in the Person Directory.
You must have the following secured actions to add user accounts.
- Configuration - Access
- Configuration - Security - Access
- Configuration - Security - Create User
If you require access, then contact your System Administrator. For information on how to add secured actions to a role, refer to Manage User Roles.
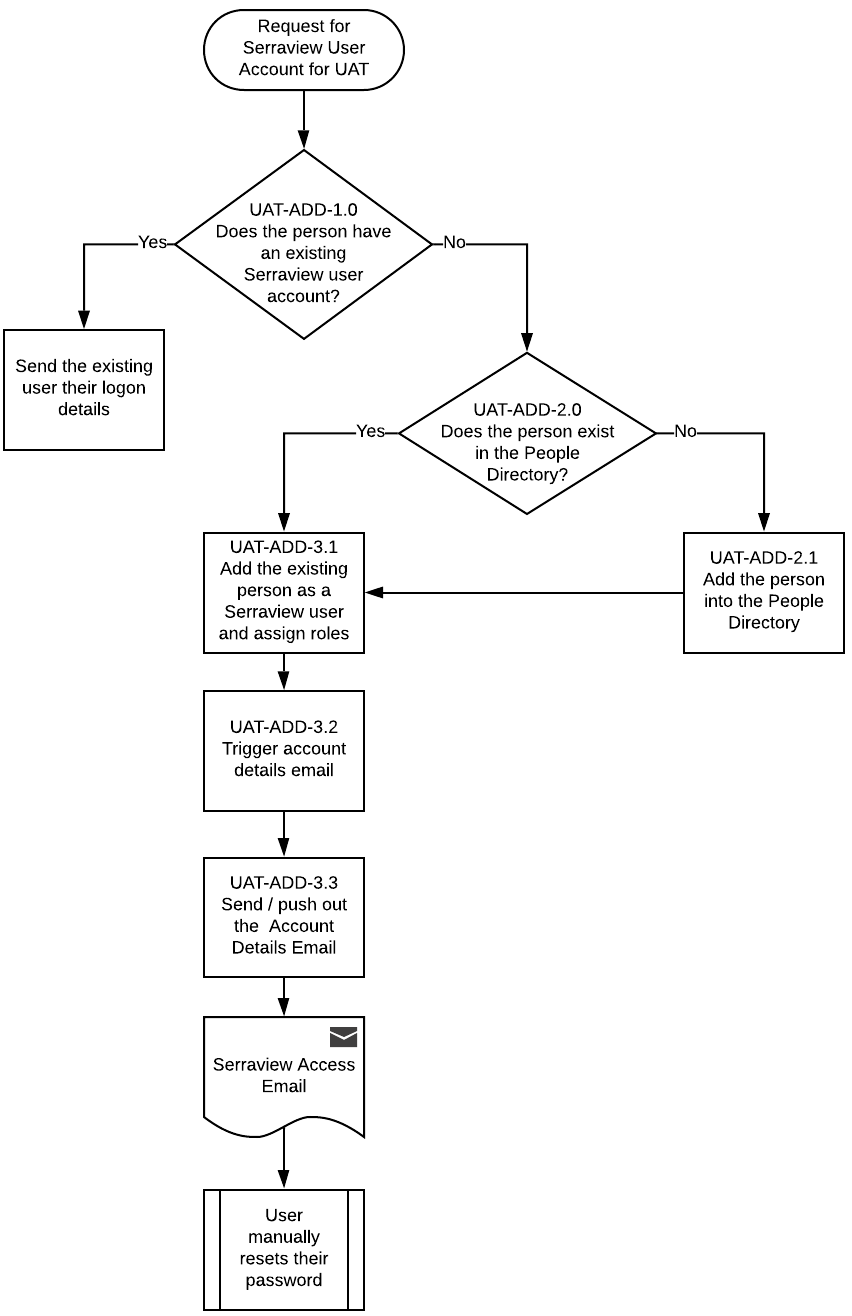
1.0 Does the person have an existing Serraview user account?
Before you create a new user account, check if the person has an existing Serraview user account.
- Navigate to Resources > User Security.
- In the Search field, enter the name of the person.
If the person has an existing account then this will display in the search results. You can send them their logon details.
- Click the user account check box.
- Click the Send Logo Info button.

2.0 Does the person exist in the Person Directory?
Before you can add a Serraview user, the person must exist in the Person Directory, if you are not sure if the person exists then you will need to search for the person in the People Directory.
- Navigate to Resources > Person Directory.
- In the Search field, enter the name of the person.
If the person does not exist then you will need to add them to the People Directory first, refer to 2.1 Add the Person into the People Directory.
If the person is listed then you can add a Serraview User account for them, refer to 3.1 Add existing person as a Serraview user and assign roles.
2.1 Add the person into the People Directory
If a person is not in the People Directory, you can add them and then create their Serraview user account. For example, an outside contractor may require access to Serraview for a short period of time.
- Navigate to Resources > People Directory.
- Click the + Person button. The New Person form displays.
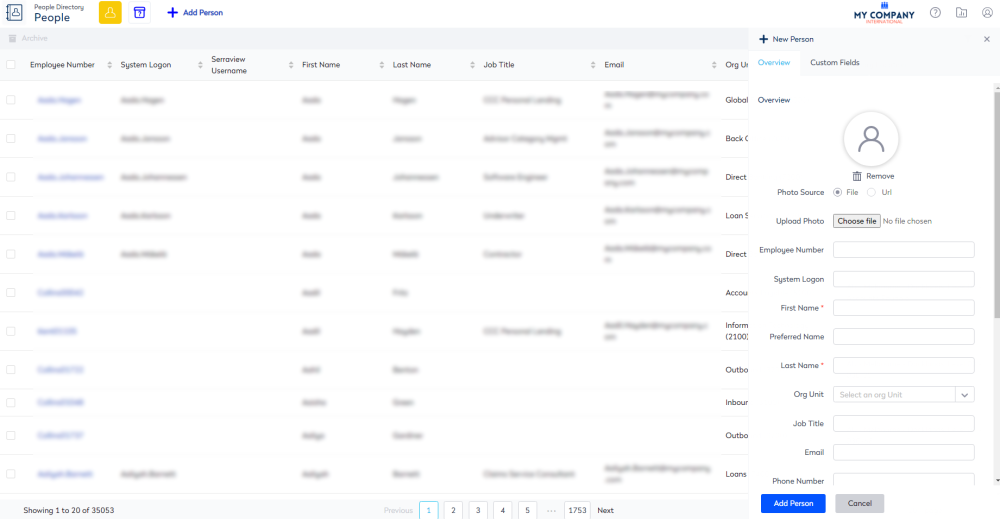
- Complete the person's details.
- Click the Create Person button. The person is added to the People Directory.
3.1 Add the Serraview user and assign roles
When a person exists in the People Directory then you can create their Serraview user account.
- Navigate to Resources > User Security.
- Click the Add User button. The Add User form displays.
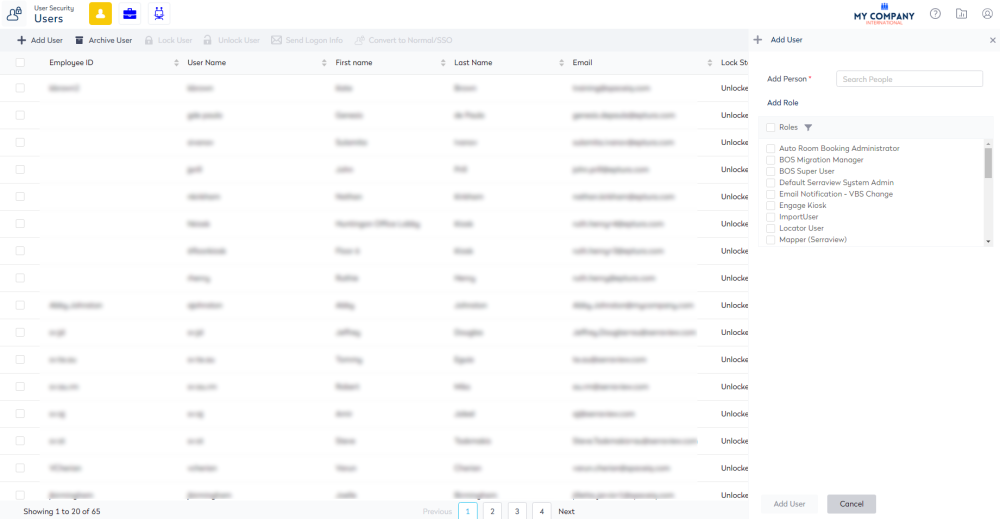
3. Complete the following.
| Field | Description |
|---|---|
| Add Person field |
Enter the name of the person. The field will search for the person as you type. |
| Roles |
Filter Roles
|
5. Click the Add User button.
3.2 Trigger account details email
After the Serraview user account has been created, you can send out the user their login details and from the email they can reset their password.
- Click the user account check box.
- Click Send Logon Info button. The message displays to say the logon information was successfully sent.
3.3 Send out account details email
When you are in the UAT environment, the System Administrator will need to push out the email.
- Navigate to Admin Settings > System Config > Email.
- Click the Email Outbox
 icon.
icon. - Tick the email's selection check box to the left of the row.
- Click the Resend Email button. The Send Email dialog displays.
-
In the Email Address field, enter in the email address.
-
Click the Send Email button. The email is sent.
The user will receive a Serraview Access email and this will contain a link to reset their password.