Activate Google Calendar Connector
- Last updated
- Save as PDF
This article describes how to enable the Google Calendar Connector

The steps for G-Suite in this document as based on the official documentation from Cronofy, found with this URL https://docs.cronofy.com/calendar-admins/enterprise-connect-gsuite/restrict-google-service-account/
Prerequisite
You must be an administrator in your G Suite organization in order to complete this integration. Make sure you are logged into your account before you start the integration.
Steps
Complete the following steps.
Step 1. Log into Google as an Admin
Your Google account must have the Super Admin role in your G Suite organization in order to complete this integration. Make sure you are logged into your account before you start the integration.
Step 2. Activate the integration in Serraview
From Serraview, complete the following:
-
Navigate to Configuration > General.
-
Select Room Booking Service.
-
Click the Setup Cronofy Integration.
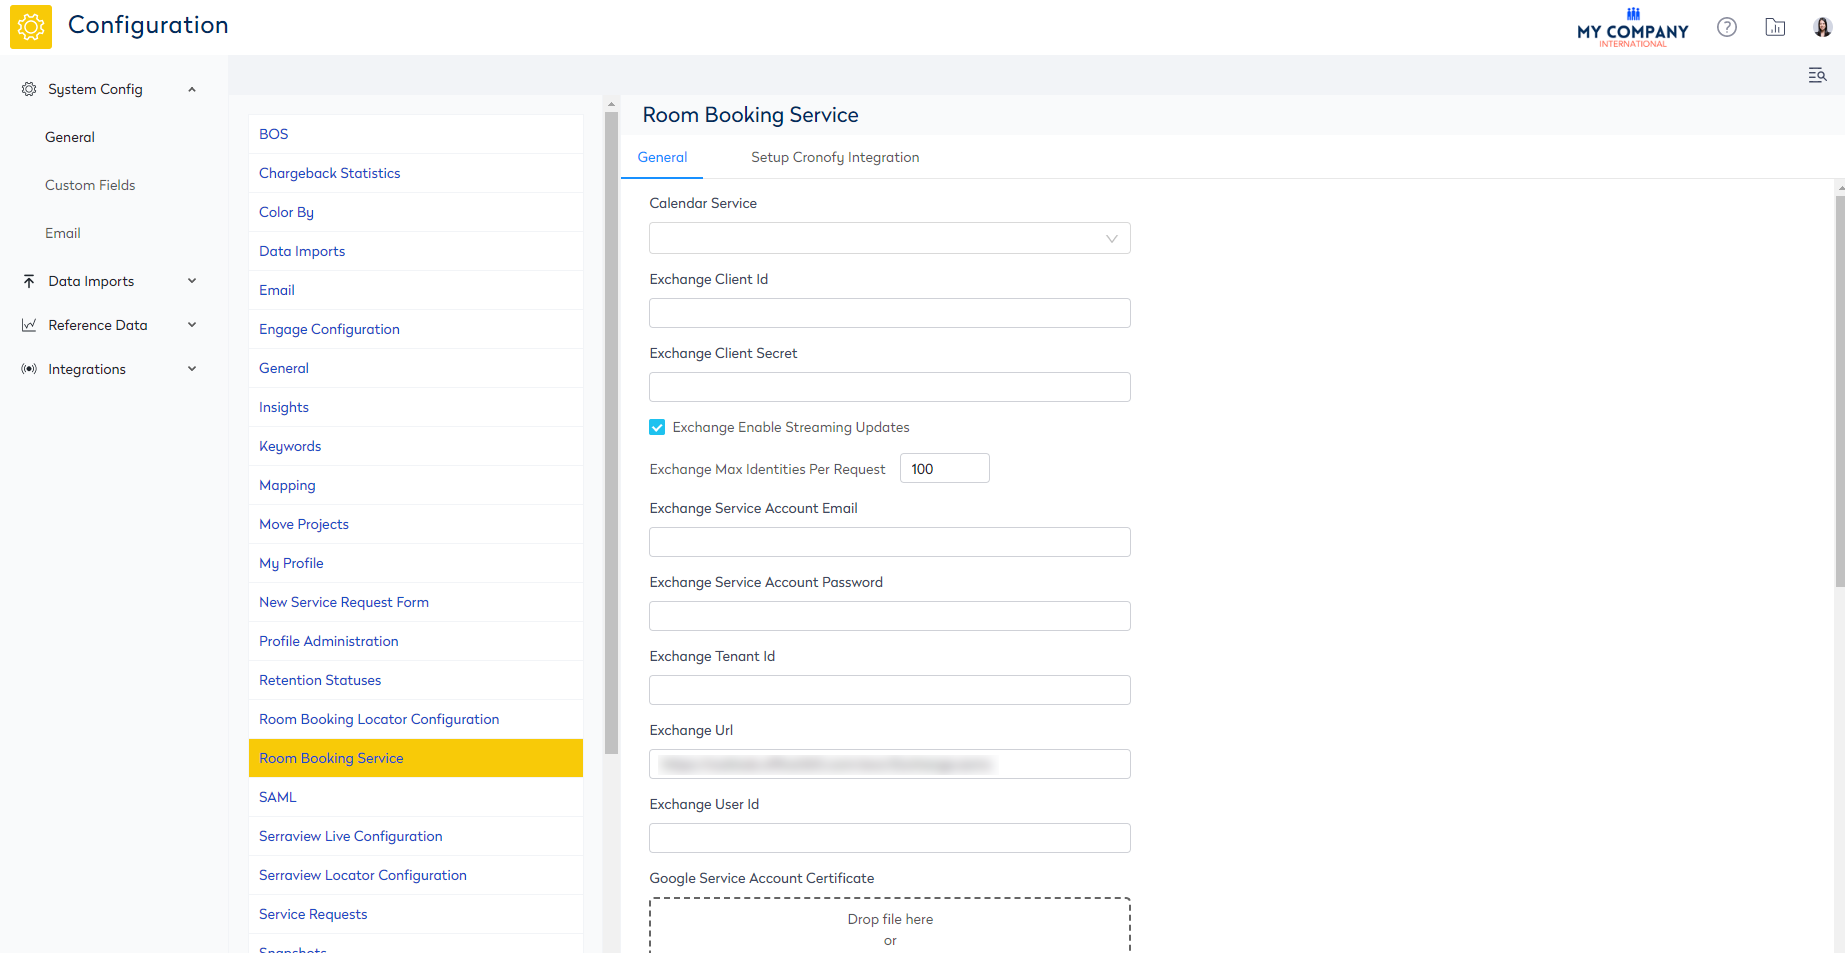
4. In the Domain field, enter the primary domain used on G Suite.
5. In the Source drop-down, select Google Calendar.
6. Click the Start Integration button and the Cronofy integration starts.
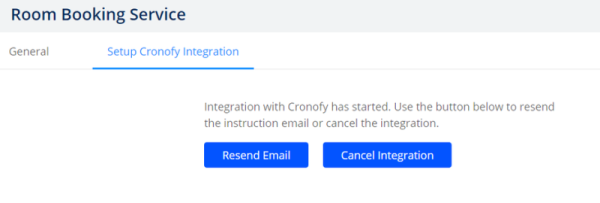
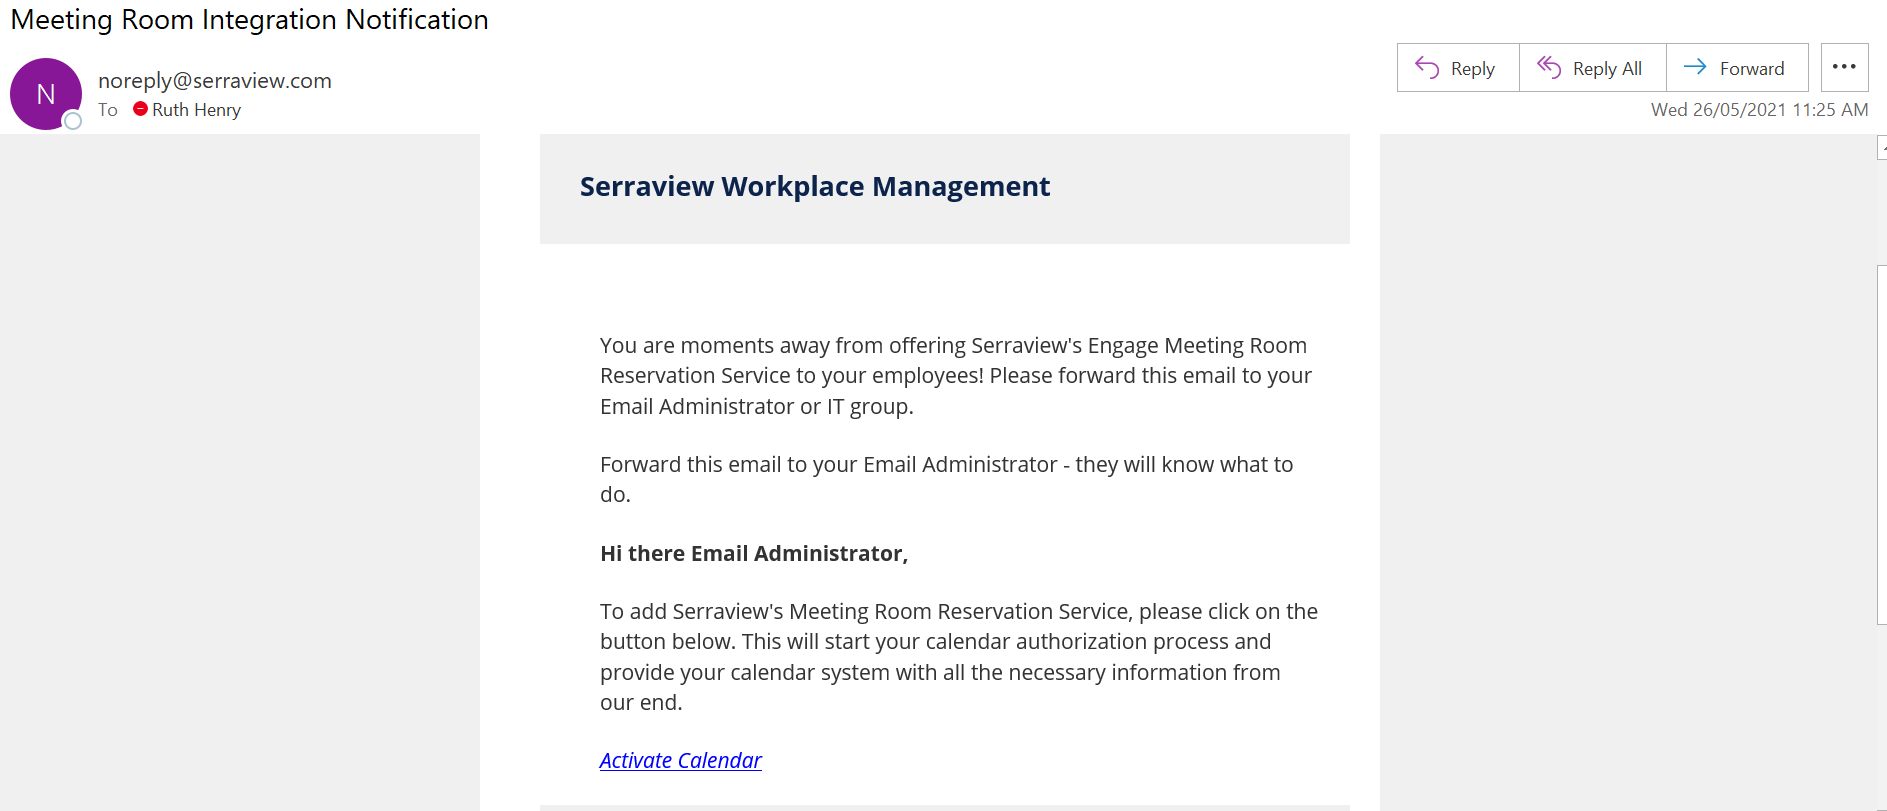
An email will be sent out to you.
You will need to send this to your Google Suite Administrator.
Step 3. Activate the Cronofy Enterprise Connect for Google
Your Google Suite Administrator will complete the following.
- From the email, click the Activate Calendar link.
The Cronofy screen displays.
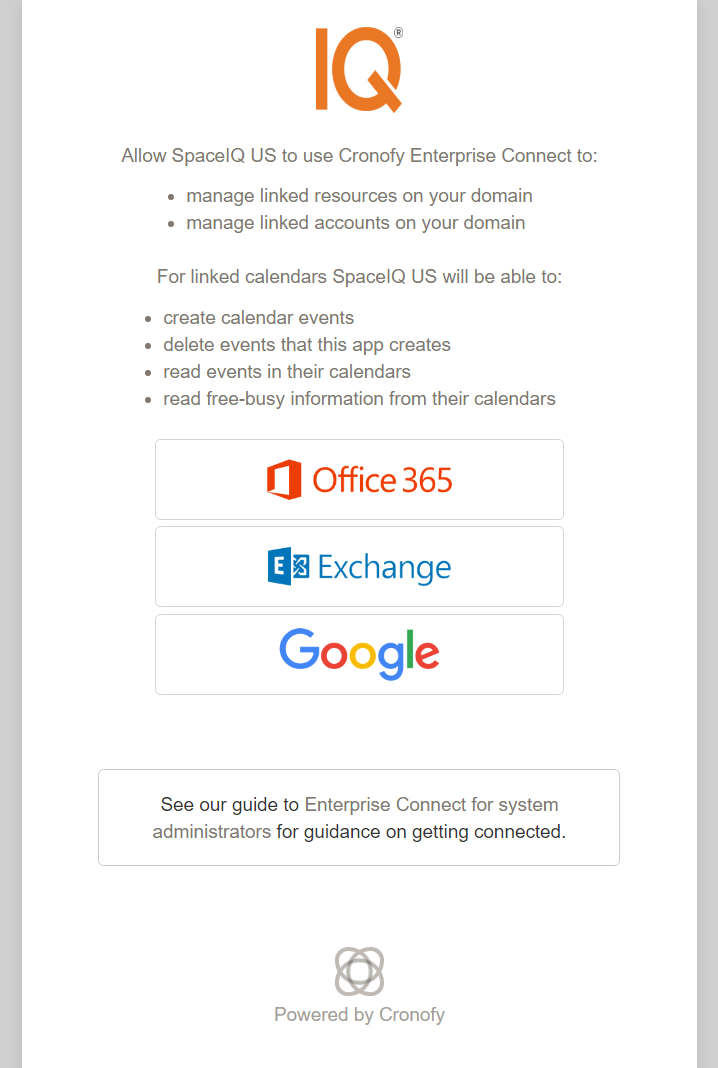
2. Click the Google button. The Cronofy GSuite app screen displays.
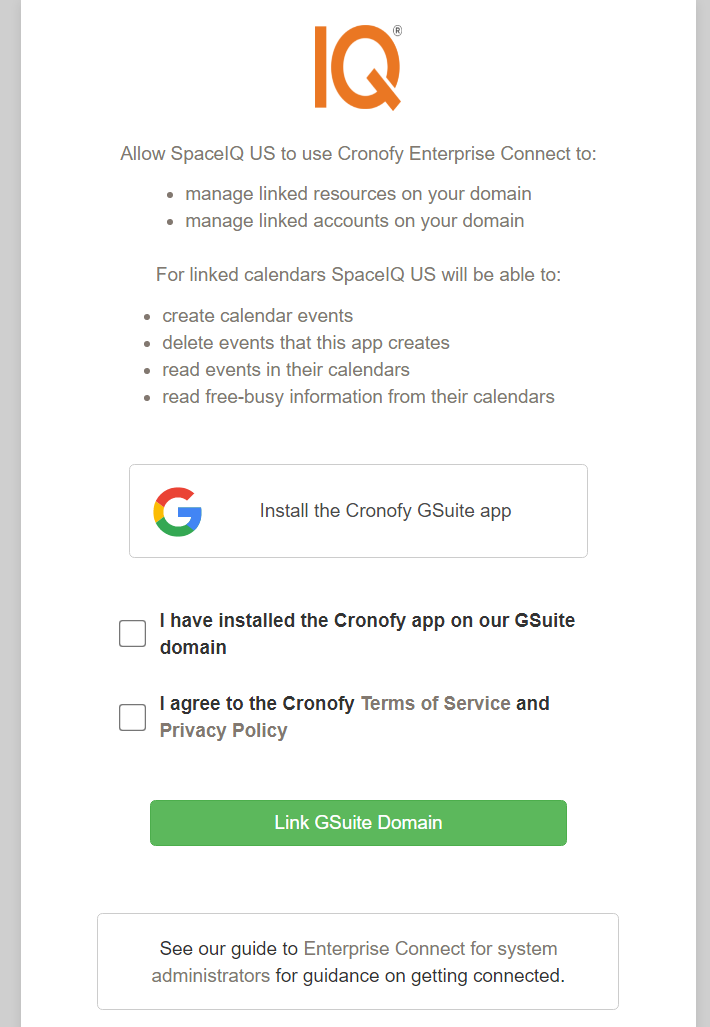
3. Click the Install the Cronofy GSuite app button.
The GSuite Market displays with the Cronofy app ready to be installed.
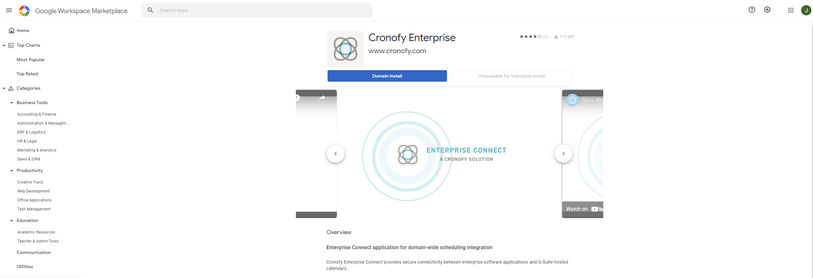
4. Click the Domain Install button. The Domain wide install dialog displays.
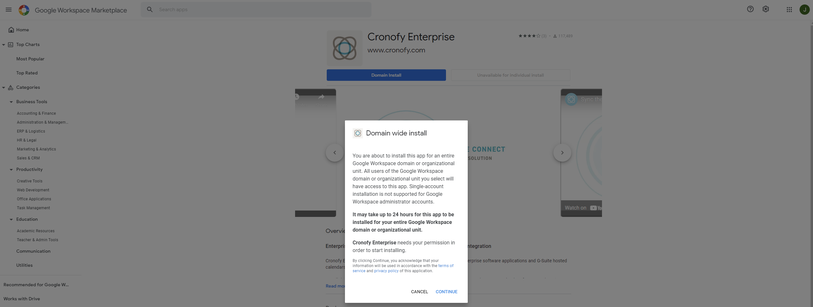
5. Click the Continue button. The Cronofy Enterprise dialog displays.
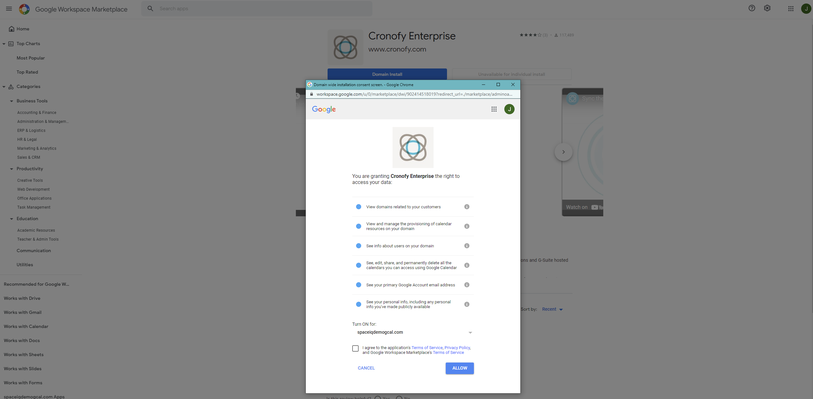
6. Check I agree to the application's Terms of Service, Privacy Policy and Google’s Workspace Marketplace’s Terms of Service check box.
7. Click the Allow button.
After the installation has finished the Cronofy GSuite app screen displays
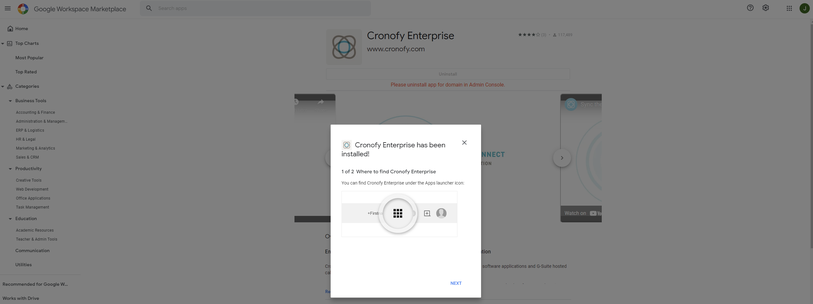
8. Click the Next button.
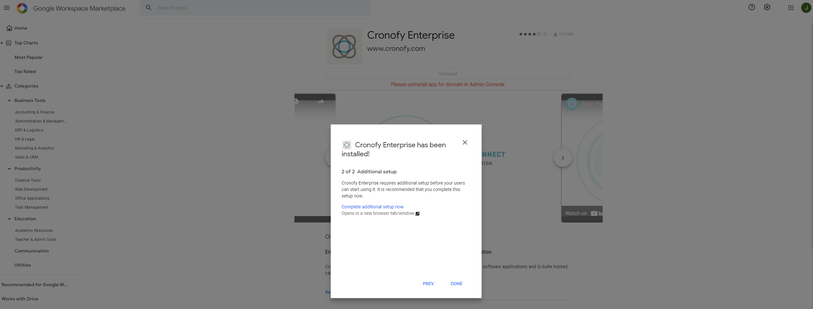
9. Click the DONE button.
10. Return to the Cronofy Cronofy GSuite app tab in the browser.
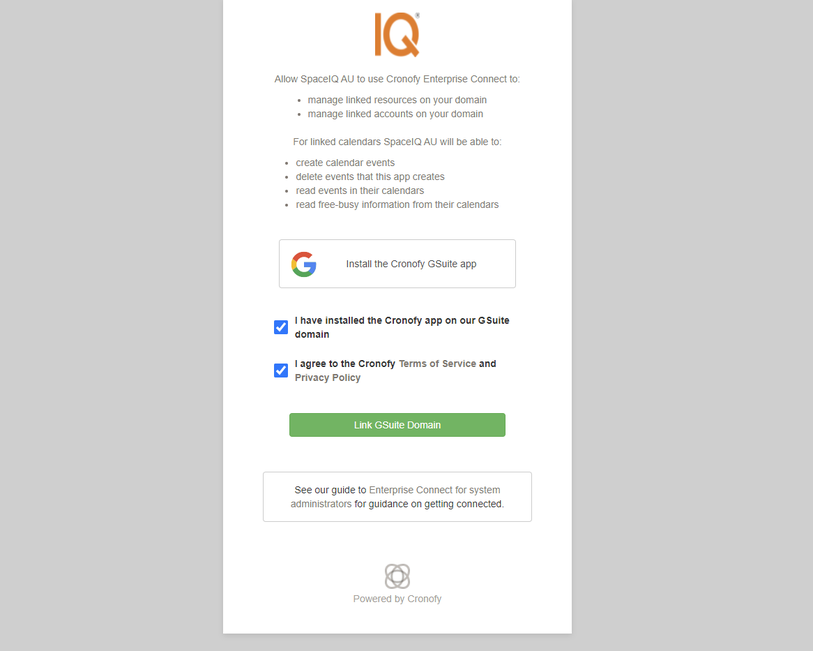
11. Check I have installed the Cronofy app on our GSuite domain check box.
12. Check I agree to the Cronofy Terms of Service and Privacy Policy check box.
13. Click the Link GSuite Domain button. The Cronofy login screen displays.
14. Log into Cronofy.
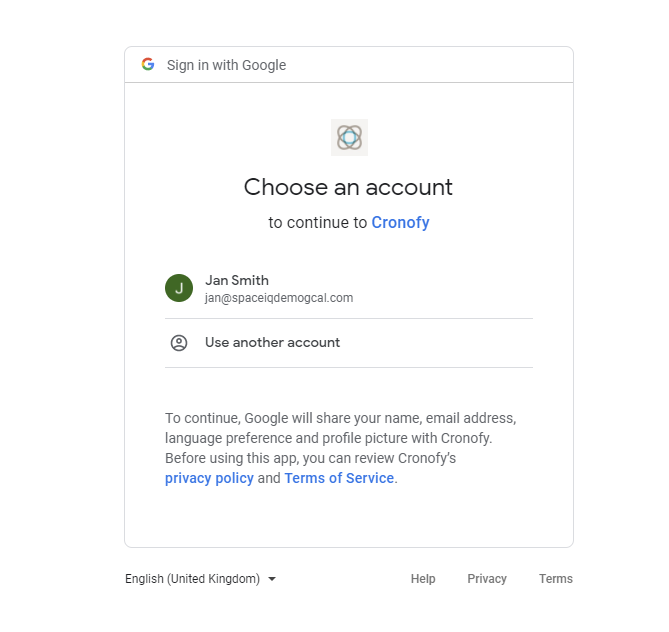
When you log in to Cronofy the Success screen displays.
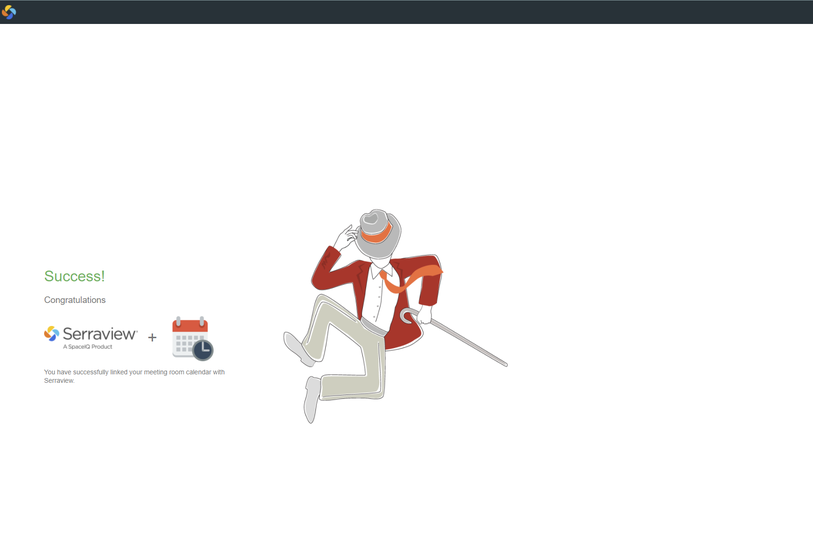
Now when you book a meeting room, your organization's Google calendar will receive the information needed to display Serraview’s meeting room bookings.
Step 4. Add the Resource's Calendar Email Address in Serraview
The final step is to add the resource's calendar email address in Serraview, refer to Set up Space Reservations with Calendar Integration.
