Update the Scenario Plan Details and Security
The Scenario Plan Details screen displays a Scenario Plan was created or an existing Scenario Plan was opened.
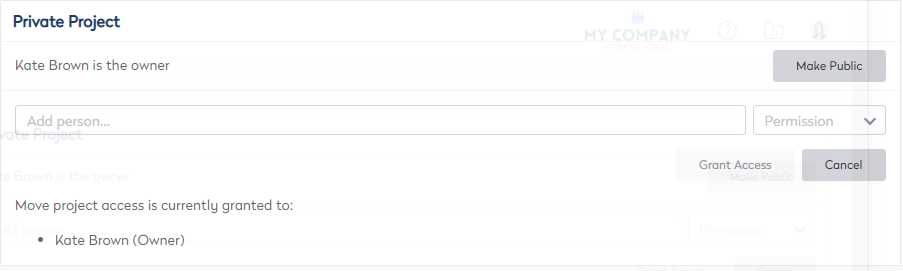
The security for the Scenario Plan's security can be changed to either Public or a Private plan. Learn more about security in Security in Scenario Plans.
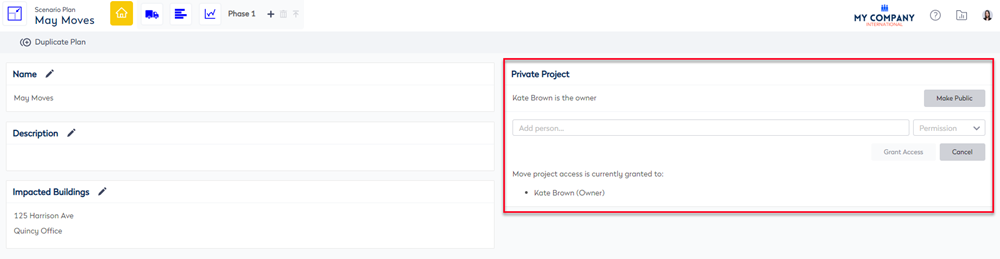
Below describes how to update the security.
| Area | Description |
|---|---|
| Name |
|
| Description |
|
| Public/Private |
Public Scenario Plan You can change the private plan to be public.
Private Scenario Plan You can change the public plan to be private.
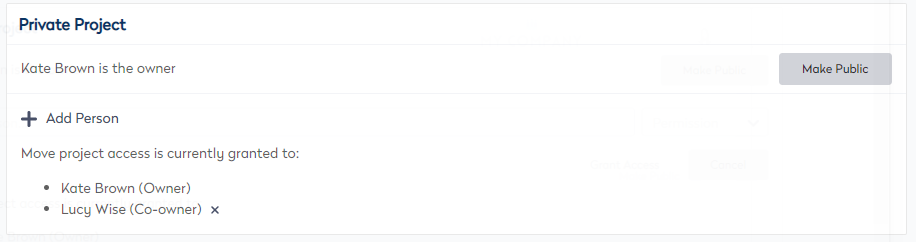
Add Users to a Private Plan If you want you can add people to access the plan.
2. In the add a person field, enter the name of the person. 3. From the Permission drop-down, select either: Owner, Co-owner, Write, Read. 5. Click the Grant Access button. The person is granted access and displays in the list.
Delete the user of a Private Plan To delete the user, next to the name of the user, click the X icon. |