Move data from a Project Building to a Live Building
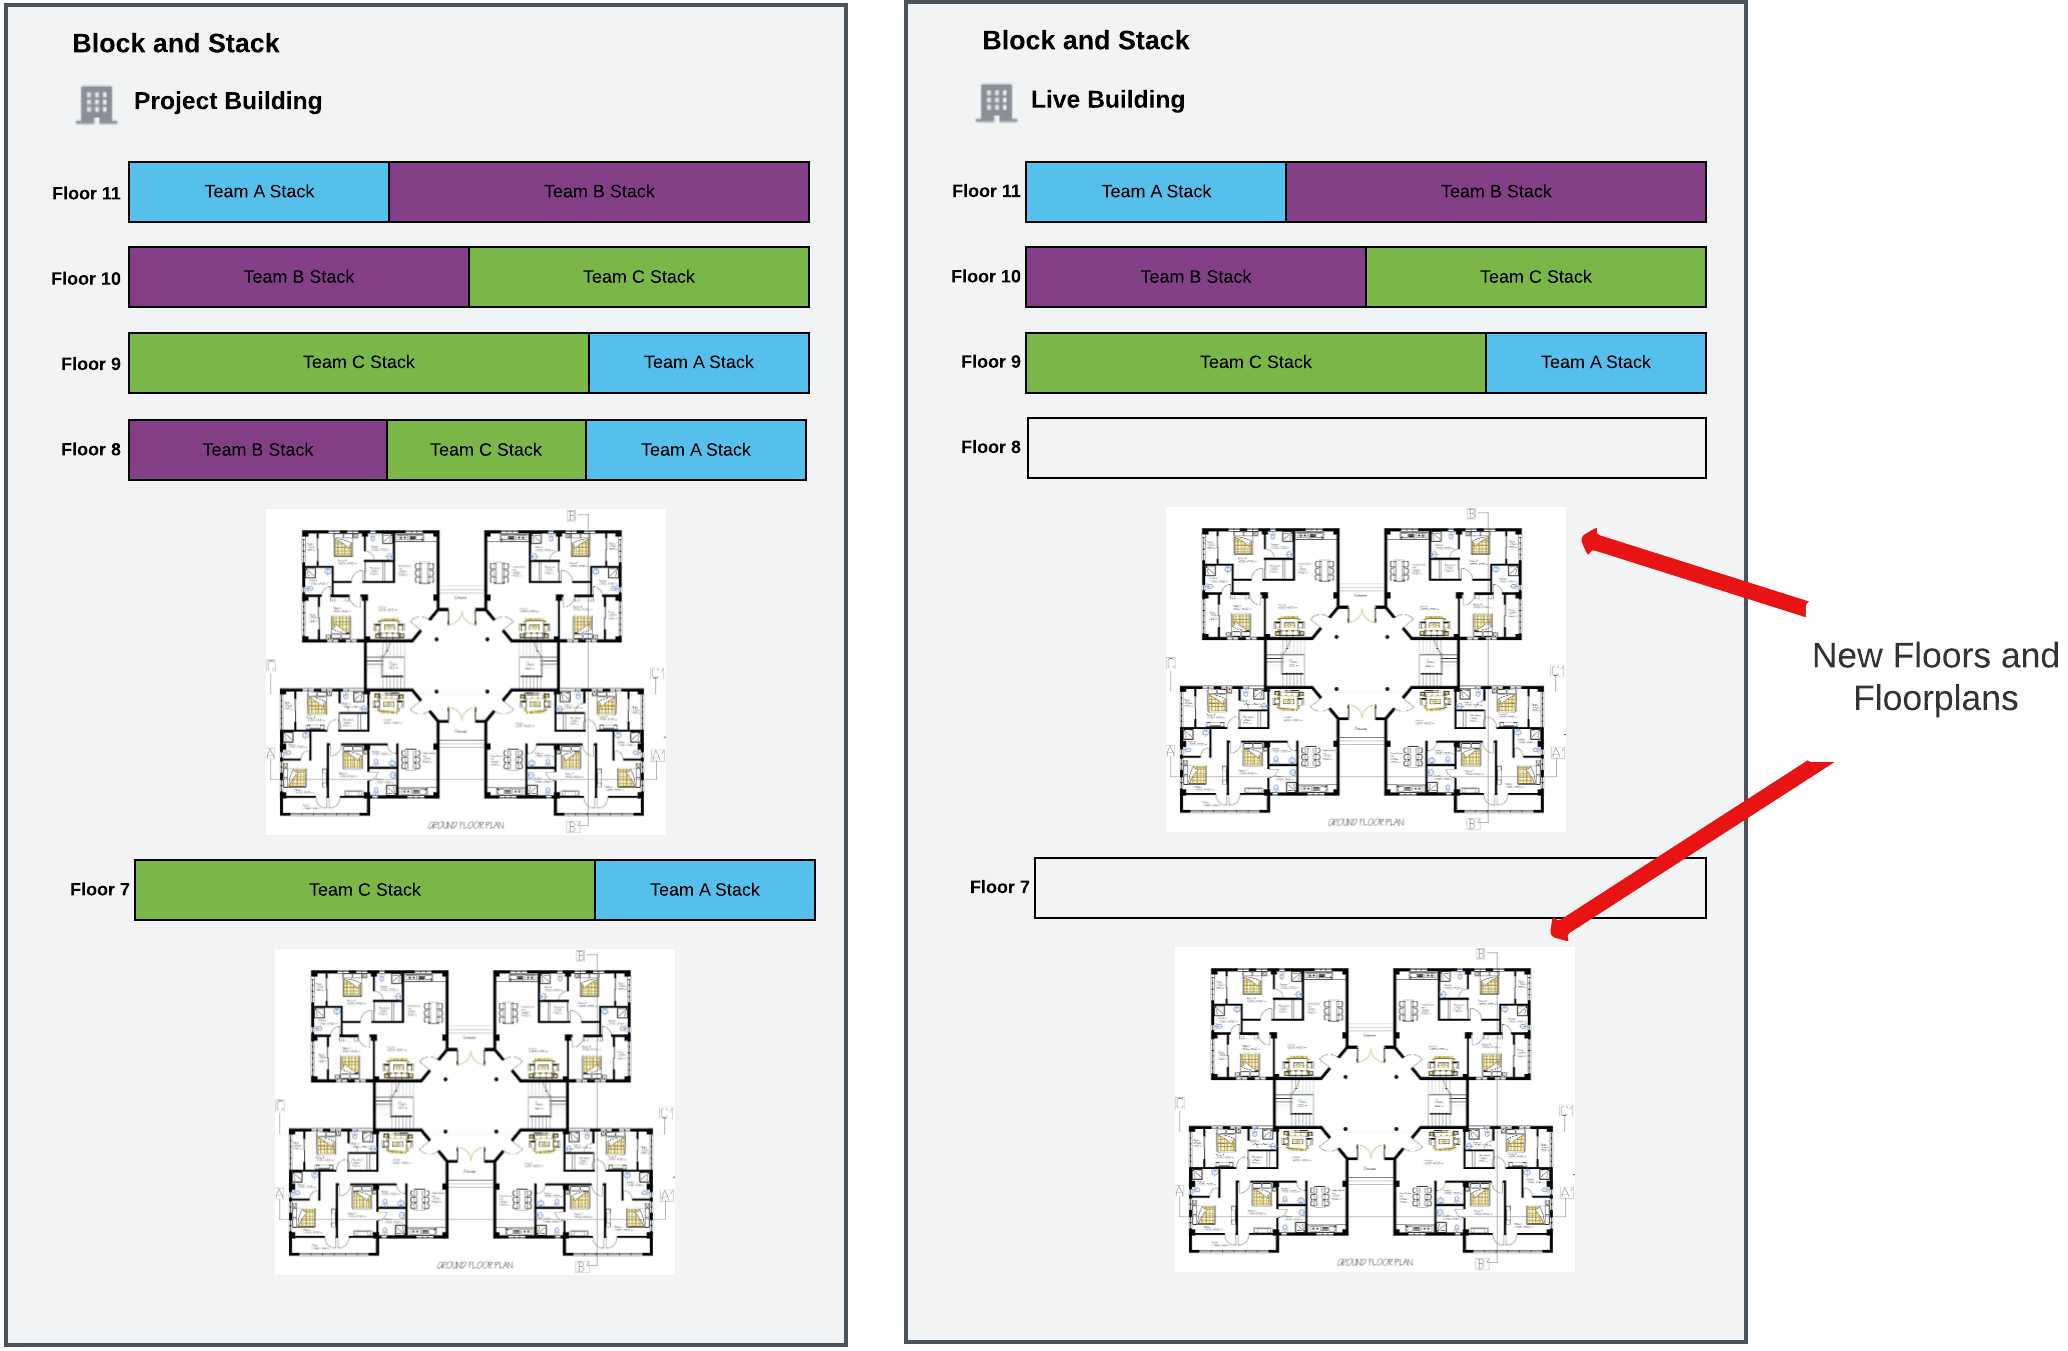
Project Buildings can be set up in Serraview and then you can work on setting up your teams and their allocations. When you have finished working on a Project Building that has had significant changes to the floorplan such as new floors or refurbished floors, you will be wanting to populate the Live Building with the Product Building's data. Below details the steps that you will need to complete.
Why didn't you use Scenario Planner?
In this situation you wanted to keep the Live Building's floorplan the same until the Project Building was ready. When the Project Building is ready, then you will update the floorplan and complete the procedure below. However, if you have a situation where you prefer to first have the new floorplan in the Live Building then you can create a Scenario Plan from the Live Building and then work on your scenario.
Prerequisite for the Live Building
Make sure you have completed the following:
- Create any new floors.
- Upload any new or updated floorplans.
Step 1. Download backup data from the Live Building
It is important to download the data from the Live Building and keep this in a separate folder. This backup can be used just in case something goes wrong and you need to recover the Live Building.
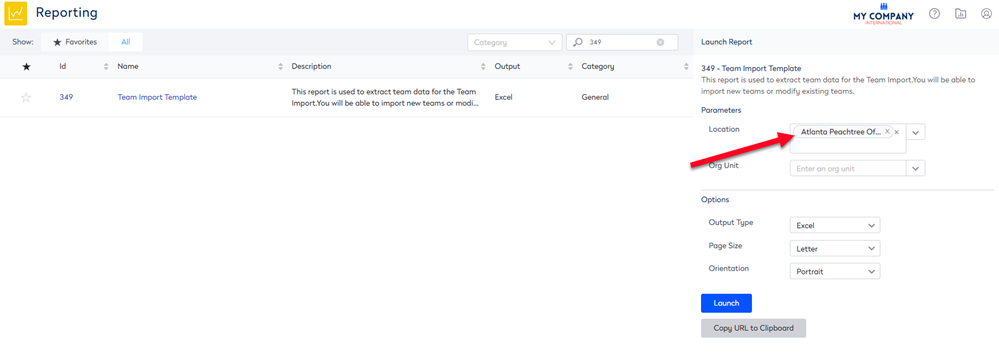
Navigate to Insights > Reporting and from the Reporting module download the following reports for the Live Building.
- 349 Team Import Template
- 141 Workpoint Properties Report
- 351 Occupant Flexi Team Import
- 352 Occupancy Fixed Workpoint Import
For example:
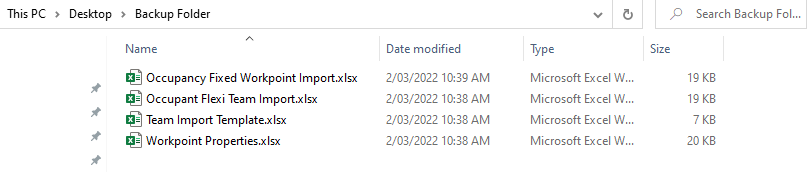
After you have downloaded all the files, then place the files in a Backup folder.
Step 2. Generate reports for the Project Building
Next, you can download the reports for the Project Building, and these reports will contain the Project Buildings data.
Navigate to Insights > Reporting and from the Reporting module download the following reports for the Project Building.
- 349 Team Import Template
- 141 Workpoint Properties Report
- 351 Occupant Flexi Team Import
- 352 Occupancy Fixed Workpoint Import
Place in an Import folder.

Step 3. Change your Import files
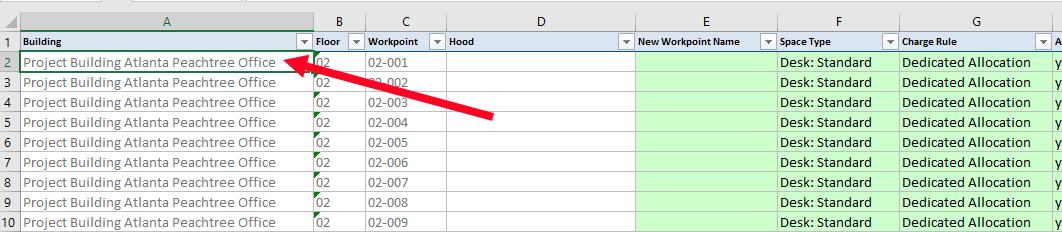
For your Building column, update the Building name from the Project Building to be the same name as the Live Building. Remember to use the extract name of the Live Building as the import will match the building name when it is uploaded.
For example, change Project Building Atlanta Peachtree Office to Atlanta Peachtree Office.
Step 4. Block and Stack for Live Building
Before you import the data from the Project Building, you will need to clear the Live Building's teams and floorplan allocation.
Remove all Teams
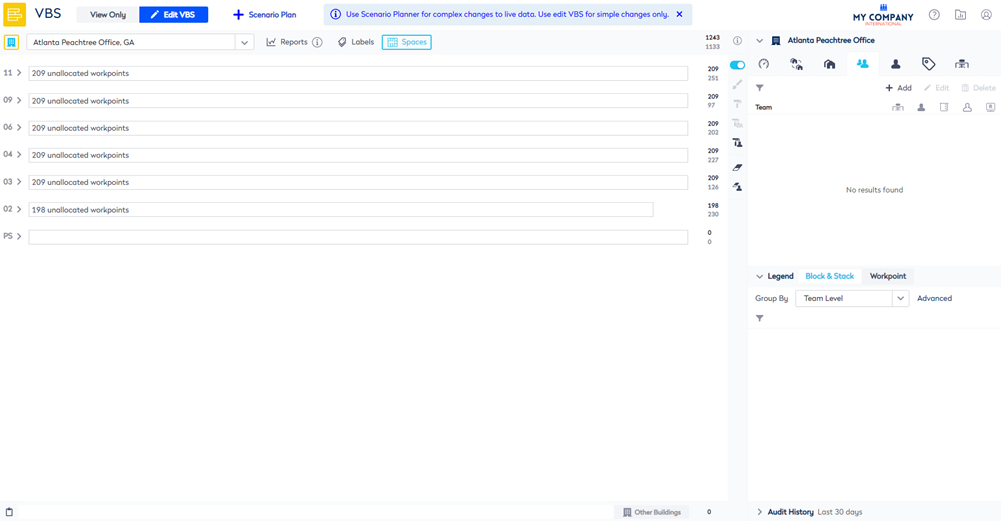
- Navigate to the Block & Stack (VBS) and then select the Live Building.
- Click the Edit VBS button.
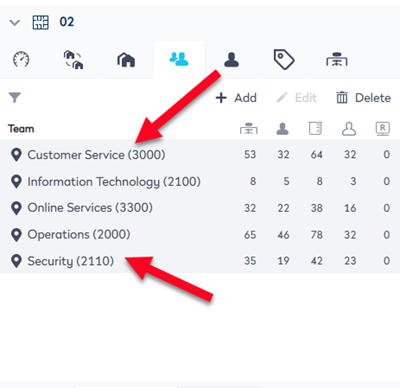
- From the Information panel, click the Teams tab.
- Hold the Shift key and click the first team on the stack and then click the last team to select all the teams.
4. Click the Delete icon and the teams are deleted from the floor. The message displays, "Are you sure you want to delete the selected teams?".
5. Click the Okay button and the teams are deleted.
5. Repeat this for all the floors you have in the building. Now, you will have a clean building ready for the imports.
Remove all Neighborhoods
- Select the floor and then in the Information Panel, click the Neighborhood tab.
- Select the neighborhood(s) and then click the Delete button. The "Are you sure you want to remove the neighborhood?".
- Click the Okay button and the teams are deleted.
After you have deleted all the teams and neighborhoods, you will have a clean building.
Step 5. Use the imports to populate the Live Building
Finally, you will now import the reports to populate the Live Building. Navigate to Admin Settings > Data Imports > Data Imports to import populate the Live Building.
Important! Remember, imports must be imported in the following order.
| No. | Import Report | Data Import to Use |
|---|---|---|
| 1 |
349 Team Import Template - this import will create the Teams in the building. |
Team Import |
| 2 |
141 Workpoint Properties Report - this import will update the allocation of the space to the team and update the space’s details. |
Workpoint Import |
| 3 |
351 Occupant Flexi Team Import - this import will update the people into the flexible team. |
Occupancy Import |
| 4 |
352 Occupancy Fixed Workpoint Import - this import will update the fixed desk's occupancy so the people are assigned to the desk AND this will update the anchored desk, if you only have. |
Occupancy Import |
Now your Live Building is populated and ready for use.