Set up SSO for Engage
Serraview Engage
Customer IT Team / Eptura Implementation Team
SSO is the most popular method for customers to sign in as it allows a user to log in once to their network and thereby gain access to several network connected programs, eliminating the need to sign in to each system individually.
You will need your IT team to setup the SSO for Serraview and then enable it for Engage in the settings.
Step 1. Configure SSO
Set up the SSO for your Serraview instance, refer to Single Sign On (SSO) OR if you already have SSO set up for your Serraivew instance then go to Step 2 below.
Step 2. Enable the SSO
After the SSO is set up then you will need to enable it for Engage.
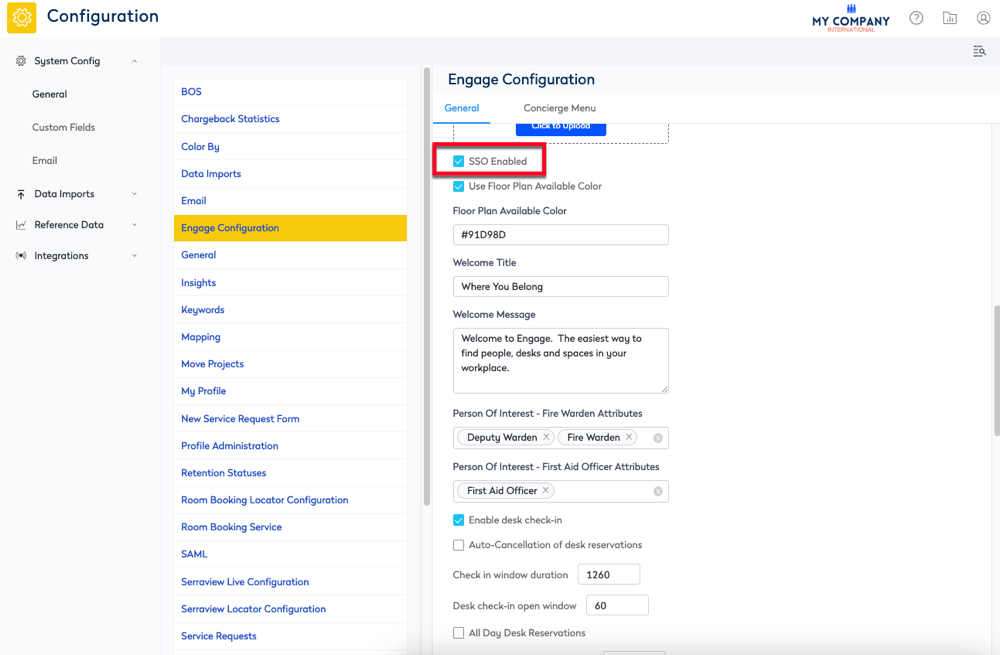
- Navigate to Admin Settings > System Config > General > Engage Configuration.
- Check the SSO Enabled checkbox. If this is unchecked then your employees will be asked to enter a username and password instead of being redirected to your corporate Single Sign On page.
- Click the Update button.