Connect using Insights Direct Connect from Microsoft Excel to Snowflake
Level: Data Analyst
Prerequisites
- Install the official Snowflake ODBC driver for your platform. Downloadable from here: Snowflake Repository
Snowflake Direct Connect
Add Snowflake to your available ODBC sources.
-
In the Windows task search bar, Search for ODBC Data Sources . The ODBC Data Source Administrator (64-bit) dialog displays.
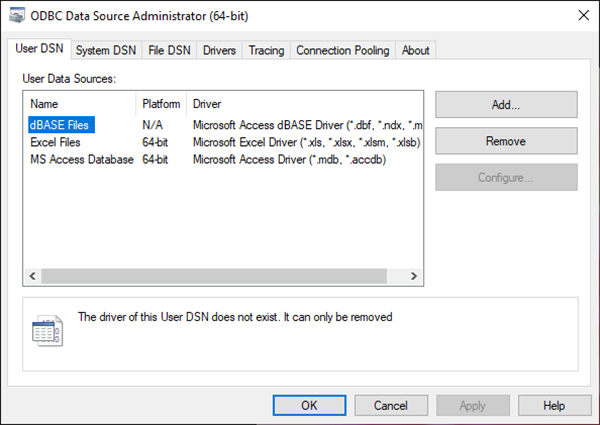
- Click the Add button. The Create New Data Source dialog displays.
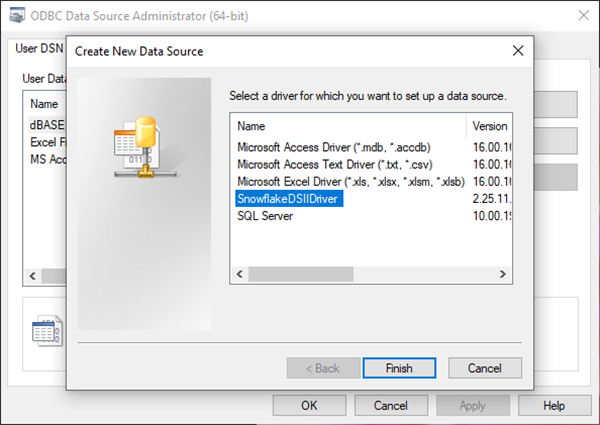
- Choose the Snowflake driver.
- Click the Finish button. The Snowflake Configuration dialog displays.
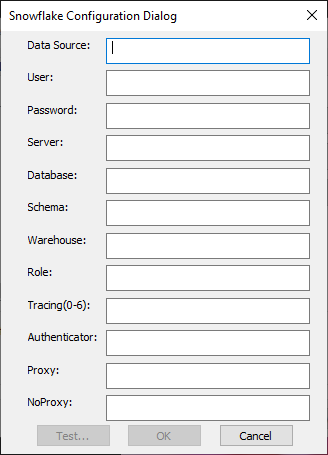
- Complete the following fields to configure a connection to your Snowflake Direct Connect environment.
| Field | Description |
|---|---|
|
Data Source |
This is the name of the connection, and can be named anything you want. Call it something that will be familiar to you or other users, for example, Serraview Direct Connect. |
|
User |
The username which you use to sign in to your Snowflake instance. |
|
Password |
Your password credentials. |
|
Server |
Enter the value in the format: account_identifier.snowflakecomputing.com. For example, if you are logging in to either https://app.snowflake.com/us-east-1/ada73462/ or https://ada73462.us-east.snowflakecomputing.com to access the web interface, then ada73462.us-east.snowflakecomputing.com will be the value of the server that you enter. |
|
Database |
The name of your database, e.g., DEMO_AMER_PROD. |
|
Schema |
SHARED (or other schema like PUBLIC if appropriate). |
|
Warehouse |
Enter the warehouse name provided with your Direct Connect account info. By Insights' convention, it should be the same as your database name. |
| You can leave the rest of the fields blank. |
- Click the Test button to verify you have entered everything correctly. You’ll see a “Success!” message if all is okay.
- Open Microsoft Excel.
- From the ribbon, select Data > Get Data > From Other Sources > From ODBC.
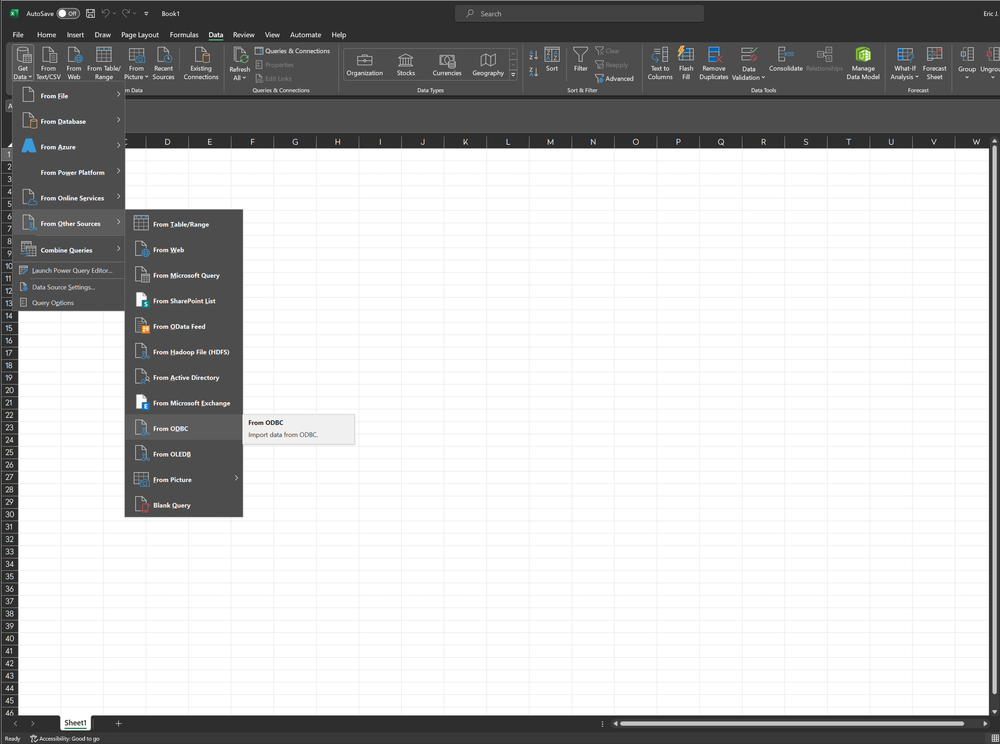
The From ODBC dialog displays.

- From the Data source name (DSN), select the ODBC connection whose definition you just configured.
- In the Database authentication tab, enter your direct connect username and password information.
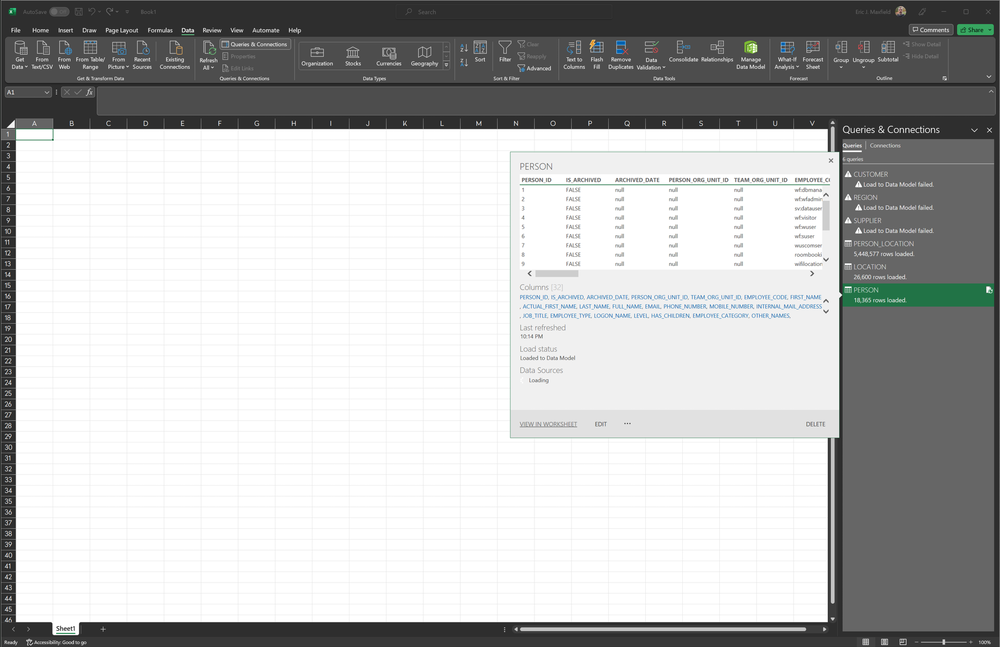
- You will see schemas and tables to which your user has access.
- Click the Select multiple items option and then select the table(s)/view(s) of interest for your worksheet, then click the Load button.
Suggestion:
- If you are interested in the current state of records and not the full data history for any entity, select the non-_HISTORY version of a table. E.g., “PERSON” instead of “PERSON_HISTORY” will present the current contents of the person table, so you do not need to pull as many records and do not need to filter the results by date. If you want the full set of history, then do user the _HISTORY tables. This doesn’t apply to timeseries data like SVLive, Bookings, Sensors, or Badge activity.
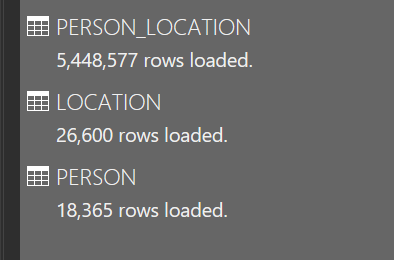
- After you click the Load button, you will see progress indication on the right panel. Be patient, and be prepared for failure if you try pulling too many rows for Excel to handle. We strongly urge use of the “Remove Rows” tool to limit the scope of your queries/imports, because this tool and method of accessing your data can be painstakingly slow and process inefficient.
This basic initial query took a couple minutes over modest residential wi-fi:
Merging queries can quickly multiply row counts much higher. A much more performant solution we prefer is to sign in to the Snowflake web query console, execute some SQL to obtain records of interest, then, if Excel is the intended destination, export from Snowflake to .CSV.
Now that you have the data loaded into Excel, you are free to use Excel’s tools and follow MS’s documentation to make full use of the capabilities.
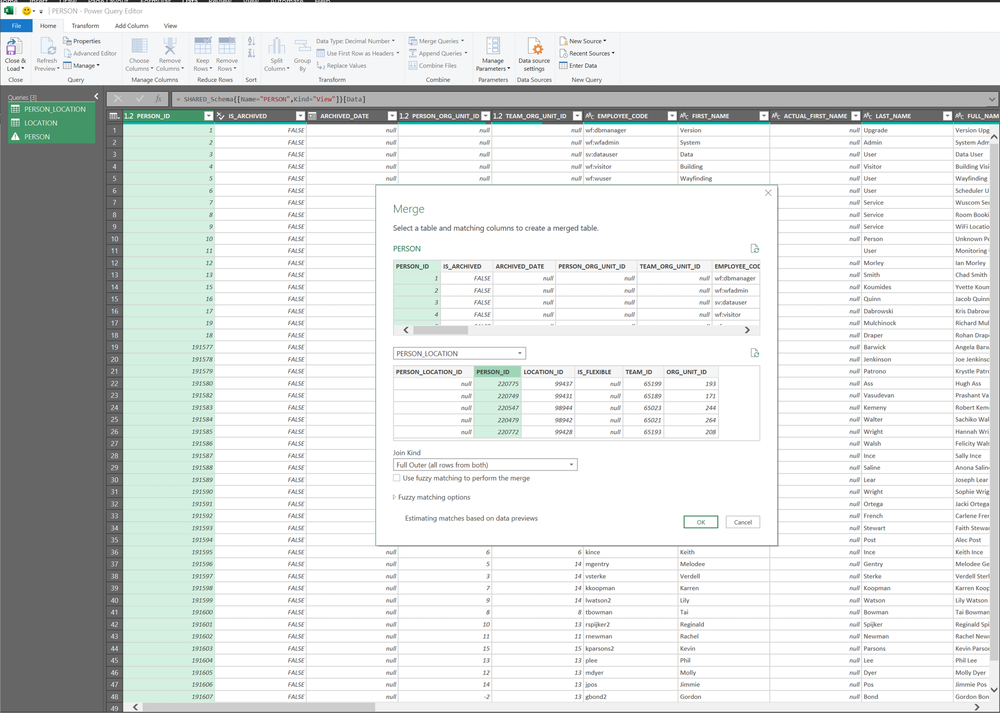
For example, click Edit to enter the Power Query Editor.
Then use the Merge Query tool to combine person with person_location using person_id, then combine those results with location to conveniently group/sort & display person records by building name and hide archived person records from display.