Neighborhood Details Form
You can view and edit the neighborhood.
- On the stack, select the floor.
- From the Informational panel, click the Neighborhood
 tab. This displays the neighborhood(s) on the floor.
 - From the Neighborhood tab, select the neighborhood.
- In the right panel, click the neighborhood's Edit icon. The Update Neighborhood form displays.
The following are the details of the Update Neighborhood form.
Overview Tab
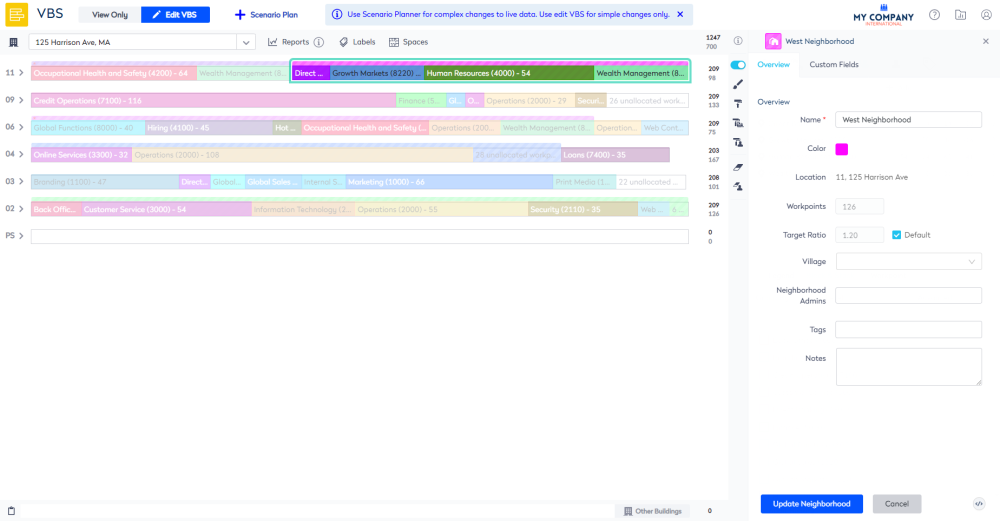
The Overview tab gives you the ability to:
| Field | Description |
|---|---|
| Name | Update the name of the neighborhood. |
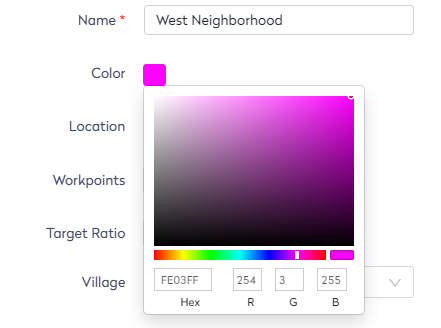
| Color |
Click the color picker You can either select a color, enter in the HEX code, or enter in the RGB (red, green, blue) numbers.
|
| Location | The location of the neighborhood and this is not editable. |
| Workpoints | The number of workpoints blocked to the neighborhood and this is not editable. |
| Target Ratio |
Change the target ratio for a neighborhood. If a mix of fixed and flexible teams are selected then ratio changes are only applied to the flexible teams and the fixed teams are ignored. |
|
Neighborhood Admins |
Update the Neighborhood Administrator, see Assign an Administrator to a Neighborhood. |
| Tags |
As you enter a name of a tag the tag list displays the existing tag. Then you can select an existing tag or keep typing to enter a new tag. Remember if you need to remove a tag click tag's X. The default tag list is managed in configuration, refer to Tagging. |
| Notes | Enter any comments |
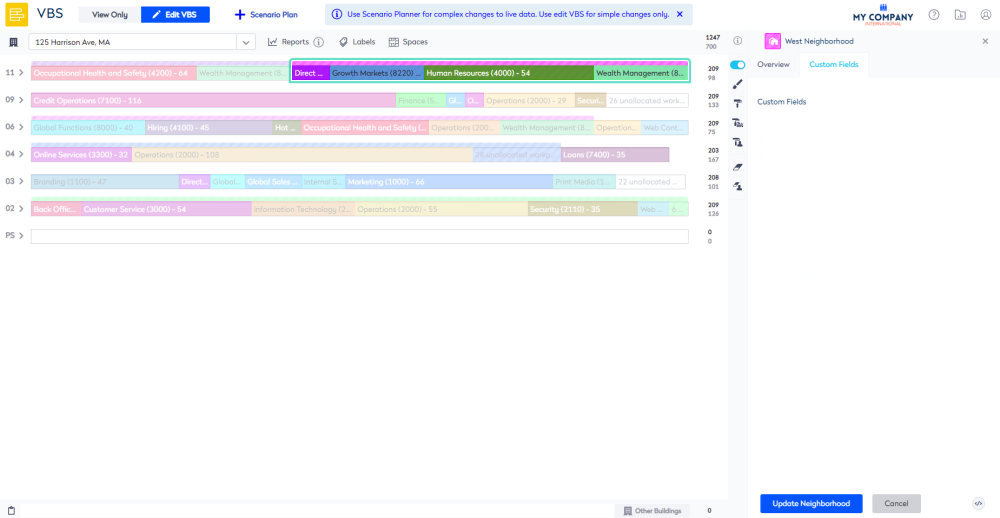
Custom Fields Tab
The Custom Fields tab will display any custom fields that have been written against the neighborhood to record and report on additional data relevant to your business. If this tab is blank it means that no custom fields are available. For more information, refer to Custom Fields.
Save the Neighborhood Form
- Click the Update Neighborhood button.