Configure the Custom Fields for a Service Request Type
Your business may have various Service Request Types that will display certain custom fields.
For example:
| Request Type display the custom field: |
Contact Person |
Project End Date |
Number of desks to be released |
|---|---|---|---|
| Relinquish Desks | - | ||
| Additional Desks | - |
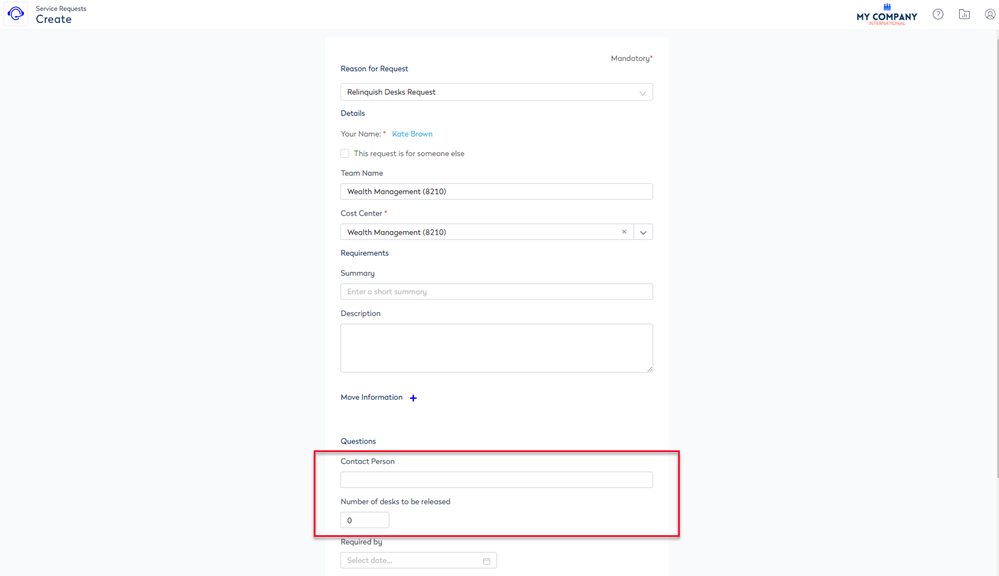
Now in the Create Service Request screen when you select a Reason for Request the relevant custom fields will display.
In this example, the Relinquish Desks was selected.
In this example, the Additional Desks was selected.
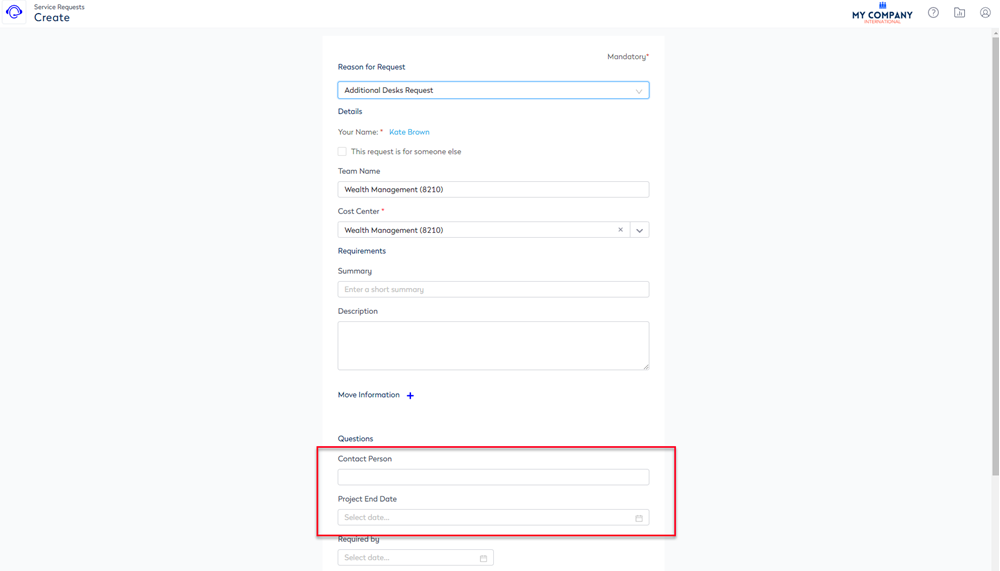
You will notice that in both examples display the Required by field. This is a default Serraview field and will display for all request types.
Step 1. Create the Custom Field for the Service Request
Add the custom field(s).
- Navigate to Admin Settings > System Config > Custom Fields.
- From the left-hand entity list, select Service Request.
- Create the custom field, refer to Manage Custom Fields.
Remember for the Service Request to select the visibility:
- Visible On New SR Form And SR Details
- Visible On SR Details Only
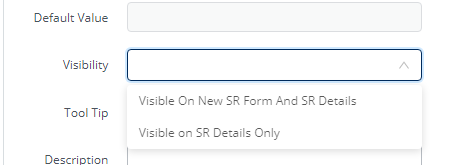
For example:

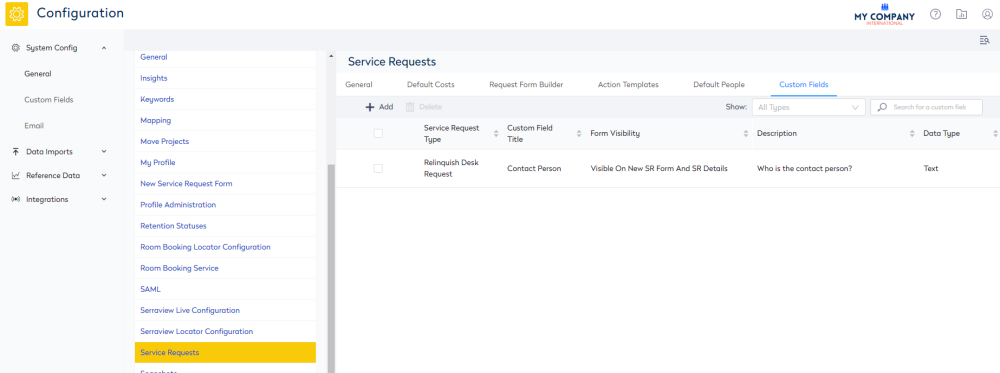
Step 2. Associate the Custom Field with the Service Request Type
After the custom field(s) have been created, you can associate the custom field with the service request type. If you want the custom field to display for all request types then do not complete this step.
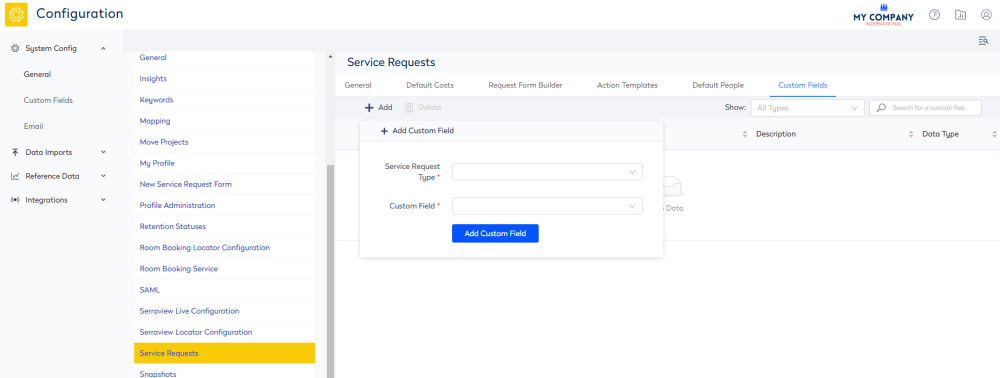
- Navigate to Admin Settings > System Config > General > Service Requests.
- Click the Custom Fields tab. The Custom Fields screen displays.

- Click the + Add button. The Add Custom Field dialog displays.
4. From the Service Request Type drop-down, select the service request type.
5. From the Custom Field drop-down, select the custom field.
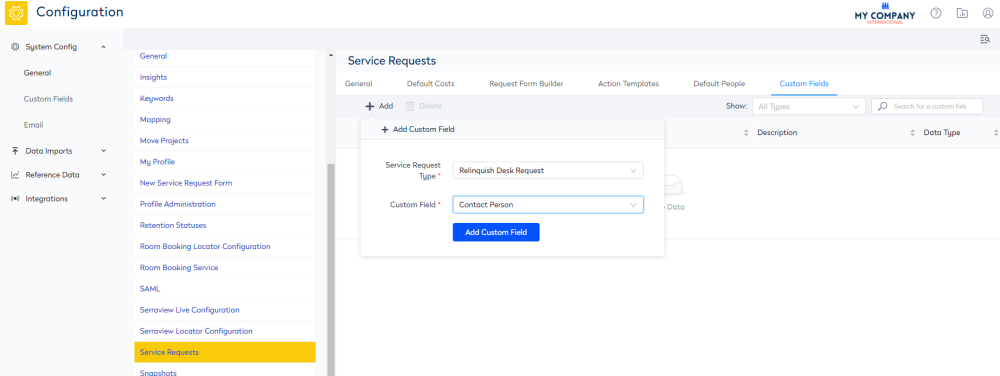
6. Click the Add Custom Field button.
The custom field is created for the service request type.