Wireup Configuration Tasks
- Last updated
- Save as PDF
The following are the configuration tasks.
Configure the Wireup Module
You must adjust the configuration settings of the Wireup module prior to using it.
- Navigate to Admin Settings > Integrations > Wireup. The Wireup module displays.
- Complete the following:
| Field | Description |
|---|---|
| SwitchPortServer - HostName |
Enter the MLS Server DNS name. The URL format is: http://[server_address]:[server_port] |
| SwitchPortServer - Passphrase | Use the passphrase that is in the config file unless directed. |
|
SwitchPortServer - Port |
Enter the port the MLS is running on. |
| SwitchPortServer - Retry Timeout in Seconds | Use the default retry timeout. |
| SwitchPortServer - Use Https | Leave uncheck if the MLS is not running over https. |
| SwitchPortServer - Use Proxy | Check the Use Proxy checkbox. |
3. Click the Update button.
Configure the Workpoint Links Flags
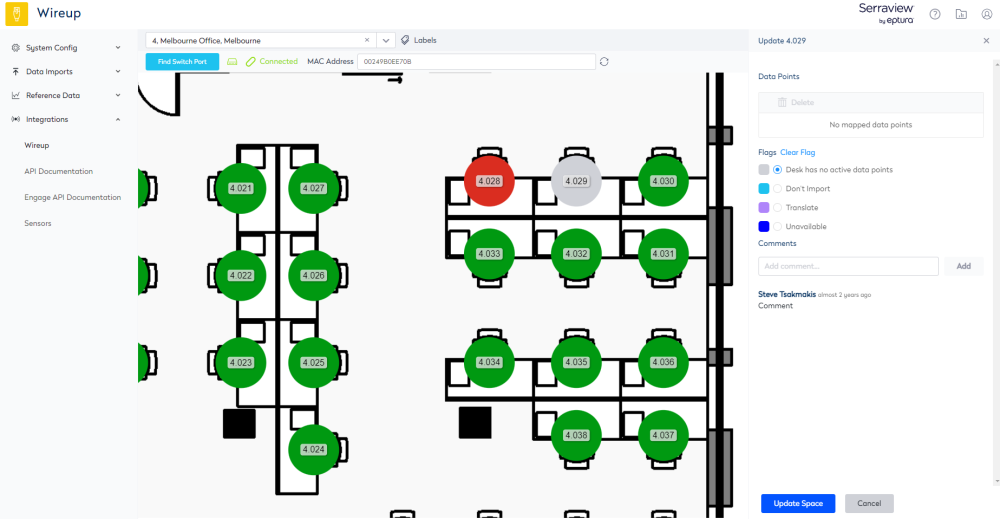
The Workpoint Links Flags can be set up via the keyword Wireup Workpoint Attributes. The commonly used flags are:
- Desk has no active data points
- Unavailable – come back later to re-audit.
For example:

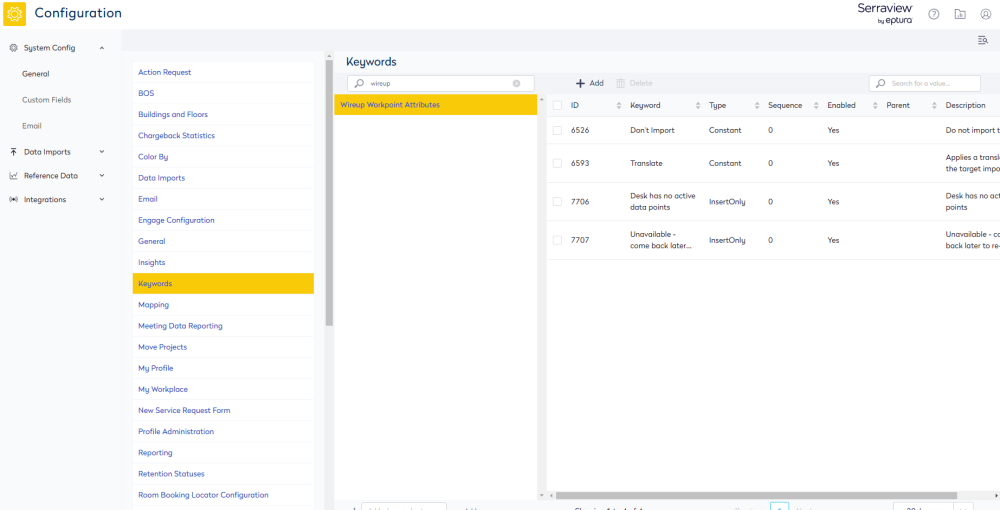
You can add to the Wireup Workpoint Attributes in Serraview.
- Navigate to Admin Settings > System Config > General > Keywords.
- Select Wireup Workpoint Attributes.

3. In the Keyword Values area, click the Add icon. The Add Keyword form displays.
4. In the Keyword field, enter the keyword value.
5. Click the Create keyword button.
To delete, click the keyword to highlight and then click the Delete icon.
