Neighborhood Import
Overview
The Neighborhood Import is used to create neighborhoods and update neighborhood fields.
View the Floor Import Columns
Before you create an Floor Import, review the columns in the import.
- Navigate to Admin Settings > Data Imports > Data Imports.
- Click the Hood Import link.
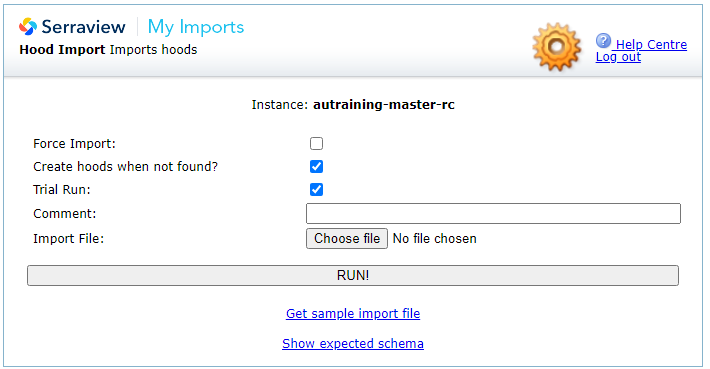
The options for this import are:
- Create hoods (neighborhoods) when not found? check box - Check this to create a new neighborhood for every row of data where the neighborhood does not exist. This option is selected by default.
Expected Schema
3. Click the Show Expected Schema link to view the required columns.
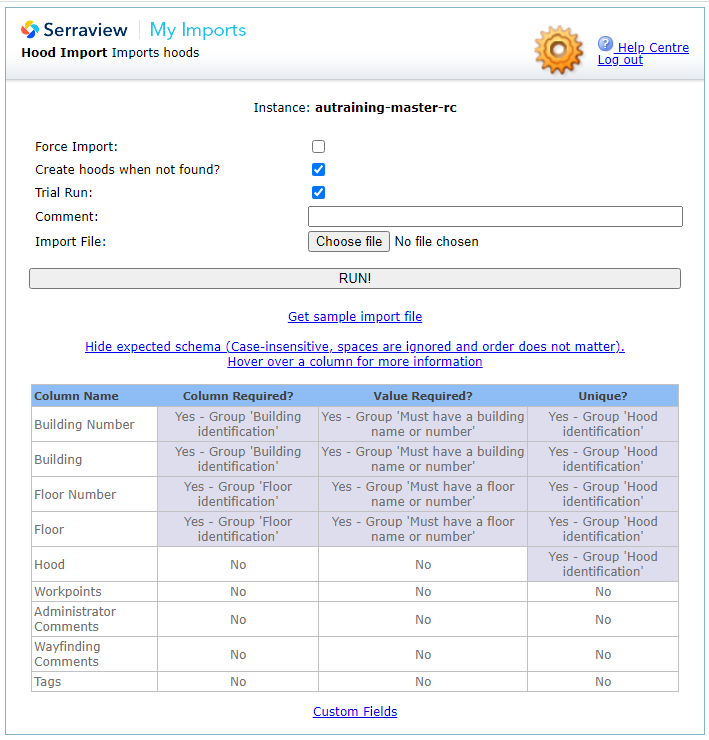
Column Details and Requirements
For details on the columns and the Data Dictionary, refer to Requirements for Neighborhood Data.
We recommend that you delete any columns that are not being used in the import.
Custom Fields
- Click the Custom Fields link to view the custom field columns.
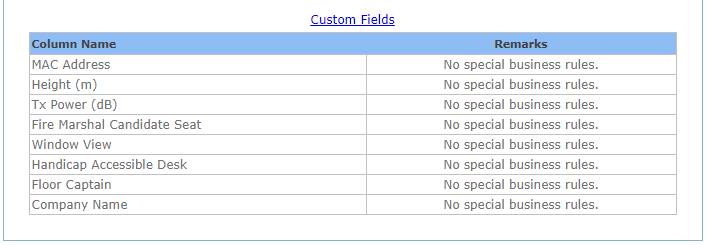
For more information about Custom Fields, refer to Custom Fields.
Prepare an Import File
You can prepare an import file from:
- sample import file, refer to Create your own Import File.
- import report that contains existing data from Serraview, refer to Download a report and prepare an import.
Remember to remove unnecessary cells and worksheets:
- Remove additional tabs, even if they are blank. If you have more than one worksheet (tab) in your file, the file will not be read.
- Remove all empty border columns and rows.
Neighborhood Import Examples
You can use the import to add a neighborhood or the neighborhood can be added manually, refer to Add Neighborhoods' Allocation Manually.