Access Serraview Public API
Level: Developer
This describes how an external application can gain access to the Public API.

For further information on the end-points available in the API, the end-point documentation can be found at https://COMPANYNAME.serraview.com/docs/engage/api-docs/index.html?urls.primaryName=Public%20API%20V1%20Docs or in Serraview Public API Endpoints.
There are two methods that can be used to set up the Serraview Service Account and the Authentication Key.
- Method 1 - Generate and Upload Authentication Key
- Method 2 - Create a Service Account and to generate the Authentication Key
Afterwards, you can prepare to make an authorized Public API call.
Method 1 - Generate and Upload Authentication Key
After you have generated the Public Key and this can be uploaded to Serraview and this will create the Service Account.
Step 1. Generate the RSA Key Pair
Set up Public API authentication requires an RSA public/private key pair (of at least 2,048 bits) the public key is uploaded to Serraview while the private is used to sign the initial auth token.
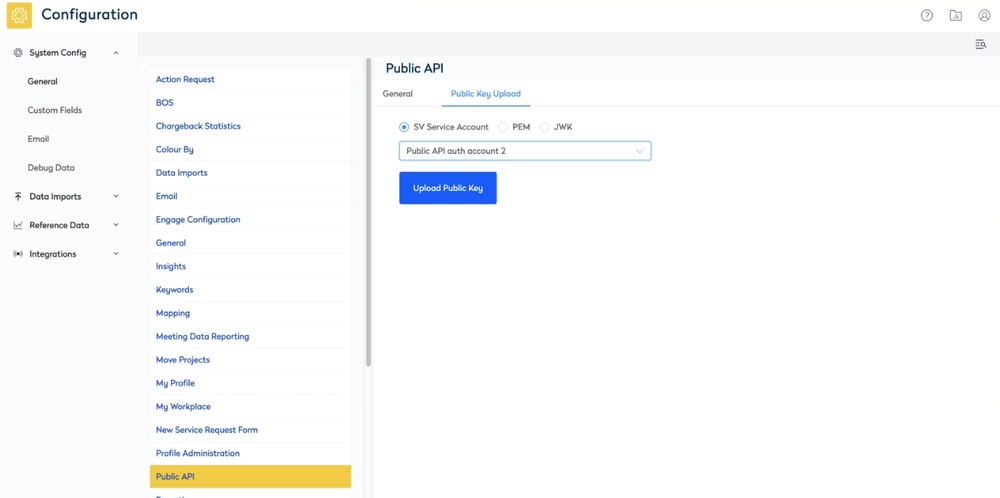
Step 2. Upload Public Key to Serraview
If you already have a key pair, the public key needs to be uploaded via Serraview Configuration.
-
Navigate to Admin Settings > System Configure > General > Public API .
-
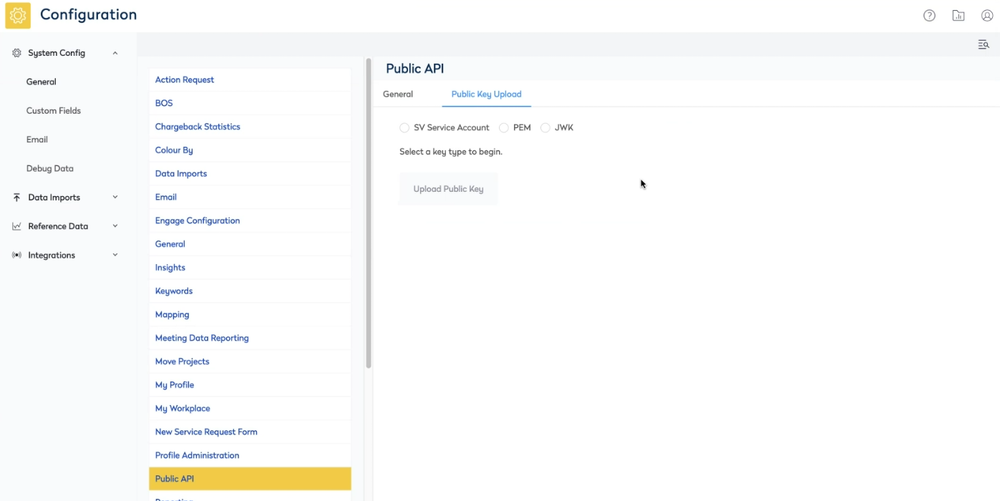
Click the Public Key Upload tab.

-
You have the choice of using PEM or JWK formats.
PEM
-
Select the PEM option, which is the common text format of the public key.
-
In the Key field, enter the Public key and including the starts and end line.
Starts with the line:
-----BEGIN PUBLIC KEY-----
and ends with:
-----END PUBLIC KEY-----
Important
Ensure you are uploading the public key, the private key looks similar, but the header/footer lines will identify it as PRIVATE and the private key is typically longer.
JWK
-
Select the JWK option, which is the JSON-formatted string containing the public key.
{
  "kty": "RSA",
  "n": <long random-looking string>,
  "e": <much shorter random string>,
  "kid": <long-ish hexadecimal string>
}
Important
Ensure you are uploading a public JWK; the key must have fields "n" and "e", not "p", "q", "u", "d" or others.
-
Click the Upload Public Key button.
The success notification, “Public Key Uploaded Successfully” displays.
This will create the Account ID used to identify the account for authentication; this will be used later.

In the User Security, you will see the corresponding Service Account with the same Account ID.

Method 2 - Create a Service Account and to generate the Authentication Key
First, you will need to create a Serraview Service Account and then this will generate the Private Key. Afterwards, you can upload this key to the Public Key.
Step 1. Create a Service Account
-
Navigate to Resources > User Secuirty.
-
Click the Service Account icon.
-
Click the + Add Service Account icon. The Add Service Account form displays.
-
In the Email address field, enter the email address.
The service account must be a separate email address (do not use an existing email address). For example, publicapi@mycompany.com
-
In the Description field, enter a short description.

-
Click the Add Service Account button and the New Service Account Created dialog displays.

-
Click the Copy private key to clipboard button to keep copy of the Private Key and then paste the Private Key in a secured file .
-
When ready, click the Okay, got it button.
The Service Account displays in the list.
Step 2. Upload Public Key
-
Navigate to Admin Settings > System Configure > General > Public API .
-
Click the Upload Public Key button.
The success notification, “Public Key Uploaded Successfully” displays.
Step 3. View the Account ID
-
Click the General tab.
The Account ID used to identify the account for authentication; this will be used later.
The Account ID is the same as the Service Account’s Account ID.
