Add Neighborhoods' Allocation Manually
A neighborhood works a little differently when you are creating the block and stack. Unlike teams where you can pre-set a number of allocated workpoints on the stack, you must first create the neighborhood on the stack with a 0 workpoint count, then block the desks on the floor to increase the number of workpoints allocated to the neighborhood.
Add Neighborhoods to the Stack and Block
Step 1. Add the Neighborhood manually
You can add a neighborhood onto the stack.
- Using the Location Selector field, navigate to a building.
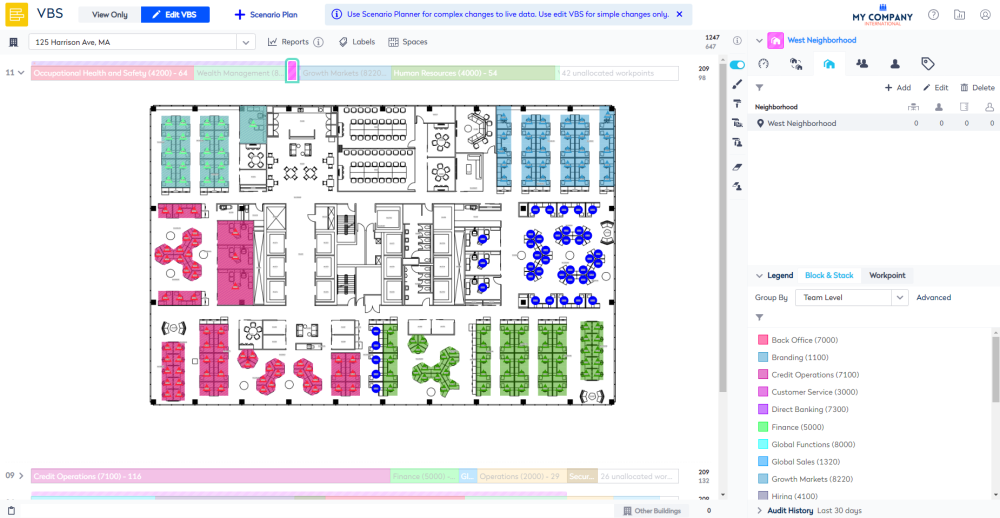
- From the Legend, click the Group By drop-down, select Team Level.
- From the Information Panel, click the Neighborhood tab.
- Click the Add icon. The Add Neighborhood form displays.
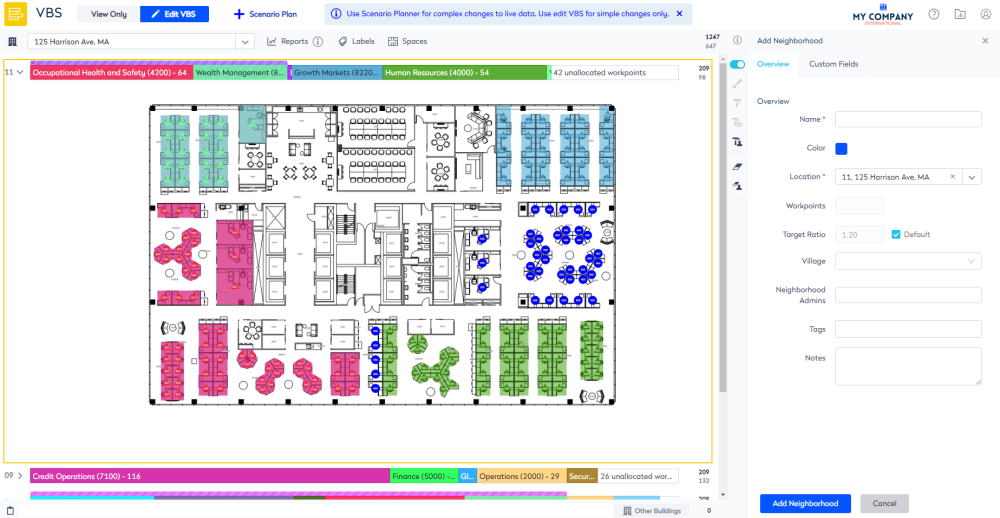
- In the Name field, enter the name of the neighborhood.
- From the Location drop-down, select the building and floor.
- If you do not want to use the default target ratio, then uncheck the Target Ratio check box, and in the Target Ratio field, enter the target ratio. For more information about the Target Ratio, refer to Floor and Neighborhood Capacity Calculation.
- Click the Add Neighborhood button. The stack is updated with the neighborhood.
Step 2. Block the Neighborhood manually
Use the paint tools to block the neighborhood
After you have created neighborhoods on the stack, you can use the paint tools to block the neighborhood.
- For the floor, click the toggle
 icon to display the floorplan.
 - From the stack, select the neighborhood.
- From the VBS Blocking Toolbar, use the following painting tools to paint or edit the blocking for each team.
- Select the Paint Roller
 icon to either:
- block one workstation at a time OR
- click and drag over a large area.
- Select the Eraser
 to either:
- erase blocking one workstation at a time OR
- click and drag over a large area.
- Select the Paint Roller

Use the paint tools to visualize the teams in the neighborhood
If you want to visualize and report on neighborhoods on a floor while maintaining the ability to support both fixed and flexible team blocking within those spaces. You will need to enable the VBS to allow blocking of flexible teams in neighborhoods.
- Enable the VBS to allow blocking of the flexible teams in neighborhoods.
- From the stack, select the team.
- From the VBS Blocking Toolbar, use the following painting tools to paint or edit the blocking for each team.
- Select the Paint Roller icon to either:
- block one workstation at a time OR
- click and drag over a large area.
- Select the Eraser to either:
- erase blocking one workstation at a time OR
- click and drag over a large area.
- Select the Paint Roller