Add Fixed Teams' Allocation Manually
- Last updated
- Save as PDF
The creation of the block and stack in the VBS is quick and easy, with the VBS Blocking tools you are able to simply "paint the picture" of your team allocations.
When you stack and block the teams, we strongly recommended that this is done at (Group By drop-down) Team Level. Using the lowest level in the structure as the foundation of the stack and block enables reporting and communication across all levels of the business and is useful when doing scenario planning.
Remember, after you have completed the block and stack at the Team Level, you can change the Group By drop-down to the higher Org Unit Level, this concept is called roll up.
Add Fixed Teams to the Stack and Block
Step 1. Add the Fixed Team manually
- Using the Location Selector field, navigate to a building.
- From the Legend, click the Group By drop-down, select Team Level.
- From the Workpoint Color drop-down, select Occupancy.
- From the Information Panel, click the Teams tab.
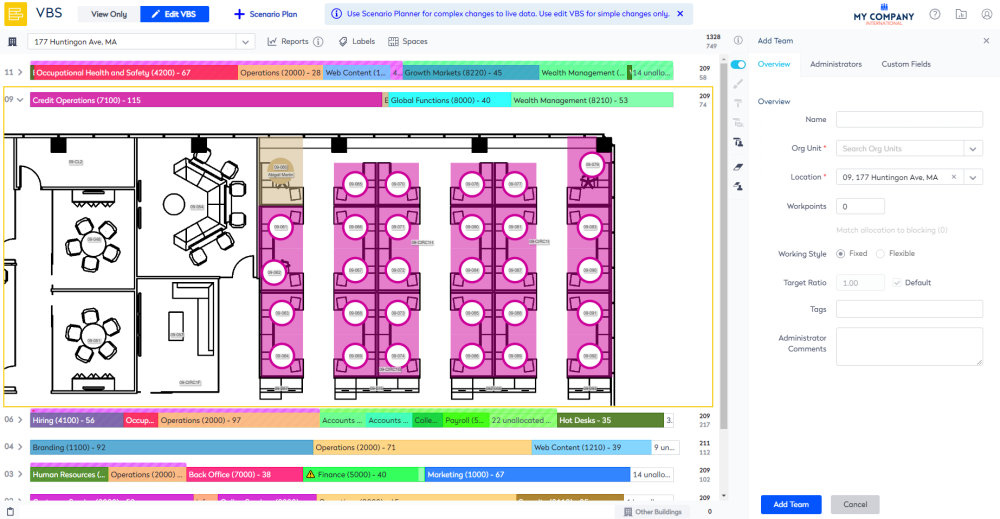
- Click the Add icon. The Add Team form displays.

In the Overview tab complete the following fields:
- In the Name field, enter the name of the team OR leave blank to use the Org Unit name.
- From the Org Unit drop-down, select the organization unit.
- From the Location drop-down, select the building and floor.
- In the Workpoints field, enter the number of workpoints.
- From Working Style option button, select Fixed.
- Click the Add Team button. The stack is updated with the team.
Step 2. Block the Fixed Team manually
Use the paint tools to block the team
After you have completed your stack, you can commence blocking the teams onto the specific workpoints the team owns on the floor.
- For the floor, click the toggle
 icon to display the floorplan.
 - From the stack, select the team.
- From the VBS Blocking Toolbar, use the following painting tools to paint or edit the blocking for each team.
- Either:
- Click the Paint Brush
 icon to block one allocatable workstation at a time OR
 - Click the Paint Roller
 icon to click and drag over a large allocatable area.
- Click the Paint Brush
- Either:
-
- Click the Eraser Allocation
 icon to either:
- erase blocking one workstation at a time OR
- click and drag over a large area.
- Click the Eraser Allocation
Remember when you have finished using the tool to click on the icon to turn the tool off. For example:
- Paint tool turned on

- Paint tool turned off

Use the drag and drag to block the team
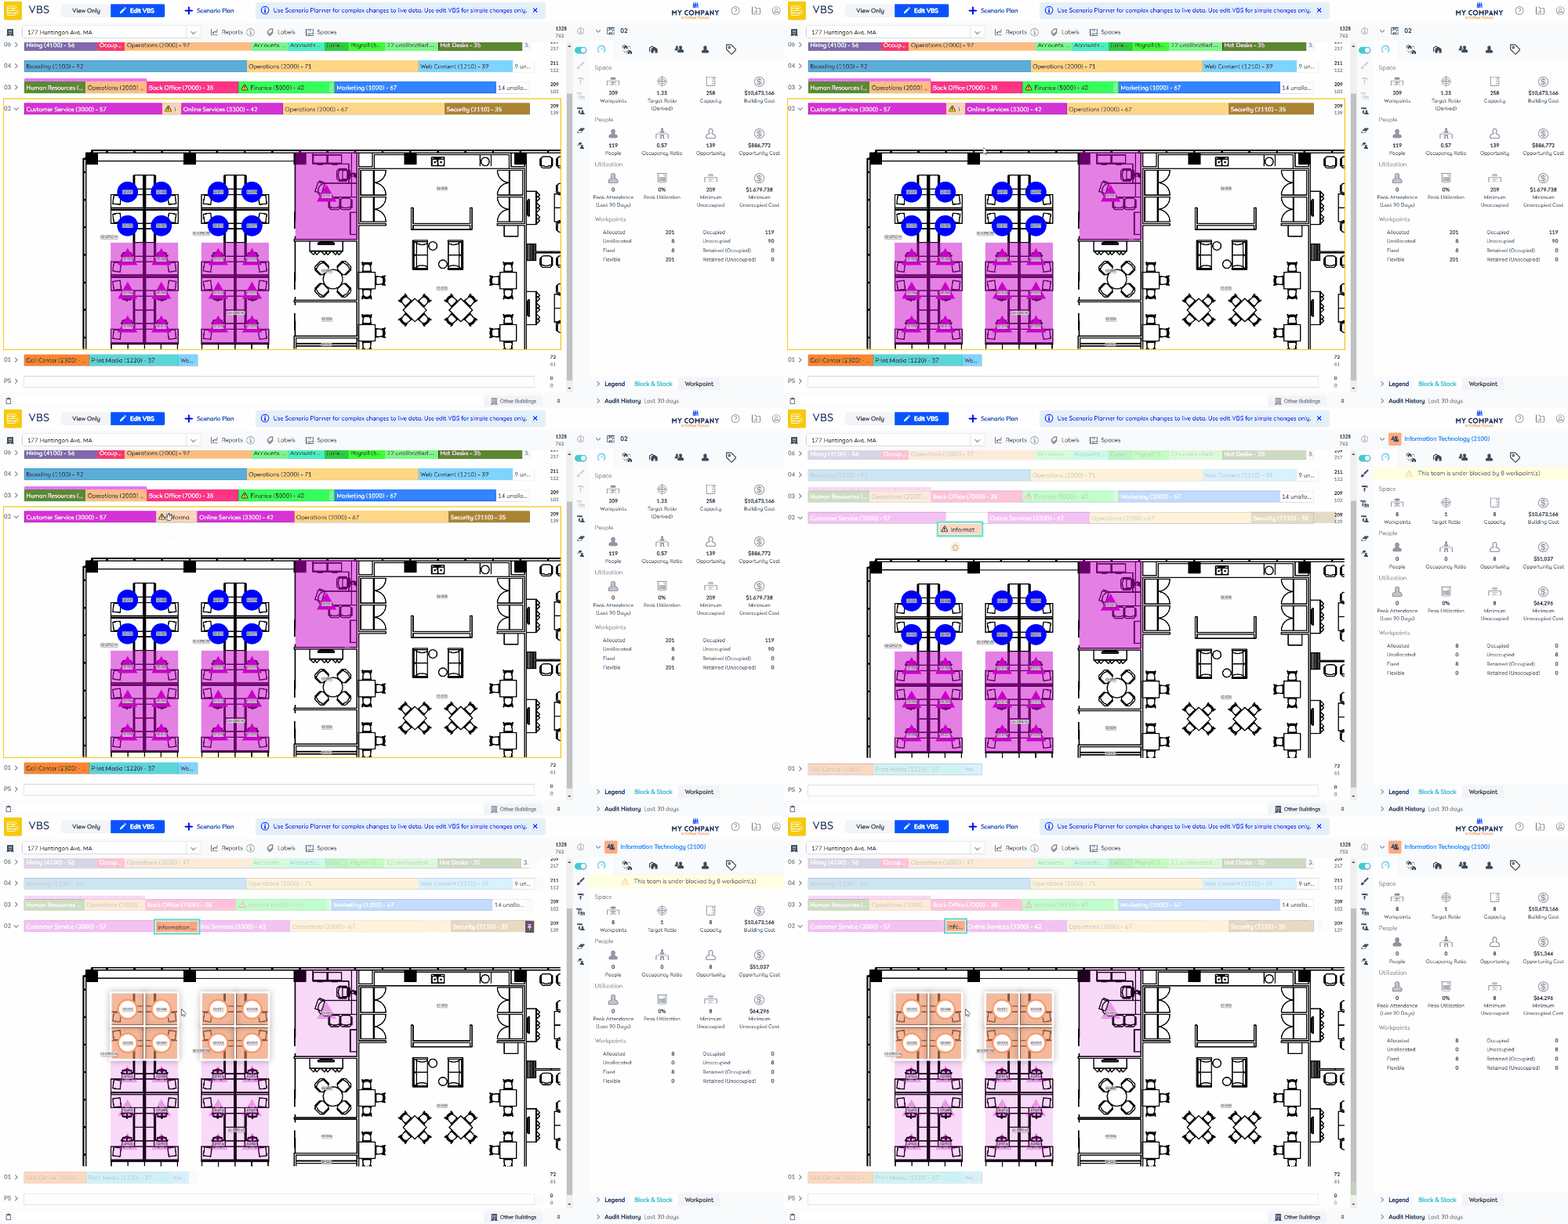
Alternatively, you click and drag the team from the stack to the floorplan.
- Select the team on the stack.
- Drag and drop the team onto the floorplan.

