Add (or remove) a Person to a Workpoint
If you need to remove the occupant from the workpoint then this can be completed via:
- drag and drop from the People tab - this will remove the occupant from the assigned workpoint and the person will remain in the team
- Erase Occupant tool - this will remove the occupant from the floorplan and from the team
- the Space Form - this will remove the occupant from the floorplan and the person will remain in the team
- Workplace Portal - this will remove the occupant from the workpoint and the person will remain in the team; learn more about this in Remove a Person from a Workpoint.
Assign a Person using drag and drop from the People tab
From the People tab, you can drag and drop the person onto either:
- a vacant workpoint
- an occupied workpoint
Remember, you will need Auto Allocate enabled to drag an employee from the People tab and drop them into an unallocated workpoint. You can always drag and drop an employee to a space that's allocated to the team the employee is already in.
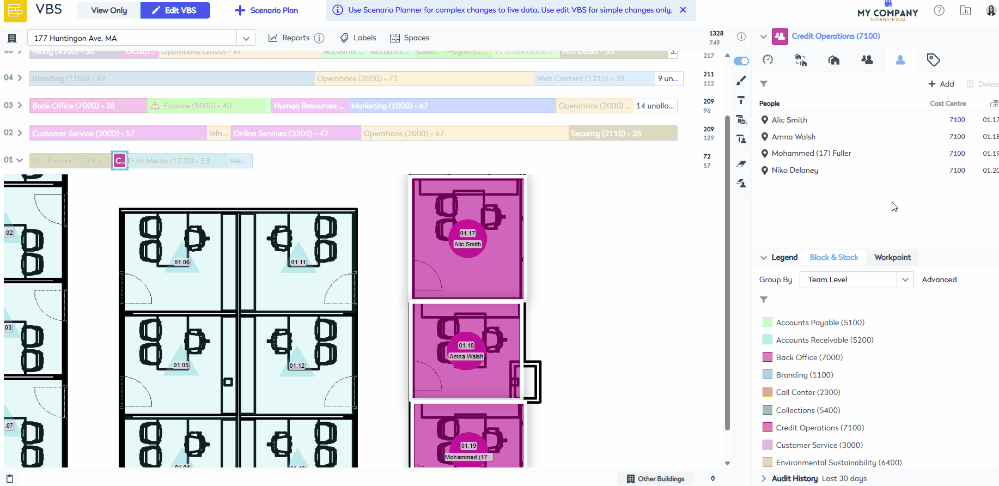
From the Block and Stack, complete the following:
- Navigate to the floor.
- Click the toggle
 icon to display the floorplan.
 - Zoom into the floorplan to see the team's allocation.
- From the left-panel, click the People
 tab. This displays the occupants of the selected team(s).
 - If you need to filter the list, click the filter
 icon and enter in the name of the person.
 - Click and drag the person to the workpoint on the floorplan. The yellow indicator will be shown on the desk you drag the person to.

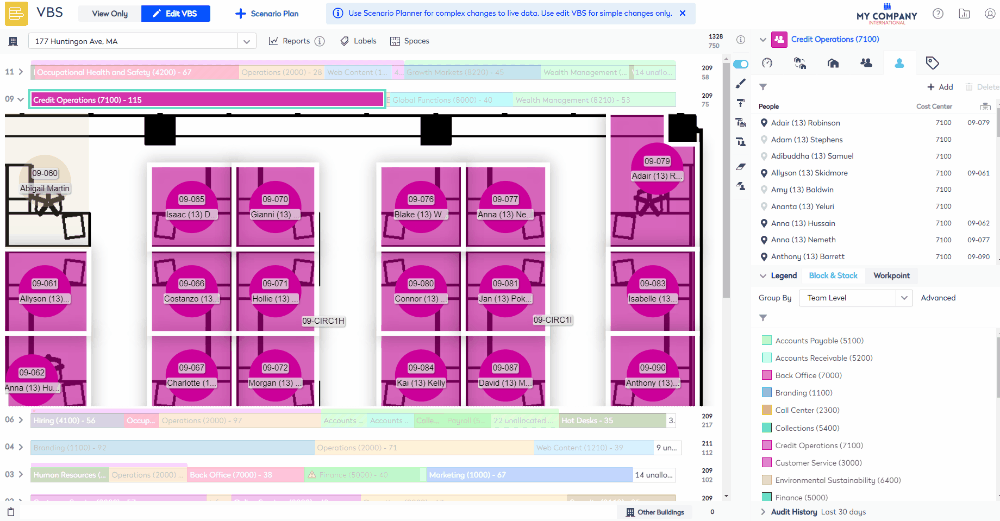
If the Space's Occupancy Configuration is set to the following:
Do not allow occupants
- When you drag a person to a desk you will see the prompt "This will set the space setting from "Do not allow occupants" to Single Occupant" and you can either proceed or cancel the change. If you proceed then the setting will change to Single Occupant and the person will be added to the workpoint.
Single Occupant
- When the workpoint is unoccupied and you drag a person to the workpoint, they will be added to the workpoint.
- When you drag a person to an occupied desk you will see the prompt "This will set the space setting from "Single Occupant" to "Multiple Occupants" and you can either proceed or cancel the change. If you proceed, then the setting changes to Multiple Occupants and the person will be added to the workpoint.
Multiple Occupants
- When you drop the person on the workpoint, they will be added to the workpoint. If a person has multiple locations, when you drop the person on the workpoint, they will only be removed from only the workpoint they were dragged from.
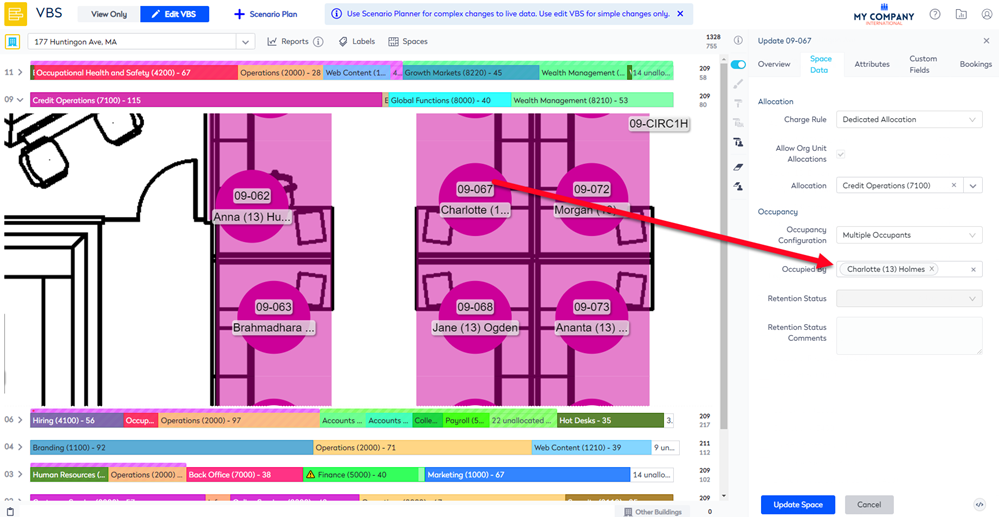
Assign a Person via the Space form
From the Block and Stack complete the following.
- Navigate to the floor.
- Click the toggle icon to display the floorplan.
- On the floorplan, double click a space. The Update Space form displays.
- Click the Space Data tab.
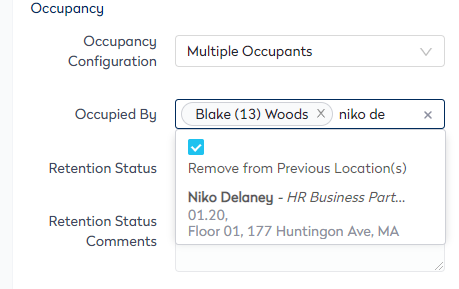
- In the Occupied By field, either enter the name of the person or enter Unknown Person.
If the person already exists in another location, Remove from Previous Location(s) check box displays. This is checked by default, this indicates the person will be moved from the previous location to a different workpoint. If you do not want the person to be removed from their previous location then uncheck the checkbox.
6. Click the Update Space button.
Remove Assigned Person using drag and drop from the People tab
This will remove the person from the assigned workpoint and the person will remain in the team.
From the Block and Stack complete the following.
- Navigate to the floor.
- For the floor, click the toggle
 icon to display the floorplan.
 - Zoom into the floorplan to see the team's allocation.
- From the left-panel, click the People tab. This displays the occupants of the selected team(s).
- If you need to filter the list, click the filter icon and enter in the name of the person.
- Click and drag the person to the team on the Stack.
Remove a Person from the Workpoint using the Erase Occupant tool
The Erase Occupant tool will erase the occupant on the floorplan and removes the person from the team, but it does not erase the allocation unless you have the Auto De-allocated Unoccupied Desks enabled, see Configure Auto Allocate in the VBS.
In the examples below, the setting is not enabled, therefore the team's allocation remains on the floorplan.
From the Block and Stack complete the following.
- Navigate to the floor.
- For the floor, click the toggle icon to display the floorplan.
- From the VBS Blocking Toolbar, click the Erase Occupant
 icon.
icon. - Either erase one occupant or multiple occupants.
Erase one occupant at a time
Click and drag over a large area to erase multiple occupants
Remove a Person from the Workpoint via the Space Form
When you remove a person form the workpoint via the Space form the team's allocation remains on the floorplan and the person remains in the team.
From the Block and Stack complete the following.
- Navigate to the floor.
- Click the toggle icon to display the floorplan.
- On the floorplan, double click a space. The Update Space form displays.
- Click the Space Data tab.
- Click the X icon next to the occupant's name.
- Click the Update Space button.