Creating Internal Gross Areas - Process Overview
Archibus Smart Client Extension for Revit
Creating Internal Gross Areas - Process Overview
If you are going to use results for space chargeback, you will also need to identify the interior gross area of each building level so that Archibus can calculate usable and rentable areas. The following procedure describes creating a scheme for internal gross area
To do so, open Revit and your model and then:
-
Create an Area Scheme
.
-
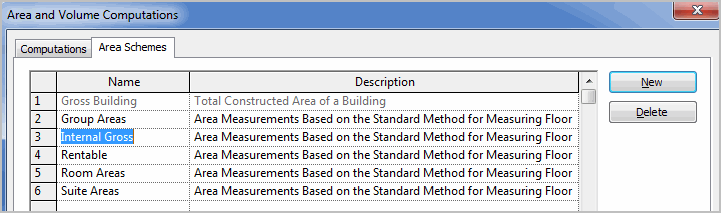
Use the Area Schemes tab of the Home / Room / Area and Volume Computations dialog to create a new scheme for Internal Gross areas. For more details, see
Create an Internal Gross Building Area Plan and Area Boundaries (External Chargeback).
-
Use the Area Schemes tab of the Home / Room / Area and Volume Computations dialog to create a new scheme for Internal Gross areas. For more details, see
Create an Internal Gross Building Area Plan and Area Boundaries (External Chargeback).
-
Create an Area Plan
.
- Use the Revit Home / Areas / Area Plan command to create an area plan.
- Select "Internal Gross" as the plan type, and answer Yes to create a boundary for your interior gross area. Using a separate area plan lets you easily create the boundary and avoid confusion with any internal areas you draw.
- For more details, see Create an Internal Gross Building Area Plan and Area Boundaries (External Chargeback) - Step 1 .
-
Draw the Internal Gross Area.
- If you are not satisfied with the automatic boundary, use the Revit Home / Areas / Area Boundary Line to create an Internal Gross area to the face of the exterior wall.
- This command works by selecting the Revit walls. For more details, see Create an Internal Gross Building Area Plan and Area Boundaries (External Chargeback) - Step 2 Create Area Boundaries.
-
Use Line Mode (if needed)
.
-
If you are still unsatisfied with the results, use the Revit
Home / Areas / Area Boundary Line
mode, but select the line tool from the Draw menu that appears.

-
If you are still unsatisfied with the results, use the Revit
Home / Areas / Area Boundary Line
mode, but select the line tool from the Draw menu that appears.
-
Create Area
.
- Invoke the Home / Area / Area command and click within the internal gross area to create it.
- If you cannot click within the boundary and create an area, check that the area boundary is closed.
-
Set Asset Type
.
- Since Revit areas can map to multiple Archibus Asset Types (for example, Select "Gross Areas" from the Archibus Asset Type drop-down list. Doing so instructs the Archibus commands to connect any areas to the “Gross Areas” table rather than to the Rooms table.
-
Edit Data
.
- Use the Archibus Edit Data command to edit the Internal Gross Area to have “Internal” Gross Area Type. The Building and Floor Code will default to the proper values for the level.
- See Working with Asset Data Commands.
-
Publish Enterprise Graphics
.
- Use the Archibus / Enterprise Graphics / Publish 2D or Publish 3D command to update the graphics index of your Revit model.
- The commands will publish both the room and gross area graphics. See Publish Enterprise Graphics directly from Revit .