Complete an Assigned Work Request
Archibus OnSite
Complete an Assigned Work Request
Step 1. Locate Room that has the Issue
For the job, technician Will opens the request. Since Will is a new employee and is not familiar with the rooms in this building, he taps on the Location section to view the floor plan. Then he zooms in and out of the floor plan to determine where the space is on the floor.


Step 2. Work on the Request and Add Comments or Photos
When in the room, Will locates the thermostat and adjusts the temperature. Now, he will record what he has done and take a photo too.
 Tap the Comment icon and then you can enter a comment and tap Done to save.
 Tao the Photo icon and either tap Take a photo or Photo Library, which will let you access your existing photos.


Step 3. Enter Work Logs
Will then adds work logs to document the time on the job: one for travel to building SRL and the other for the actual work.
Note that if you tap the My Work Logs section, this display a summary of the work logged.
Tap the My Work Logs + icon, then you can complete the details and when you are finished, tap Save.


Step 4. Complete the Work
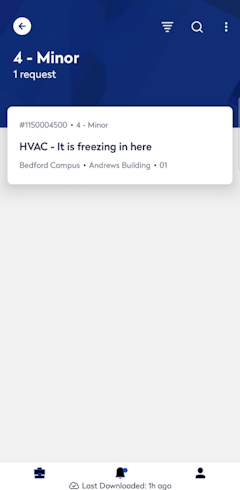
When Will is finished, he taps the Status "Issued and In Process" and changes it to Completed.


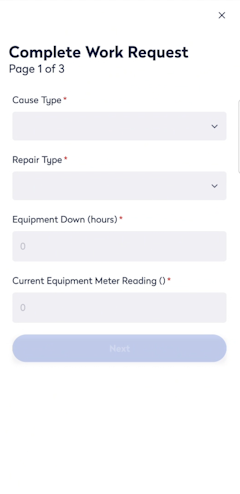
The Complete Work Request screen displays where Will can select the Cause Type, Repair Type, Equipment Down, and if need a meter reading.
Then he taps the Next button to continue to the screen where he has the opportunity to log hours and other costs.

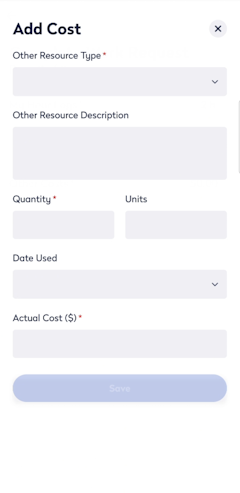
The he taps the Other Costs + icon, completes the Add Cost screen, and then taps the Save button.

Tap the Next button, he enter any final notes, and then tap the Save button. Finally, the last "You did it" screen displays to confirm the success; tap Close to return to the group screen.

