Managing Multiple Customer Projects
Add-In Manager Application Extension Environment
Managing Multiple Customer Projects
You may need to work on projects for different customers. If these customer projects are based on Web Central V.23.2 or later, you should create separate Eclipse workspaces for each customer project.
Follow these steps:
- Select a folder where you will store customer projects, for example c:\CustomerProjects .
- Create a subfolder for the specific customer project, for example c:\CustomerProjects\23.2-NewCustomer .
- Expand the contents of the 23.2 Web Central WAR file into the customer project folder.
-
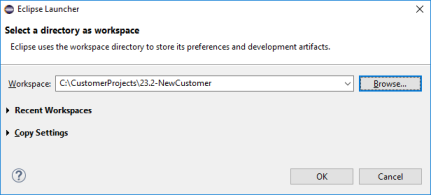
Start Eclipse and create a new workspace:
- Select the File / Switch Workplace / Other menu command.
- Enter the customer project name and click OK.
-
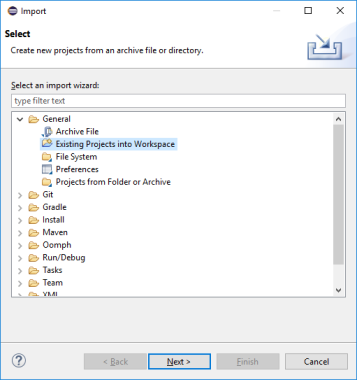
Import all Eclipse projects into the workplace:
- Select the File / Import menu command.
-
Select the General / Existing Projects into Workplace option and click Next .
-
Click Browse... and select the customer project folder.

- Click Finish .
- Wait for Eclipse to build all projects. Build may take several minutes.
You can run multiple instances of Eclipse, each with a different workspace.
When you want to work on a different customer project, switch to the corresponding workspace. You can still copy files and code fragments between customer project using any editor or code merge tool.
Note you can use any application server or database server to test your project. When you do so, the minimum required software is:
- Web Central WAR file
- Archibus Eclipse distribution