Complete a Condition Assessment
Archibus OnSite
The Onsite App lets Field Assessors to perform Condition Assessment tasks directly on their mobile device. It allows assessors to access assigned assessment projects, review equipment or location conditions, capture photographs, attach documents, and update assessment data.
Web Central (v2025.02 and onwards) and Onsite App (v6.4.0 and onwards)
Prerequisites
User Security
Security Group
The user must be part of the security group OPS-CA-MOB. For more information, see Archibus Administrator and see the following sections:
- Assign mobile apps to user using the "Assign Mobile Apps to Roles" button
- Application and security group requirements
- Grant read and edit access to database fields
Enable Mobile Users
The user must have the setting "Mobile Device Enabled" turned on, learn more in Archibus Administrator and see the Enable Mobile Users section.
Assign Assessment Project and Change Project's Status
Before using the Onsite App, Assessment Managers must assign the assessment projects to the user through Web Central and change the project's status to Issue in Process, so they are available to Field Assessors.
Complete the following:
- Log in to Web Central.
- Generate the Conditional Assessment Records.
- The Assessment Manager can review the existing assignments. If needed the assessment items assigned to users can be reassign, see Assigning Assessment Items to an Assessor. Note: As a minimum you will need to assign at least 1 assignment item to the users.
- After assigning items, update the project status to Issued in Process, see Update the project status to Issued-In-Progress.
Now the project will appear in the Onsite App for the assigned field assessor.
Complete the a Conditional Assessment - OnSite App
This explains the various tasks the Field Assessor will complete for a Conditional Assessment.
Contents
Step 1. View assigned projects
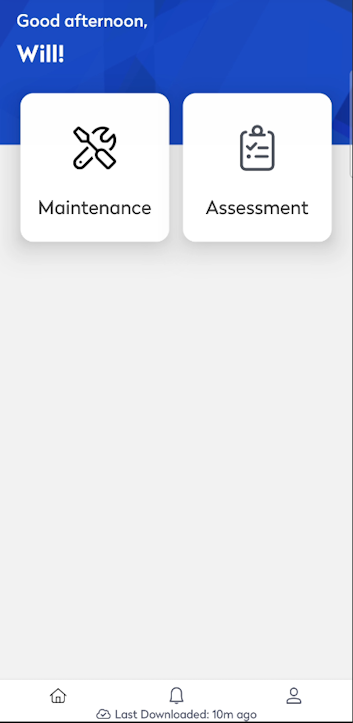
- The field assessor logs into the Onsite App.
Depending on your access and projects assigned you may see the following:
- if the assessor has access to both Maintenance and Assessment modules, both modules appear on the homepage.
- if the user has access to only the Assessment module, the app opens directly to the Projects List screen.
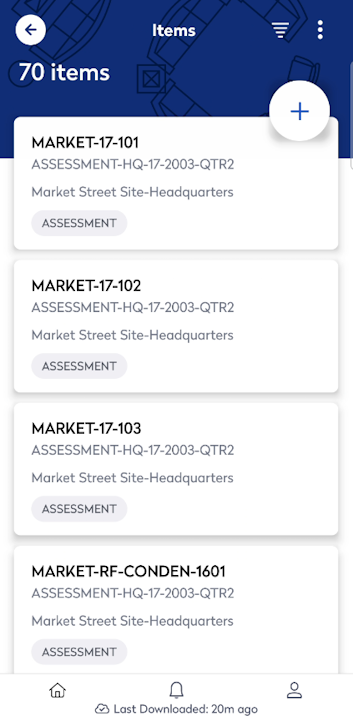
In the Assessment projects list:
- the projects issued and assigned display.
- if no projects are assigned, the system displays the message “No Projects Assigned”.

From the project list, the Field Assessor can select the More Actions  icon and then select Prepare Offline Data if they intend to perform assessments without an internet connection.
Step 2. Reviews and filter assigned assessment items
- Tap a project to display the list of assessment items assigned to the Field Assessor. Each assessment item corresponds to an equipment or room that needs evaluation.
- Tap the Filter
 icon if you need to find an assessment item.

- The Field Assessor can filter on the following:
- Site Code – Tap Site Code to search for a site and then select it.
- Building Code – Tap Building Code to search for a building and then select it.
- Floor Code – Tap Floor Code to search for a floor and then select it.
- Date of Assessment - Tap Date of Assessment to select a Month, Day, and Year.
- Tap the Apply button to apply the filter and the app displays only the assessment items matching the selected criteria.
If you need to remove the filters, then tap the Clear button.
Step 3. Edit the assessment and attaches images
When you want to edit an existing assessment item, then from the list tap the assessment item and the Edit Assessment screen displays.
Edit Assessment
|
|
This screen displays the complete details of the assessment, such as
Edit Fields The Field Assessor can edit the details of various columns, update the condition of the assessment item as per on field. For example: the assessor can note the general condition, recommended action, the cost to replace, and so on. Answer Questionnaire In addition, the Facility Manager may have developed a set of questions specific to each type of equipment standard. If so, the Field Assessor can answer these additional questions. |

Report a Maintenance Issue
If the assessor identifies a maintenance concern, they can:
- Tap the More Actions
 icon.
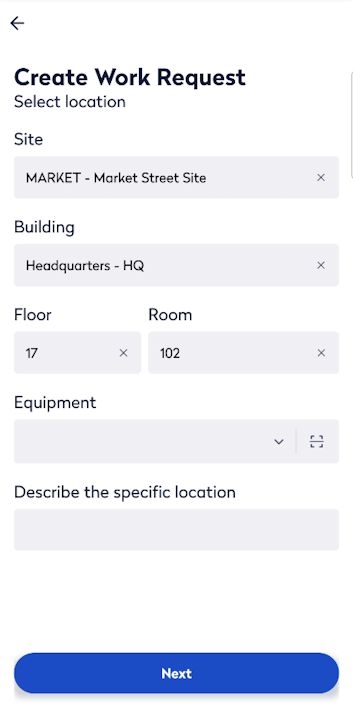
icon. - Select Report Maintenance Issue. and the Create Work Request screen, which is automatically pre-filled with equipment information like location of the item and equipment code (if assessment was regarding an equipment). Note: The “Report Maintenance Issue” option is visible only to users who have access to the Maintenance module.
- Complete the required details.


- Tap the Submit button to submitting the request.
- Then tap Back to My Work button to return to the assessment item screen.

Attach Photos or Documents
The assessor can take photos and attach them to the assessment item.
- Tap the Camera
 icon to open your device’s camera.
 - The assessor can take a photo of the equipment or area and attach it to the assessment item.
Documents
When the assessor want to view the photos and documents, complete the following:
- Tap the More Actions icon.
- Tap the Document Library option.

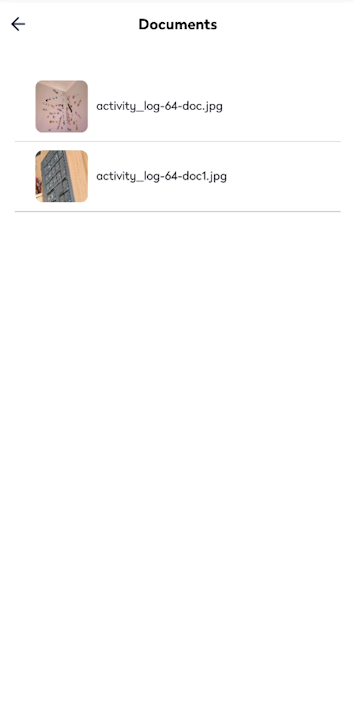
If you want to delete a document or image, swipe left and then tap Delete. The message "Are you sure you want to delete this document? display, tap Yes and it is deleted.
Complete an Assessment
When all mandatory fields are completed, then you can tap Complete button and then the app displays a success message. Then the next assessment item automatically opens for review.
Step 4. Adds new assessments
Sometimes, while on-site, the assessor may encounter additional equipment or rooms that are not listed under the assigned project.
The assessor can create new assessment items.
Option A - Add Assessment from Edit Assessment Screen
- From the Edit Assessment screen, tap the More Actions icon.
- Tap the Add Assessment option and the app pre-fills project and location information.
- Enter the action title.
- Either enter the Equipment Code manually or tap the Scanner
 icon and then scan the QR code on the equipment.
 - Complete the required fields.
- Tap the Add button. The success message displays and you are returned to the assessment list screen.
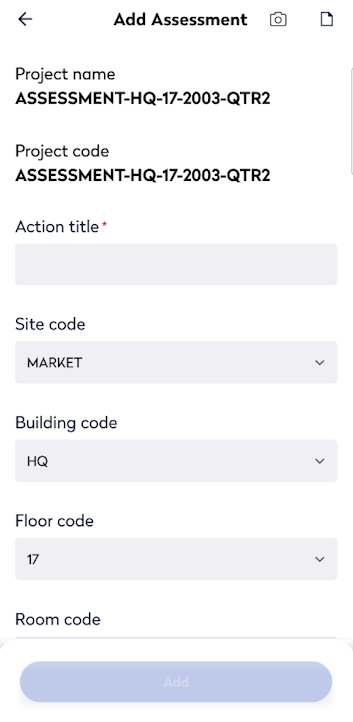
Option B - Add Assessment from List of Items Screen
- From the Assessment List screen, tap the Add icon and the app pre-fills project information.

- Enter the action title.
- From the drop-downs, select a site, building, and floor information.
- Either enter the Equipment Code manually or tap the Scanner icon and then scan the QR code on the equipment.
- Complete the required fields.
- Tap the Add button to create a new item and the new assessment item appears in the list immediately to both assessor in Onsite and Assessment manager in Web Central.
Step 5. Complete the Project
As the assessor marks items as Complete, the app updates the item list.
When all assessment items for a project are completed, the app displays a success message as "All assessments in project code <project_code> has been completed".

The assessment items in the project are update in Web Central too.