Create, Append, or Remove a Move Scenario
The Move Mode gives you graphical view of the potential space layouts and let's you create scenarios to help you develop a move strategy. The scenarios lets you explore different arrangements of occupants and assets.
Access Move Mode
- Navigate to Space > Space Desktop.
- Click the Mode to change it to the Move
 icon at the upper right-hand corner.
Create a Move Scenario
You can to create a new scenario start by doing the following.
- Move a person and/or move an asset.
- Click the Move Request tab.
- Click the scenario name field, enter a new scenario name.
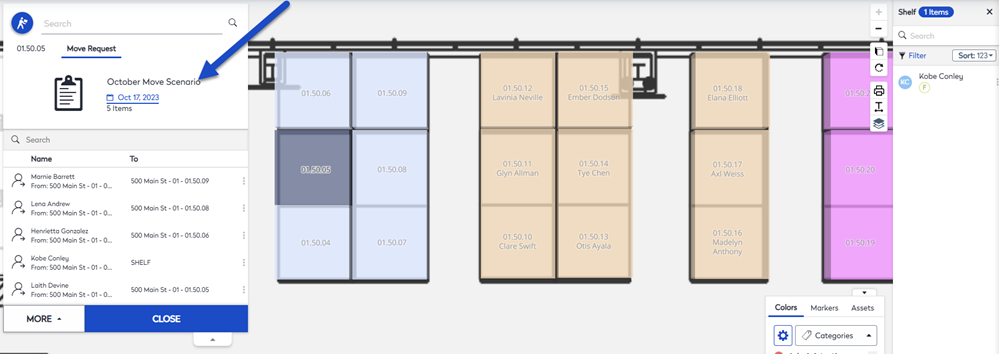
- Click the date.
- Use the calendar to select a new date. This is useful if you want to schedule a move request.
When you are ready the request can be completed and this will action the request. See below for how to complete the request.
Append Move Request
If needed you can combine a scenario you are currently working on with another.
- From the Move panel, click the Move Request tab.
- Click the More button and a pop-up menu displays.
- Click the Append a Request button.
- From the Add from drop-down, select the scenario that you want to combine the current scenario.
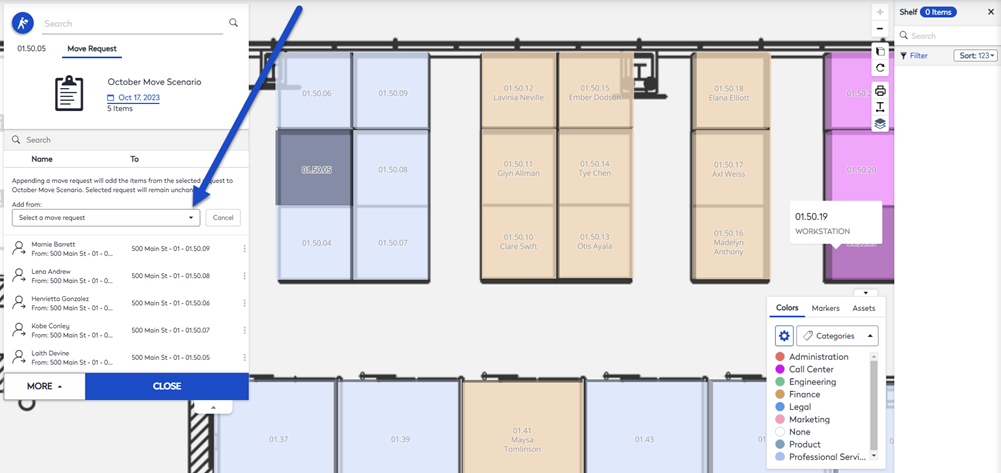
The scenario is automatically saved.
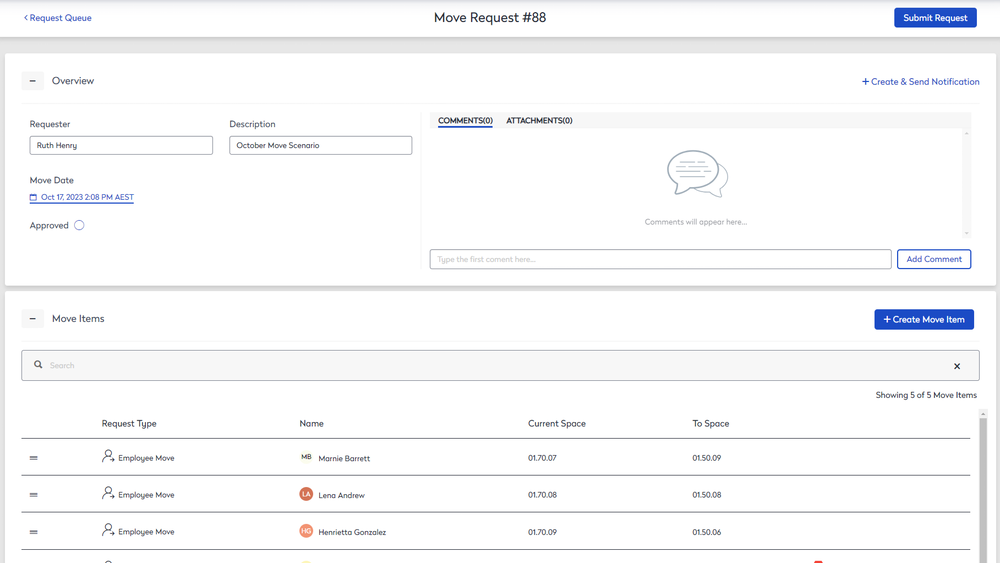
Open the Move Request in the Move Module
If needed you can quick open the request in the Move Module.
- From the Move panel, click the Move Request tab.
- Click the More button and a pop-up menu displays.
- Click the Open in Move. The move request displays.
- From this screen you can make adjustments and when you are ready click the Submit Request button.
Complete the Move Request
The changes you make while creating a scenario do not impact the actual database information about occupants, assets, and their locations until you complete the Move Request.
- From the Move panel, click the Move Request tab.
- Click the More button and a pop-up menu displays.
- Click the Complete option. The message "Archiving makes all changes in the move permanent. After a request is archived it cannot be edited or undone. Be sure that all information in the move is completed and correct before archival.
- Click the Confirm button. The person and/or assets are moved and an email notification is sent out.
Close Move Request
If you want to return to the All Move Request panel then you can close the request.
- From the Move panel, click the Move Request tab.
- Click the More button and a pop-up menu displays.
- Click the Close button. The All Move Request panel displays.
Remove Move Request
When you remove the request, this will delete the move request.
- From the Move panel, click the Move Request tab.
- Click the More button and a pop-up menu displays.
- Click the Remove button. The message "Are you sure you want to delete the scenario name?"
- Click the Confirm button. The scenario is cancelled and an email notification is sent out.