Add, Edit, or Delete Task Fields
When you define a task, and it needs custom fields, then these can be created in the task fields. Then they can be added to the task using the form builder.
Access Task Fields
- Navigate to Admin > Move > Configure.
- Click the Task Fields tab.
The Task Fields tab displays.
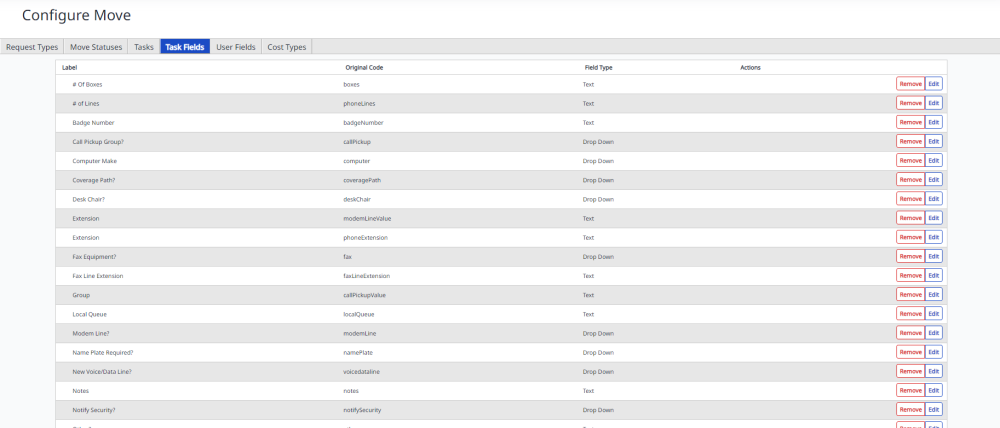
Add Task Field
1. Click the Add  icon.
icon.
The Add New dialog displays.
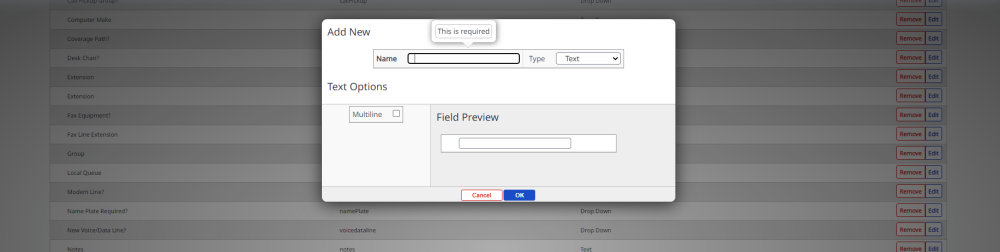
2. In the Name field, enter the task field name.
3. From the drop-down, select either:
- Text – Simple free form fill-in field. The multi-line option allows for the text to flow to more than one line.
- Money (and Number) – These fields allow you to specify numerical-only entries with a required number of decimal places.
- LiveSearch – A field that, based on the first few characters typed into the box, re- turns matches from the directory.
- Drop Down – If you select this option, you will be prompted to enter the values that will appear in the drop-down menu.
- Checkbox – Simple checked/unchecked box.
- Calendar – Presents a calendar icon that can be used to choose a date.
4. Click the OK button.
5. Click the Save button.
Edit Task Field
-
For the move request types you want to edit, click the Edit button.
The Eidt Task Field dialog displays.
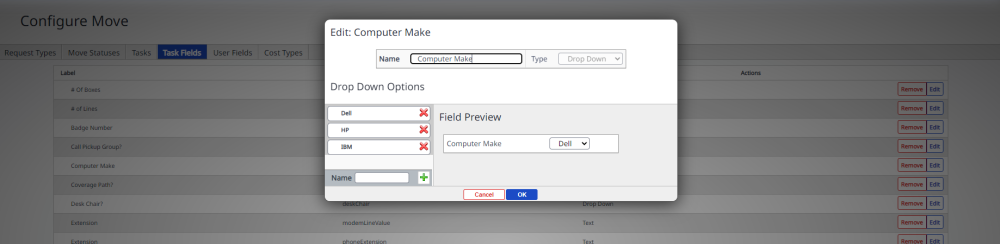
- Make necessary changes.
- Click the OK button.
- Click the Save button.
Delete Task Field
1. For the task field you want to delete, click the Remove button. The task field is deleted without a warning message.
2. Select the Save button at the bottom right-hand corner.