
Edit a User's Details
Level: Administrator
You can edit a user account and if you have come from the Directory module then the relevant user account will display.
- Navigate to Admin > User. The User Maintenance displays.
- Click the user you want to edit. The Edit User screen displays.
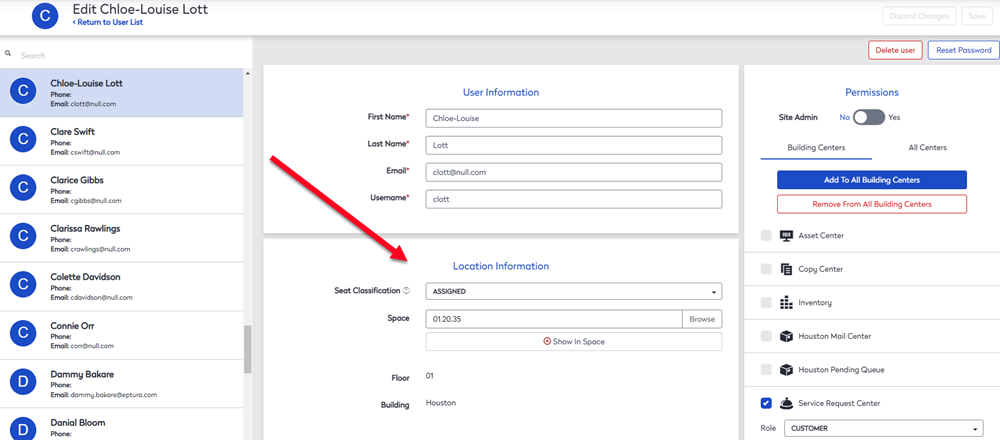
The layout is identical to the Add a User screen, however, the fields available to be edited will be determined by the User Types you select.

- The Edit User screen contains the following:
| Element | Description |
|---|---|
| Delete User button |
This lets you delete a user. Learn more in Delete a User. |
| Reset Password button |
This lets you reset a user's password. Learn more in Reset Password by the Site Administrator. |
| Permissions section |
This lets you change the user to be a Site Administrator, or grant permission to Building Centers or All Centers. Learn more in Grant a User Access to a Center. |
| User Information section |
You can edit the user's information. |
| Location Information section | |
| Work Mode |
Select the Work Mode either:
User’s access is based on the permissions defined within each module’s center, such as Customer, Operator, Site Administrator and the User Permission Matrix contains the details of the permissions. |
| Location |
If needed, you can select a location for the user, either:
For example:
If you want to know where on the floor plan the space or neighborhood exists, then click the If the space select is inactive or an unoccupiable space, the |
| Categories section |
This section let's you assign or change the user's category, such as the Organizational Hierarchy category. Learn more in Assign a User to a Category. |
| Additional Information section |
You can edit the additional information. |


 Incorrect Assignment icon displays to the right of the space field to alert you to the incorrect assignment.
 - When you have finished, click the Save button.
Find a User's Location
You will have the ability to show users that have rooms assigned to them in the Space Module.
This requires that you and/or your company currently have the Space module as an active module in your setup. You could then select the Show in Space button and the users' location would be shown in a new Space Manager window. If you do not have access to the Space Module, then you will not be able to use this button.
Add an Image (Avatar)
You can add an image to be used as an avatar for that user.
- Navigate to Admin > User. The User Maintenance displays.
- Click the user you want to edit.
- Drag and drop the image to the screen.
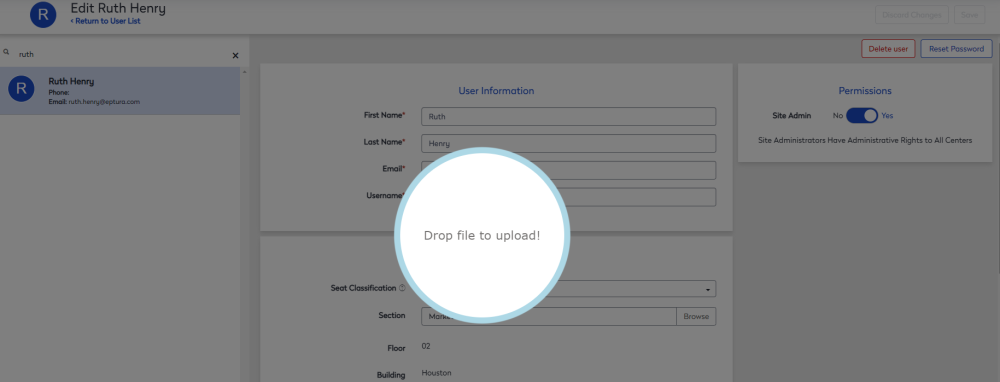
The Crop Avatar Image dialog displays.
- Drag the Sider to crop the image.
- Click the Save Image button.
The image is uploaded.