Configure Workplace Sensors
Level: Administrator
Administrators can configure the sensors that you use in their organization.
Contents
Add a Sensor
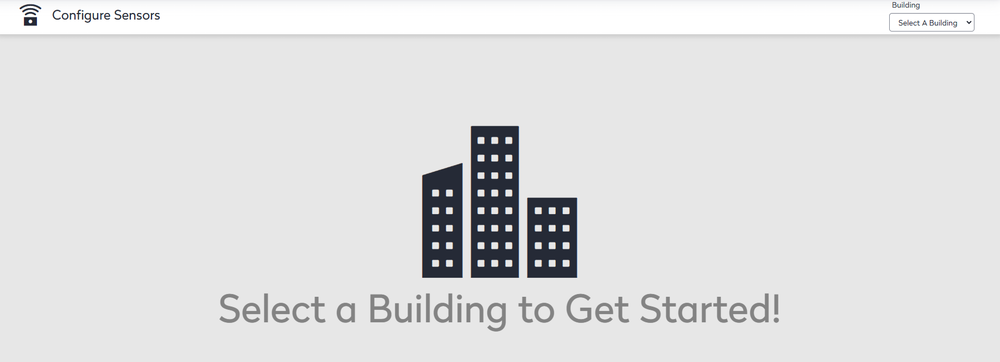
- Navigate to Admin > Space > Sensors. The Configure Sensors screen displays.

- From a Building drop-down, select a building.
- Click the Add Sensor button. The new sensor line displays.

- In the Space field, browse and select the space where the sensor is located.
- In the Sensor ID field, enter the sensor's identity number.
- In the Notes field, enter a short note.
- From the Vendor drop-down, select the sensor's vendor.
- From the Type drop-down, select the sensor type.
- Click the Save button.
Edit a Sensor
- Hover over the sensor to display the Edit and Move icons.
- Click the Edit button. The Senor line changes to the edit mode.
- You can edit the notes, vendor, and sensor type.
- When you have finished, click the Save button.
Move a Sensor
You can also make changes to existing sensors.
- Hover over the sensor to display the Edit and Move icons.
- Click the Move Sensor
 icon. The Choose a new space for sensor dialog displays.
 - In the space field, either enter in the space name or click the Browse button to navigate to the space where the sensor is located.
- Click the Save button. The sensor location has been moved.

After the location is selected, click the Save button. The sensor is assigned to the new location.
Delete or Remove a Sensor
When your Administrator removes or reallocates a sensor, they will have the choice to either permanently delete the sensor or unallocate the sensor, which will let them reallocate the sensor later.

For the sensor you want to delete, click the Delete icon. A confirmation message displays "Would you like to remove the sensor from this location but keep it available for future reallocation or would you like to delete the sensor permanently?"

You can either:
- Remove from location - This lets your Administrator remove the sensor from its building, floor, and space assignment and is placed in the ‘unallocated’ sensor inventory in the default Unallocated building for future use. This is useful when a sensor is allocated to the wrong space and needs to be moved to the correct space.
- Delete permanently - This makes the sensor inactive in the database and it can't be allocated again. This is useful when the sensor is lost, broken, or replaced.
