Set up a Building Hierarchy
Level: Administrator
Administrators have the ability to organize building hierarchies in order to view statistics, utilization, area, and other metrics in a manner that works for their unique business. Building Hierarchies can be organized by geographical location, function, or any other manner that makes sense for the business.
By Region Examples
Geographic regions can be set up different ways depending on your organization, below details a few examples.
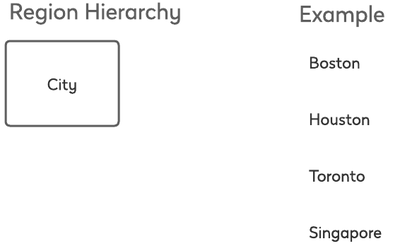
Example A
In this example the organization has a few buildings, so the Region Hierarchy can be set up structure that only consists of a city.
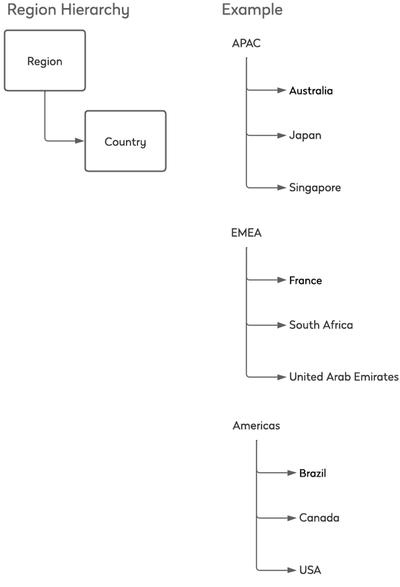
Example B
In this example the organization has buildings that are in different regions, so the Region Hierarchy can be set up structure that only consists of a Region > Country.
Example C
In this example the organization has a buildings in locations that have multiple cities, so the Region Hierarchy can be set up structure that only consists of a Region > Country > State > City.

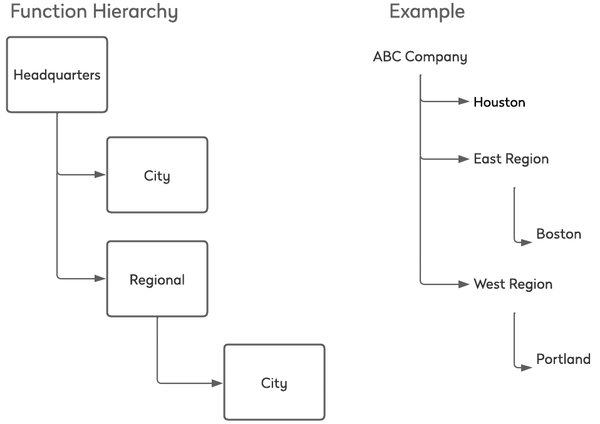
By Function Example
The functional hierarchy can be set up by Headquarters and then Regional buildings, below details an example.
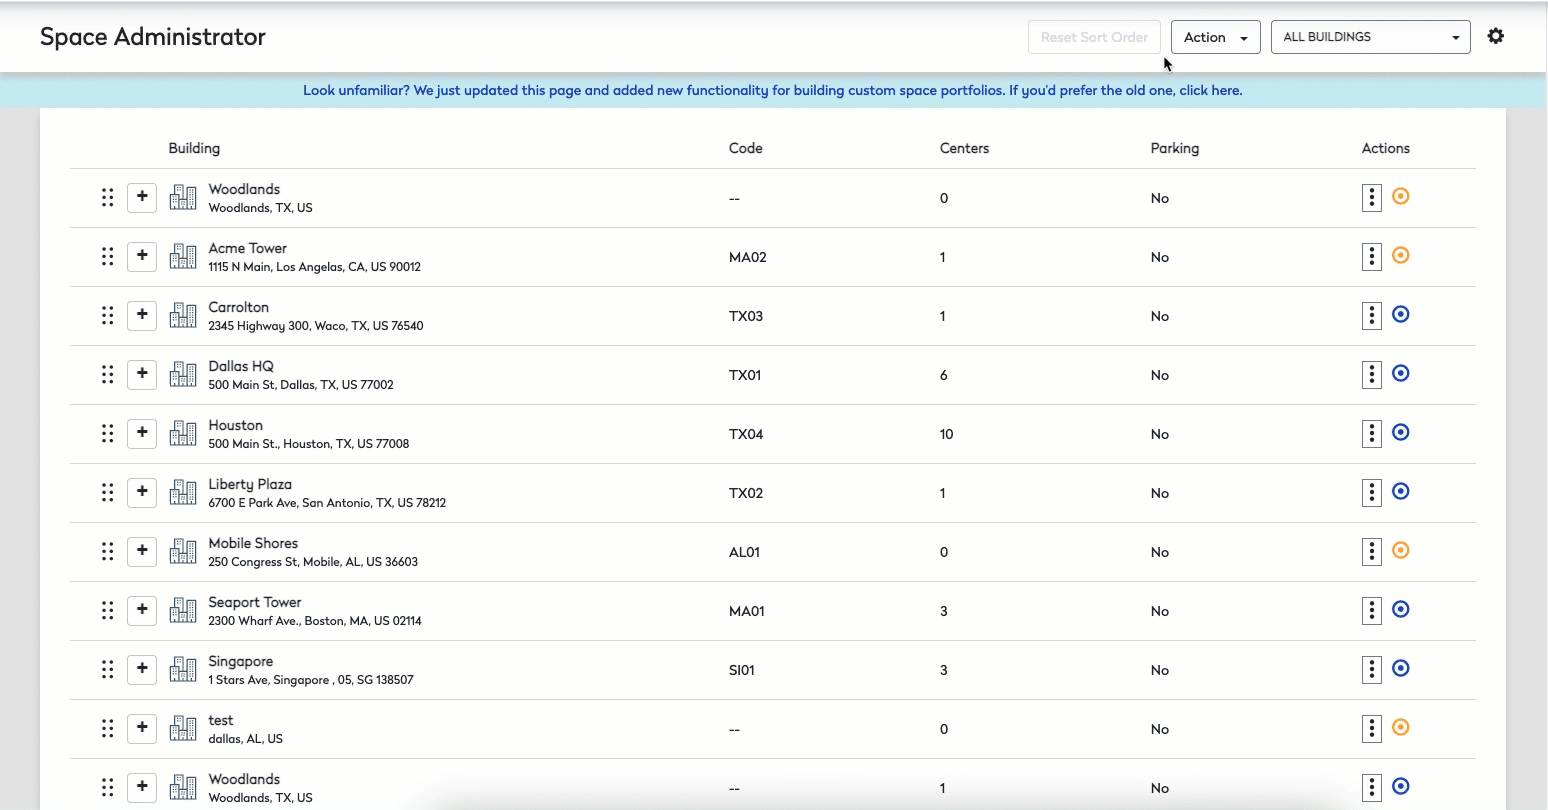
Navigate to your Building
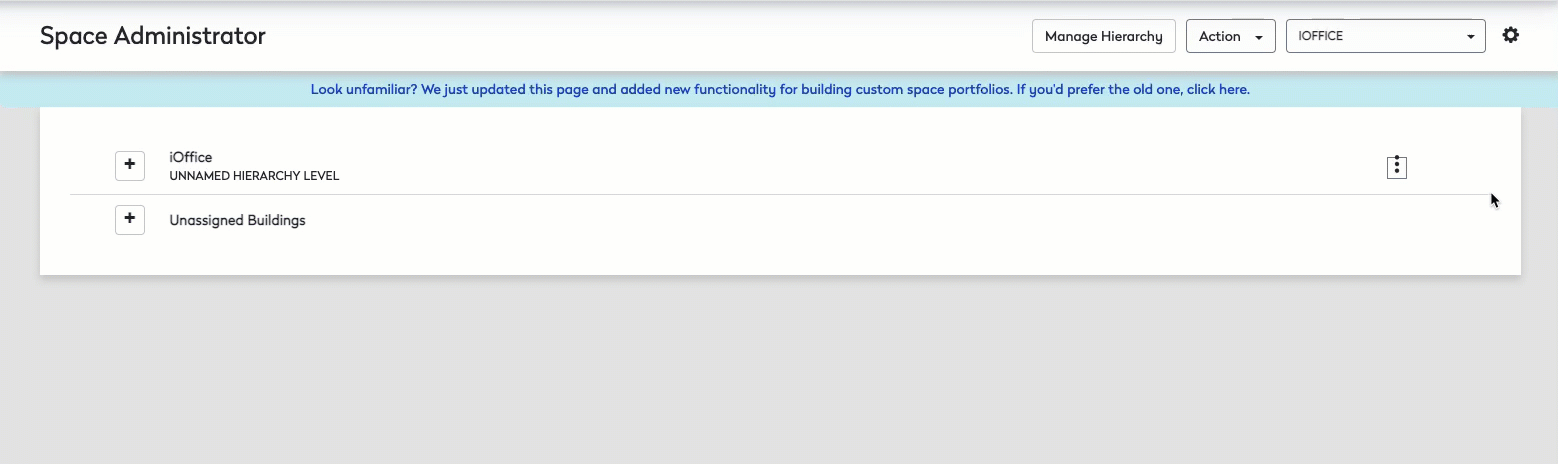
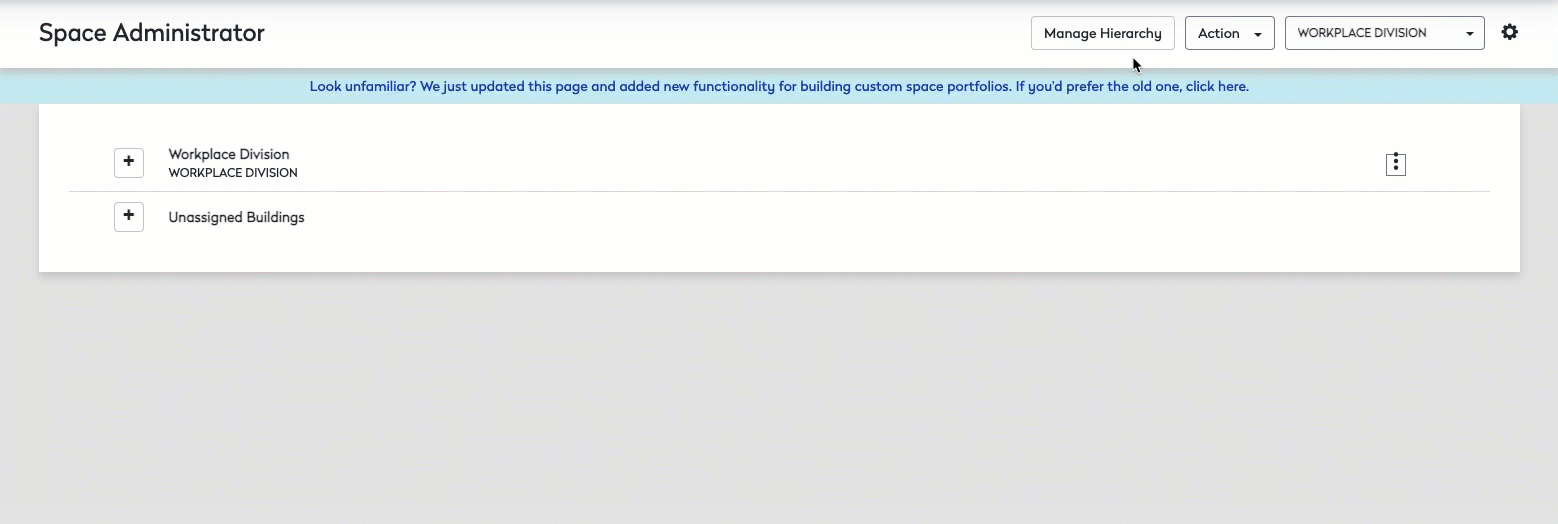
- Navigate to Admin > Space > Space Administrator. The Space Administrator screen displays.
- Click the "Click here to try the new look. Customers can now build portfolio hierarchies that best suit their needs."
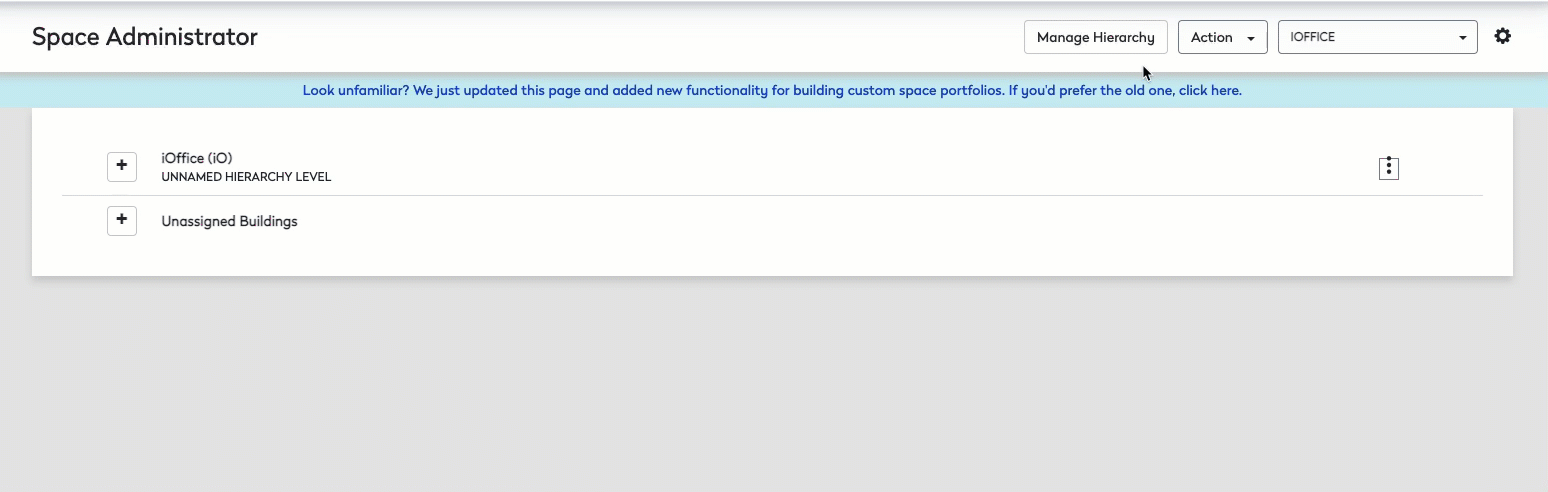
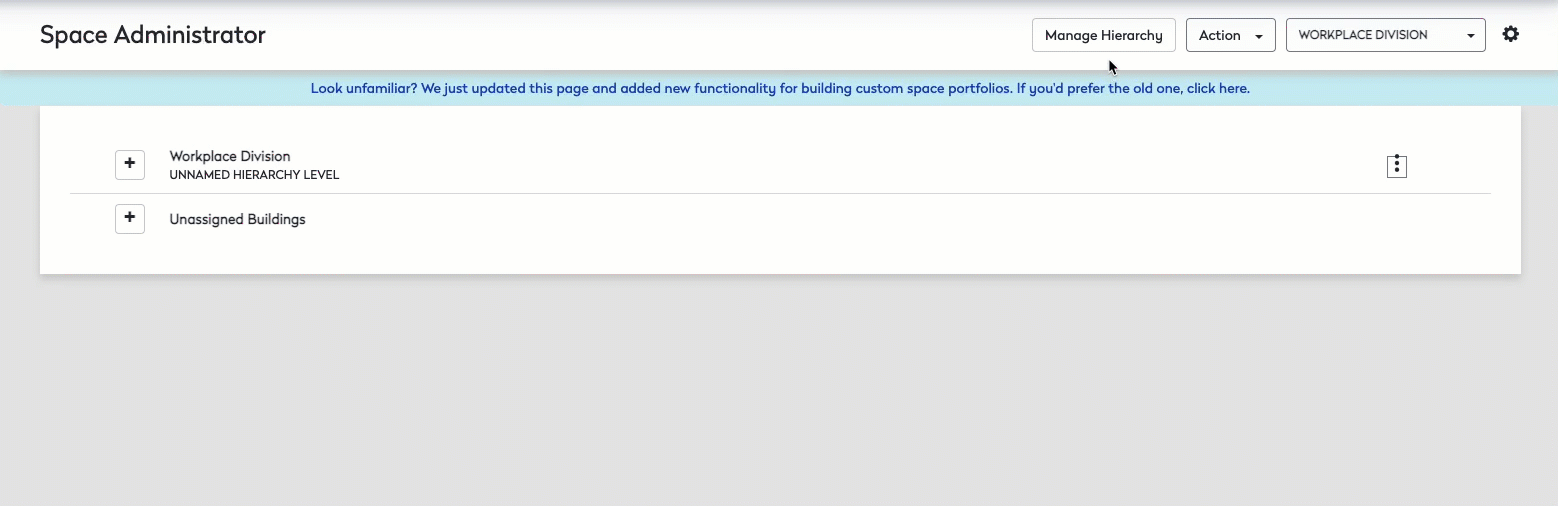
Building Hierarchy
Add a Hierarchy
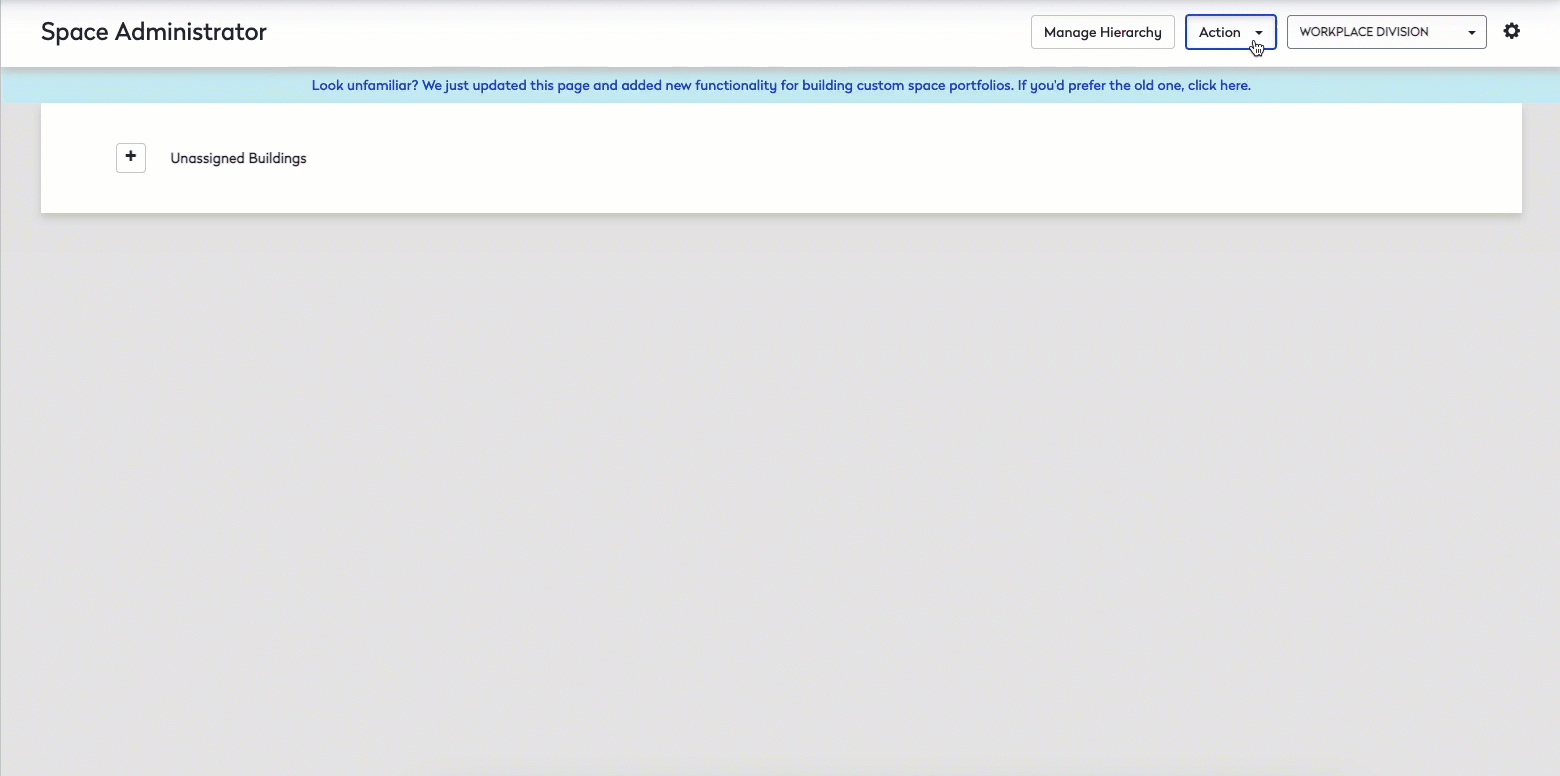
1. Click the Action button.
2. Select Add New Hierarchy.
3. In the Name field, enter the hierarchy name.
4. Click the Done button.
Edit Hierarchy
1. Click the Action More  icon.
icon.
2. Select the Edit button.
3. Change the appropriate field.
Delete Hierarchy
1. Select the Manage Hierarchy button.
2. Click the Delete  icon. The message displays "Are you sure you want to delete?".
2. Click Delete button.
Hierarchy Levels
Add Hierarchy Level
1. Click the Action button.
2. Select Add Unnamed Hierarchy Level.
3. In the Name field enter the name of the Hierarchy Level.
Edit Hierarchy Level
1. Click the Manage Hierarchy button.
2. Select the field that needs to be updated.
3. Click the Done button.
Delete Hierarchy Level
- Click the Manage Hierarchy button.
- Hover over the Hierarchy level that needs to be deleted.
- Select the Delete button.
- Click the Delete button on the confirmation screen.
Custom Fields
Add Custom Fields to a Building Hierarchy
- Click Manage Fields.
- Select Customize Fields.
- Check the appropriate fields that need to be associated with the Hierarchy.
- Click the Done button.
Edit Custom Fields to a Building Hierarchy
- Click the Action button.
- Select Manage Fields.
- If the custom field, you want to edit, click Edit link.
- In the Name field, enter in the name.
- Click the Done button.
