Add an Asset
Add an asset to your inventory using the Asset module.
- Navigate Asset > Inventory. The Asset Inventory Items screen displays.

- Click the Add button to add a new asset into the inventory list.
Information Tab
The Edit Asset's Information tab displays.

The basic parameters (manufacturer, etc.) for assets must be defined in the Admin module before new assets can be added.
General Section
Complete the following and note that the bold fields are required:
-
From the Type drop-down, select either:
- Computer Equipment
- Copy/Print - When you select this you will see the Information Tab's Details section and the Meters Tab.
- Furniture
- Plotter - When you select this you will see the Information Tab's Details section and the Meters Tab.
-
From the Manufacturer drop-down, select the manufacturer's name.
-
From the Center drop-down, select the center. Such as the Asset Center.
-
From the Model drop-down, select the model. If the asset model is not available, you can either:
-
Click the Add Model button to enter model information manually.
-
OR click the Add from Amazon button to copy model information from a listing on Amazon.com.
Location Section
Either assign the asset to a Space or Owner.
Assign to Space
If you are assigning the asset to a space, complete the following:
- In the Space field, enter the space number. The Live Search Results displays.
- Select the space.

Assign to Owner
If you are assigning the asset to an owner, complete the following:
- Click the Assign to Owner button to display the Owner field.
- In the Owner filed, enter the person's name. The Live Search Results displays.
- Select the person.

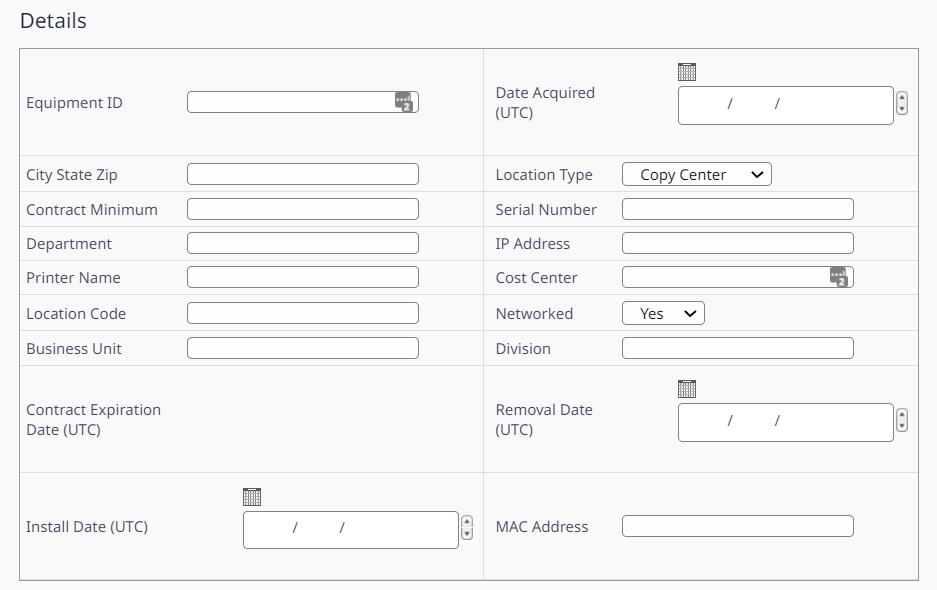
Details Section
If you selected the Type as Copy/Print or Plotter then the Details section displays.

Attachments Tab
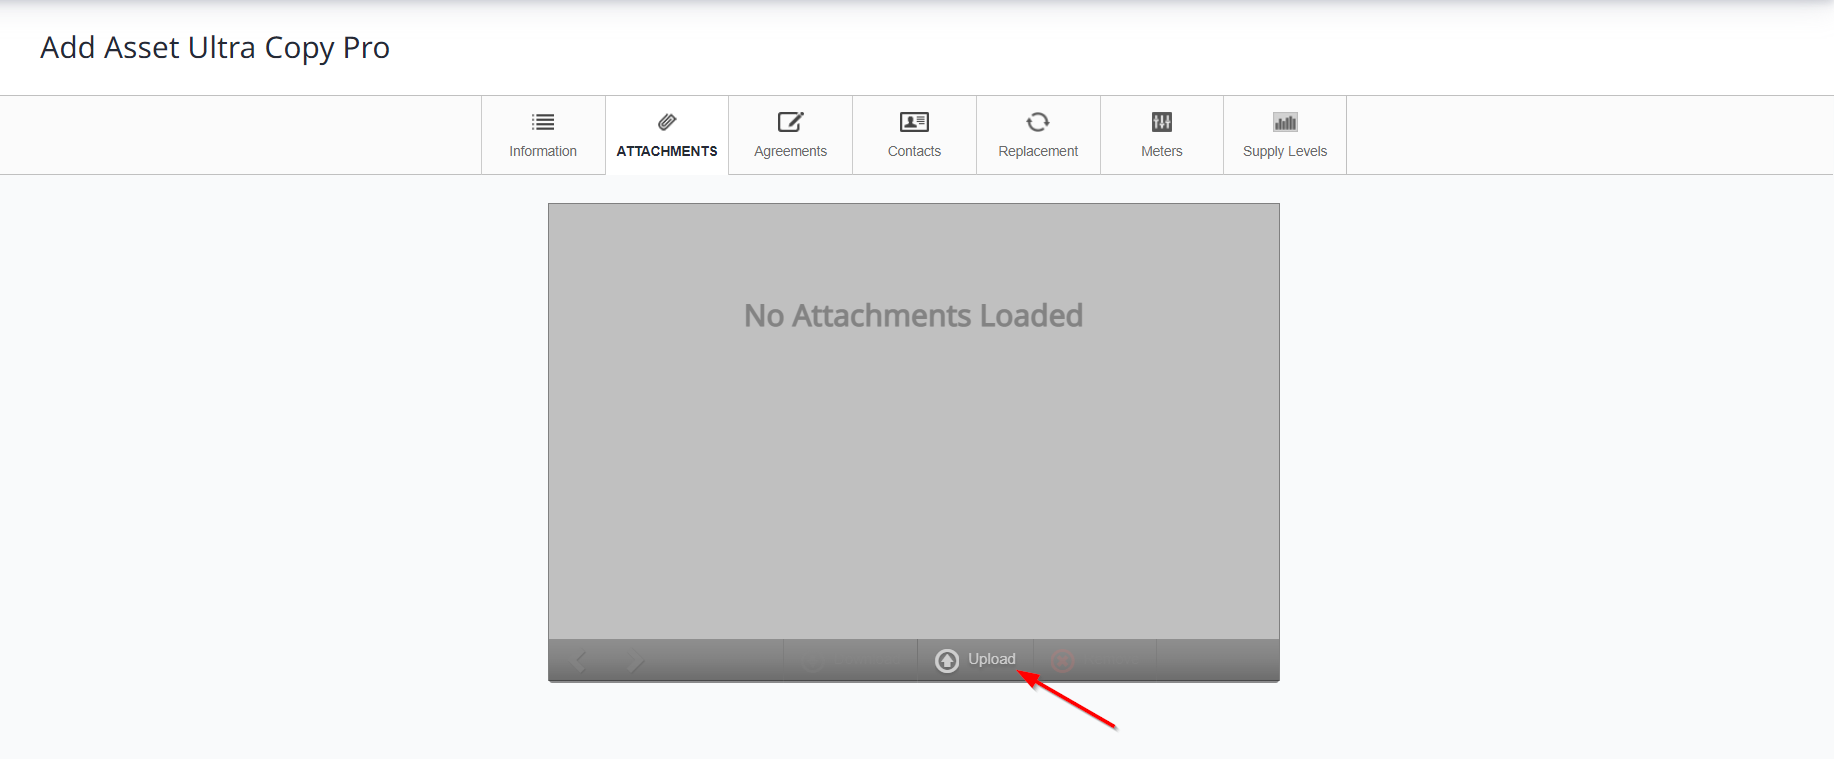
- Click the Attachments tab to add attachments to the selected asset.
Only PNG and JPEG files will be visible in the preview. You can attach PDF files however; they won't display a preview.

-
Click the Upload button.
-
Click the Choose File button. The file dialog displays.
-
Browse and select the file you want to add.
-
Click the Open button and the file is uploaded.
Agreements Tab
- Click the Agreements tab. The Agreements tab displays.

- In the Agreement Search field, enter the agreement's name. The Live Search Results displays.
- Select the agreement/contract.
If the contract has not been entered, go to the Administrative functions, select Agreements, and add the contract.
Contacts Tab
- Click the Contacts tab, to add one or more vendors or customer contacts.

- Click the Add Contact button. The Name field and Select Type drop-down displays.
- In Name field, enter the contact's name.
If the contact is not in the database, go to the Vendors section of the Asset Admin module to add a vendor. See Administrative Functions below.
- From Contact Type drop-down, select the type.
Meters Tab
If you selected the Type as Copy/Print or Plotter then the Meters tab displays. An asset that has meters are printers, copiers, or multifunctional devices.
-
Click the Meters tab.
-
To enter a recommended volume level, click the box next to Custom Recommended Volume at enter the volume in the box that appears.
-
To edit initial meter reads, click the correct meter types and then enter the initial meter reads and install dates.
Replacement Tab
The Replacement tab provides a place to make note of potential assets with which to replace this asset when it nears the end of its useful lifetime or lease.
-
Click the Replacement tab.
-
In the Asset Replacement Search field, enter the asset name. The Live Search Results displays.
-
Select the asset replacement.
Save or Save and add Another
Click the Save button to save the entered information and add the asset. The asset is added, and the Asset Inventory Items screen displays.
-or-
If you need to add multiple assets, click the Save And Add Another button to save the entered information and add the asset.
The asset is added, and the Add Asset screen displays, where you can add the next asset.
