Adjust a Neighborhood Section
When your organization's departments space needs change and they need more or less space, then your Space Planner can adjust the neighborhood selection to include more or less space.
- Change Mode icon at the upper right-hand corner to the Admin Mode
 .
. - Navigate to the building and floor.
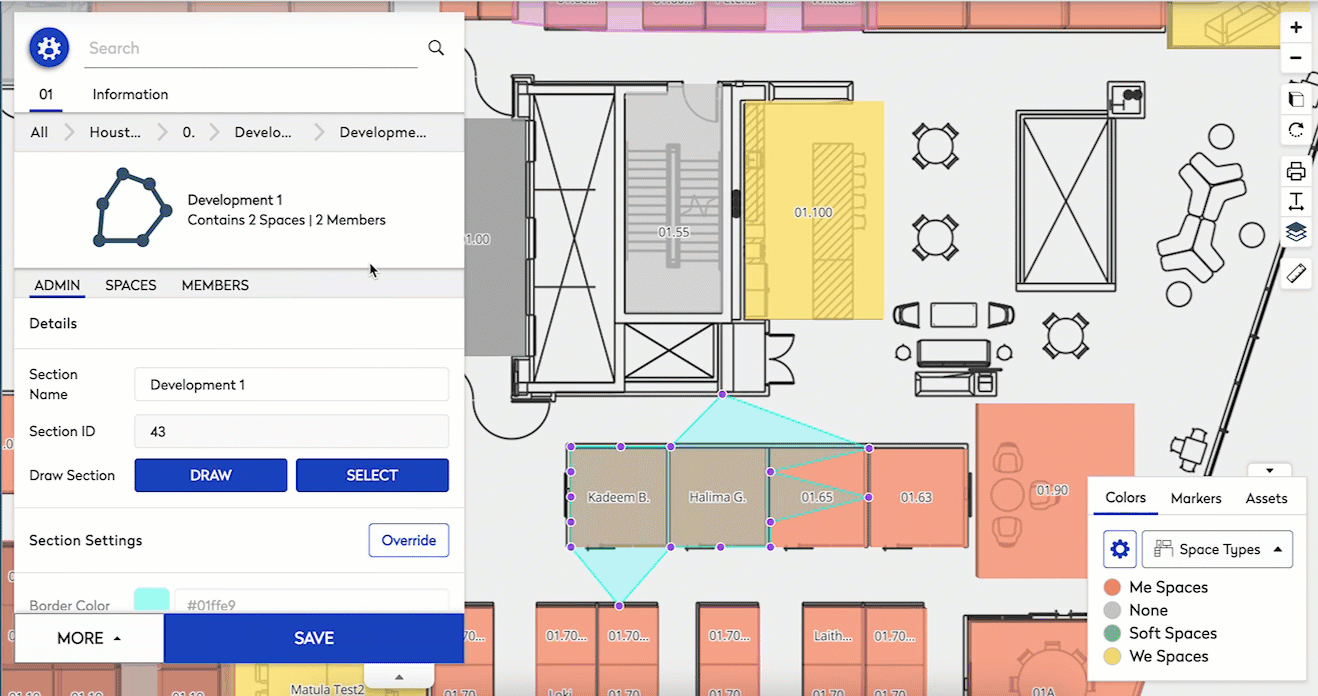
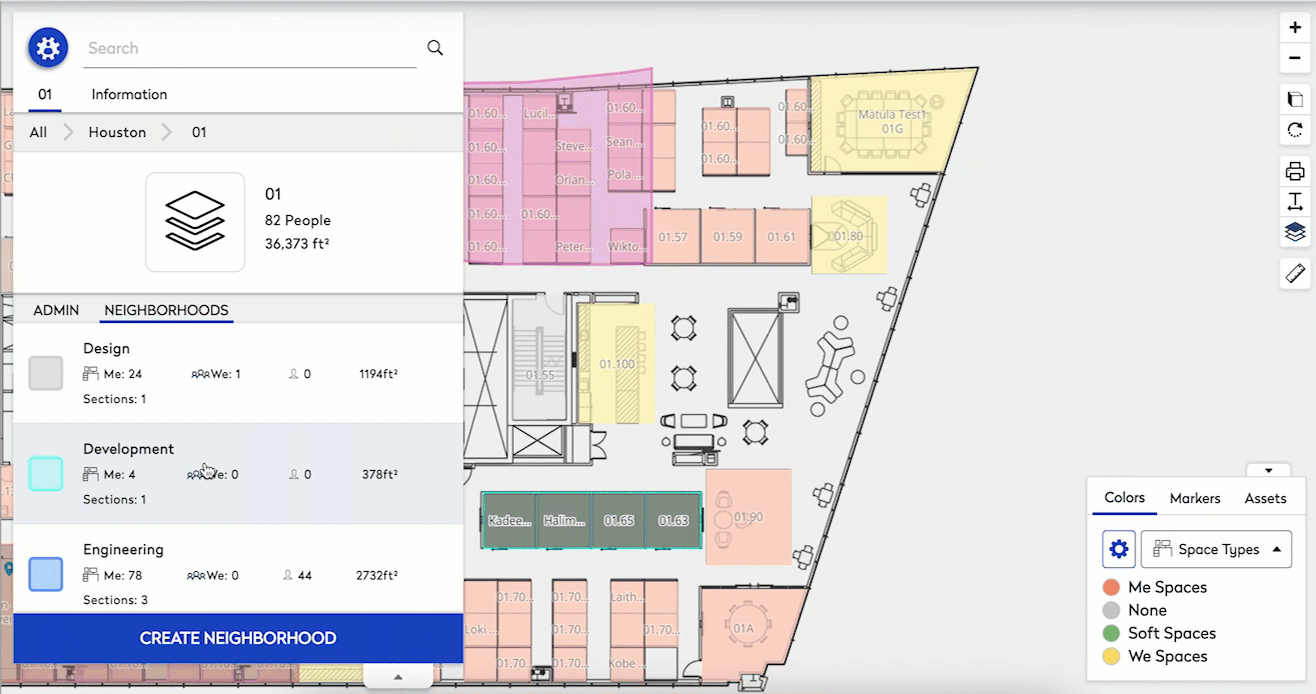
- From the Neighborhoods tab click the Neighborhood that needs to be edited.
- Click the Sections tab.
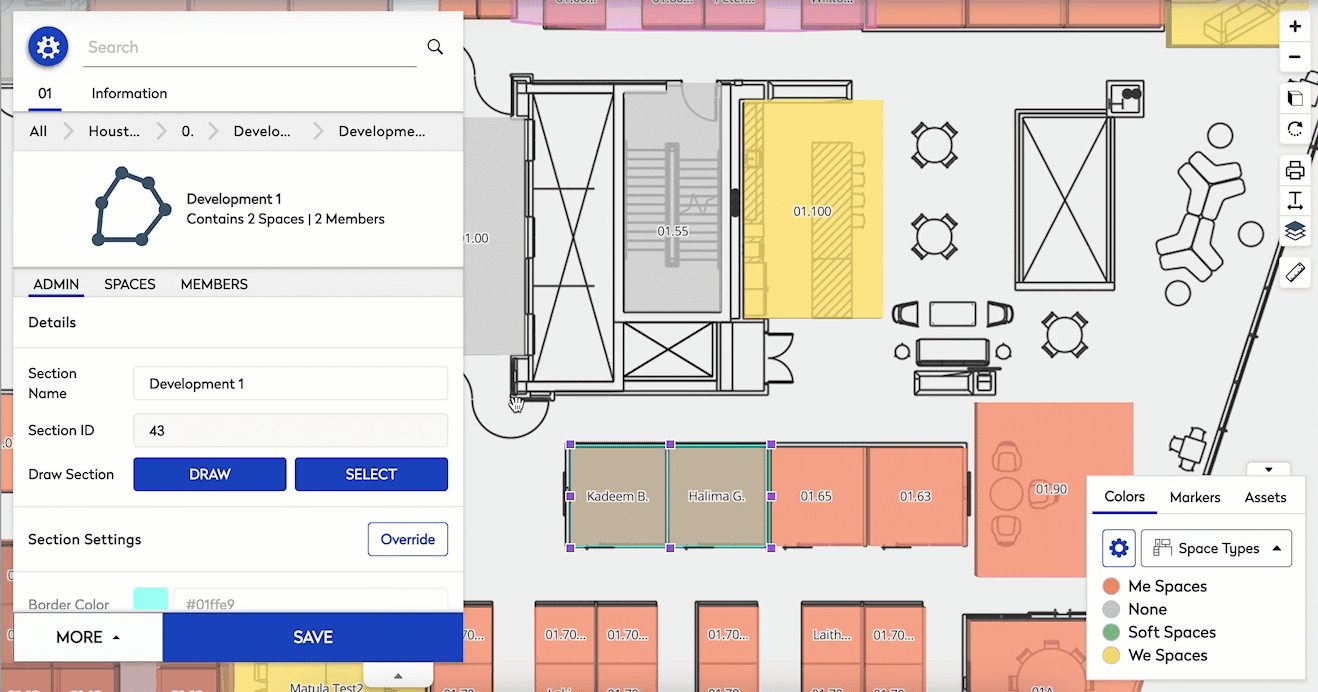
- Select a Section that needs to be edited.
- Click one of the boundary boxes by holding the Left mouse button down, and drag the cursor out or in.
In the example below the neighborhood's spaces are reduced.
Or you can adjust the neighborhood to have a custom shape.
Change to a polygon by double-clicking the boundary box of a section. The boundary box can then be altered to different shapes as desired.
Click the Space tab to view what spaces are within a neighborhood section.
This tab will show what spaces are included with the section, if the space is not showing within the selected section make adjustments to the section as shown above. The boundary must capture the outermost vertices of the poly line of the space to be included within the section.