Add, Edit, or Remove an Annotations Layer
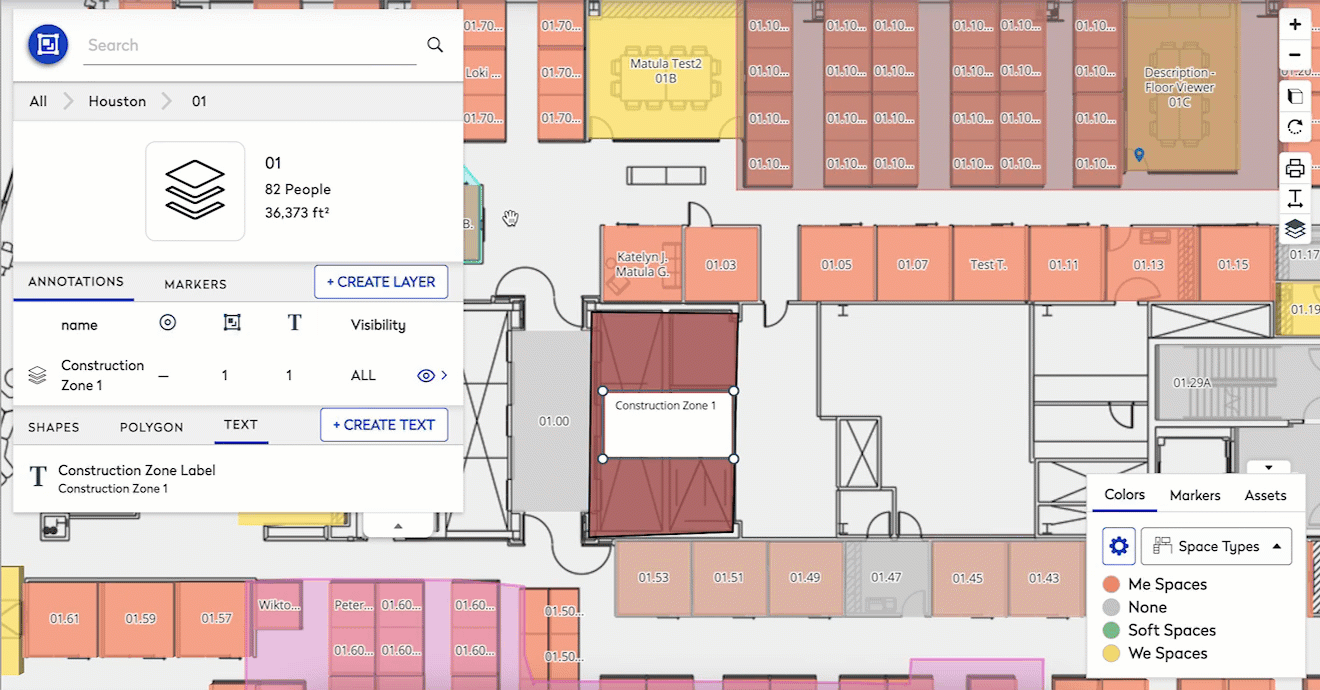
The Annotations Layer allows you to add, edit, or remove annotations layers. For example, maybe there is construction on the floor that needs to be marked on the floor plan.
Watch the Video
This video covers how to add a annotation layer, on spaces that will be part of a Construction area, that contains a polygon, text, and a shape. The polygon can be changed to have a colored and thicker border, and change the fill color opacity to make it more see-though. Also, the text box's font size and color can be changed.
Add an Annotations Layer
In order to add an annotations layer, perform the following steps.
- Click the Annotations tab under the Annotations section of the Space Desktop screen.
- Click the +Create Layer button.
- In the Name field, enter the annotation layer's name.
- From the Visibility drop-down, select who can see the annotation either:
- Everyone
- Administrators & Operators
- Me
- Click the Done button.
Edit an Annotation Layer
In order to edit an annotations layer, perform the following steps:
- Click the Annotations Layer button under the Annotations section of the Space Desktop screen.
- Select the annotation that needs to be edited.
- Make the necessary changes to the layer.
- Click the Done button.

Remove an Annotations Layer
In order to remove an annotations layer, perform the following steps:
- Click the Annotations tab , and select the layer that needs to be deleted.
- Click the Delete button on the layer you want to remove. The selected layer has been removed.
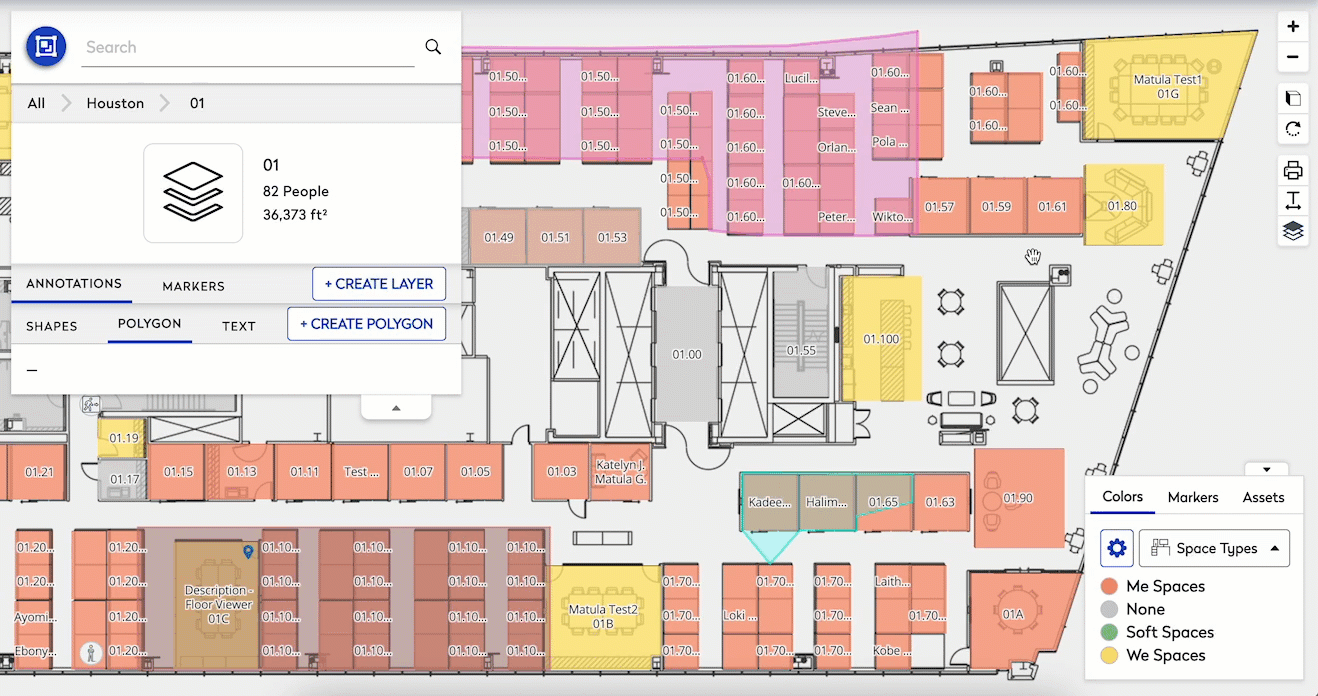
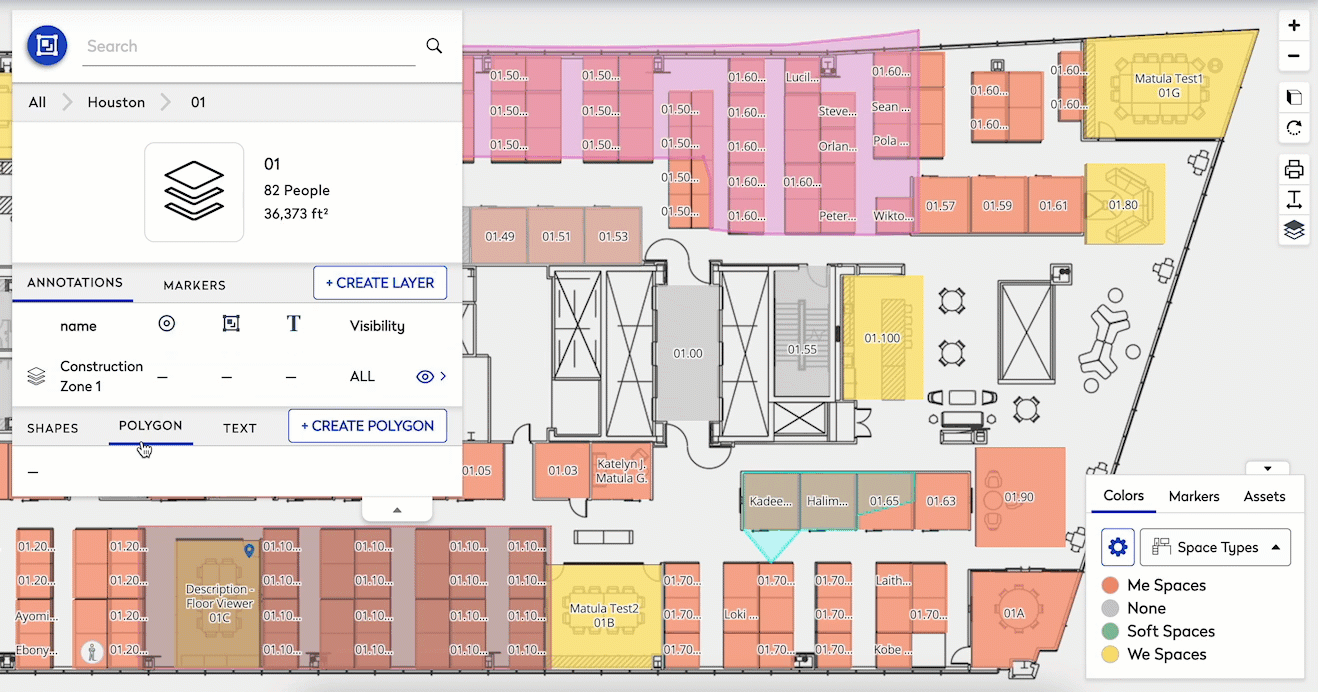
Polygon
The Polygon function of the Annotations section allows you to add a custom shape to your floor plan.
Add a Polygon
- From the Annotations section of the toolbar, click the Polygon icon. A message appears that informs you to "Left-click onto the map to create the first point for the polygon annotation."
- Click the floor map to place the text annotation. The Layer Details screen opens.
- Create your desired shape. You can drag the corners or sides to enlarge or decrease the size of the shape.
- Edit the polygon's border color, border weight, border opacity, fill color, and fill opacity in the details menu on the left side of the screen.
- When you have finished, click the Done button.

Text
The Text function of the Annotations section allows you to add text to your floor plan.
Add Text
- From the Annotations section of the toolbar, click the Text tab.
- Click the + Create Text button. A message appears that informs you to "Left-click onto the map to place the text annotation".
- Click the floor map to place the text annotation. The Layer Details screen opens.
- In the Text tab, enter the desired font size, font type, font color, and whether you want the text to be left, center, or right justified.
- Click the Done button.

Shapes
The Shape function of the Annotations mode allows you to select a shape from the Icon Library.
Add a Shape
- In the Annotations, mode select the Annotations tab, click the Shapes tab.
- Click the + Create Shape button.
- In the Name field, enter name of the shape, select the shape you want to add. A message appears that informs you to "Left-click onto the map to place the shape annotation."
- Click on the location you want to add a shape. The shape is placed and a details screen opens.
Edit or Remove a Shape or Text
Edit a Shape or Text
If you would prefer to change the size of a shape to your drawing, perform the following steps.
- Click the Annotations Layer button under the Annotations section of the Space Desktop screen.
- Click the shape you want to edit and drag the corner of the shape to increase or decrease the size. OR, you can edit the shape's details.
Remove a Shape or Text
If you would prefer to remove a shape to your drawing, perform the following steps.
- Click the Annotations Layer button under the Annotations section of the Space Desktop screen.
- Click the shape or text you want to remove from your drawing.
- Click the Delete button. The shape is removed.
Layer Visibility
The annotations layer can be hidden or visible. To hide the layer or make them visible do the following.
- Select the annotation that needs to be hidden or visible.
- Click the visibility button which is the icon of an eyeball to hide or show the layer.