Install the Hummingbird Add-in
Level: Client IT team
You can install the Hummingbird Add-in to your Microsoft Outlook Calendar and this will allow you to find and book rooms. The add-in can be install in the Microsoft Outlook Web App or Microsoft Outlook Desktop App.
If you have access to both versions of Microsoft Outlook, when you install it it in one place will result in the add-in being available in the Web app and the Desktop app.
Download the Hummingbird Manifest file
You will need to download the manifest.xml file from Eptura Workplace.
- Navigate to Admin > Marketplace > Hummingbird for Outlook.

- Click the Download button.
The <instance_name>.iofficeconnect.com_HummingbirdForOutlook_Manifest.xml file downloads.
Upload the Hummingbird Manifest file in Microsoft Outlook Web App
From Microsoft Outlook, complete the following:
- From the menu, click the More apps
 icon.
icon. - From the pop out menu, click Add apps.
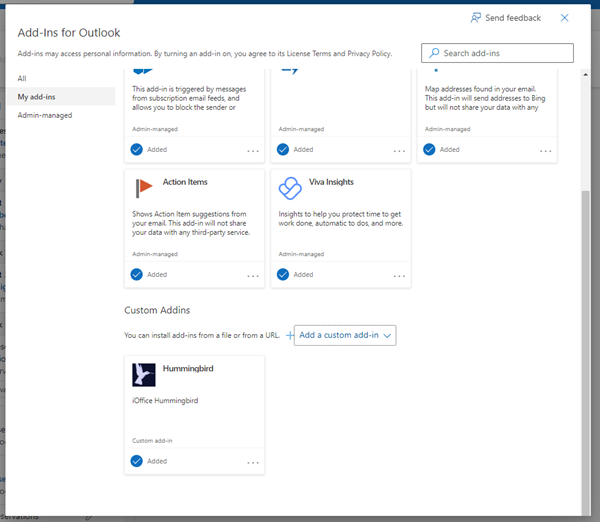
- From the Apps menu, click Manage your apps. The Add-ins for Outlook dialog.
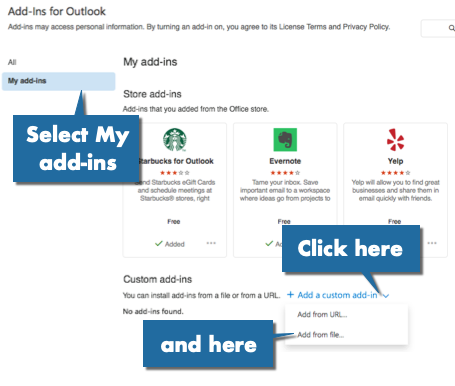
- From the left-menu, click the My add-ins.
- Under the Custom Addins heading, click the + Add a custom add-in. A pop-up menu displays.
- Click the Add from File.
- Navigate to the <instance_name>.iofficeconnect.com_HummingbirdForOutlook_Manifest.xml file and select it.
- Click the Open button. The Warning dialog displays the message "This custom add-in may access your personal data and send it to a third-party service. It has not been verified by Microsoft. Make sure you trust the source of the add-in."
- Click the Install button.
- The add-in is installed and you can click the X icon to close the dialog.
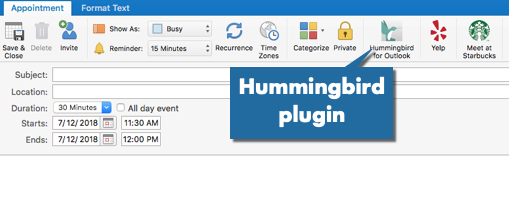
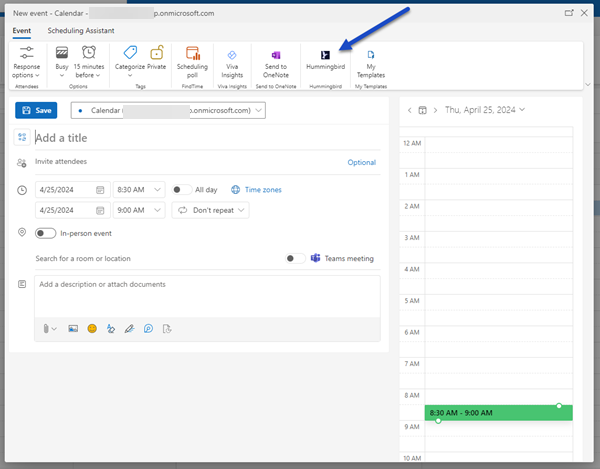
When you create a new event, you will see the Hummingbird icon in the menu.
Upload the Hummingbird Manifest file in Microsoft Outlook (Desktop App)
The Store icon will only display if your IT team has allowed you to access this.
- From the Ribbon, click Store button.
![]()
- Click the My Add-Ins link.
- Click the Add a custom add-in link.
- Click the Add from file.
- Navigate to the <instance_name>.iofficeconnect.com_HummingbirdForOutlook_Manifest.xml file and select it.
The successfully installed add-in message displays.
When you create a new event, you will see the Hummingbird icon in the menu.