Create a Neighborhood Section
Organizing spaces and members into groups is done in Space Desktop by using neighborhoods. These display on the floor plan and allow Space Planners to visualize the spaces and members. A neighborhood can span many sections of a single floor, multiple floors, and floors within multiple buildings.
- Step 1. Create a Neighborhood
- Step 2. Create a Neighborhood Section
- Create a Neighborhood Section by the Drawing Method
- Create Neighborhood Section by the Selection Method
- Step 3. Add Members to a Neighborhood Section
Watch the Video
The video covers how to identify a neighborhood on the floor plan, how to create a neighborhood using the selection or drawing method. Then how to assign the hybrid employee to the neighborhood.
Learn more
The example below, creates a neighborhood section on a single floor and it demonstrates how the neighborhood section can be created via the Drawing Method or Selection Method.
Step 1. Create a Neighborhood
You can select the spaces to be included in the neighborhood.
- Change Mode icon at the upper right-hand corner to the Admin Mode
 .
. - Navigate to the building and floor.
- Navigate to the floor plan.
- Zoom into the area where you want to create the neighborhood.
- Click the Mode icon and select Admin mode.
- Click the Neighborhood tab.
- Click the Create Neighborhood button.
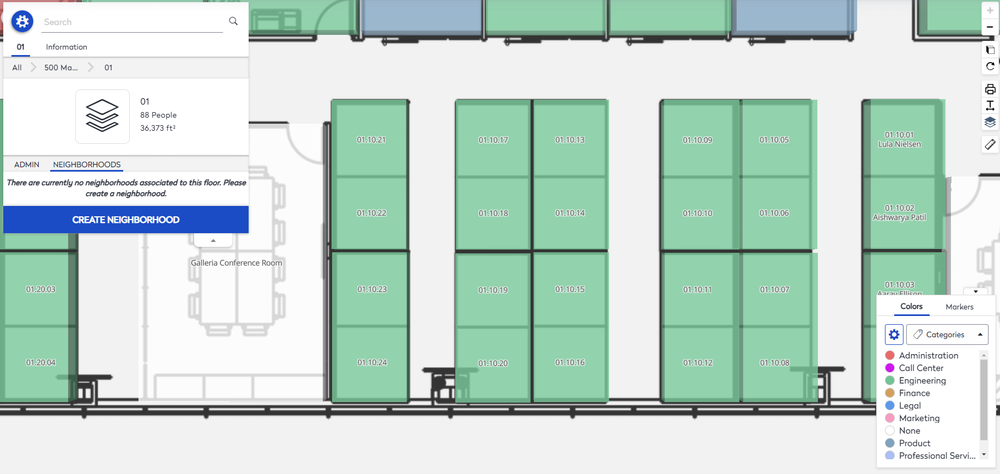
The New Neighborhood displays in the panel.
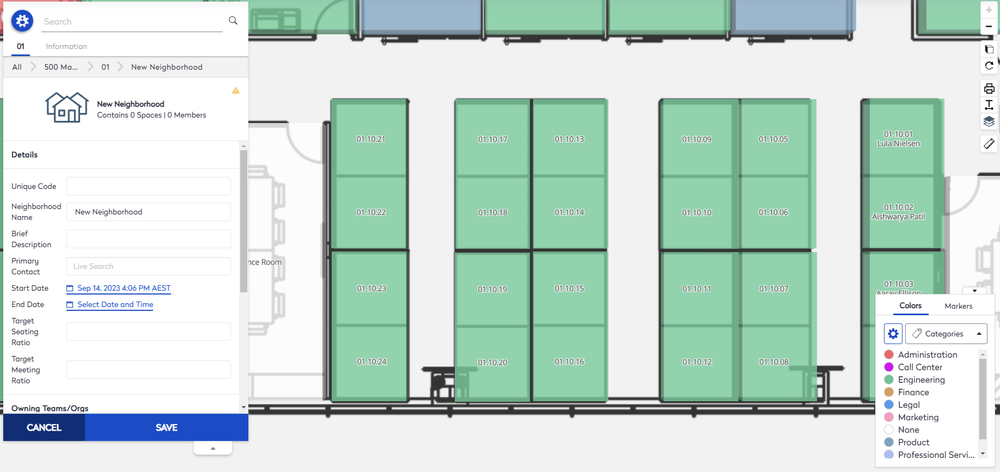
- In the Unique Code field, enter an unique code to identify the neighborhood.
- In the Neighborhood Name field, enter the name of the neighborhood.
- In the Brief Description field, enter a short description.
- In the Primary Contact field, enter the employee who is the primary contact for the neighborhood.
- From the Start Date and End Date calendar picker, select the start and end date.
- In the Target Seating ratio field, either leave blank for enter an employee-to-seat ratio.
- In the Target Meeting ratio field, enter leave blank for enter an employee-to-meeting ratio.
- If there is an owning team or organization, then click the Add Owner(s) button and then select the Organization Hierarchy category.
- If you want to change the neighborhood border color or fill color, then complete the HEX code and select the weight and opacity.
- Click the Save button.
The neighborhood is saved. Now you can create a neighborhood section.
Step 2. Create a Neighborhood Section
This can be created by:
- Drawing Method
- Selection Method
Create a Neighborhood Section by the Drawing Method
- From the panel, click the More button to display the pop-up menu.
- Click the Create Section option.
- In the Section Name field, enter the Section Name.
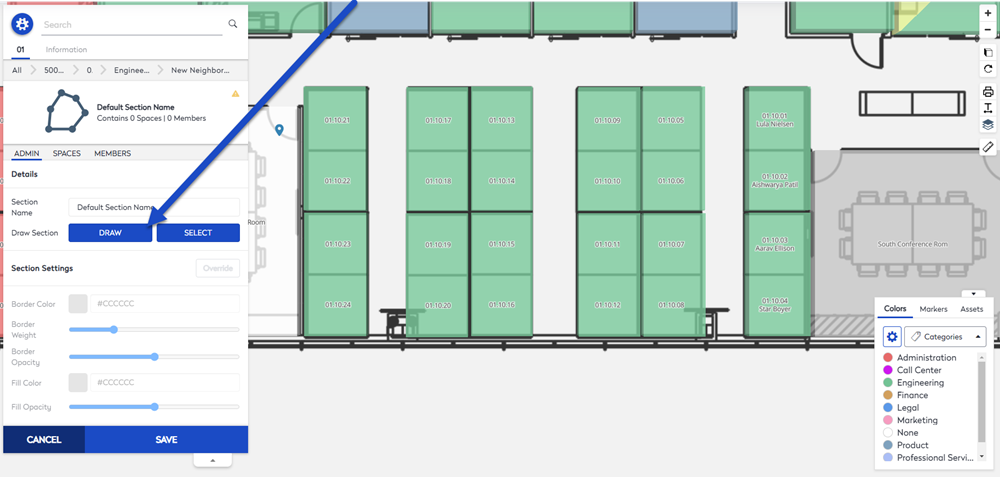
- Click the Draw button.
- Click on the floor plan and drag out the mouse to draw the desired area. The spaces are highlighted.
When you create a section, make sure that the sections do not overlap one another. This will cause double reporting of people and spaces within a neighborhood and is not a recommended best practice.
- Click the Save button and the section is saved.

Create Neighborhood Section by the Selection Method
- From the panel, click the More button to display the pop-up menu.
- Click the Create Section option.
- In the Section Name field, enter the Section Name.
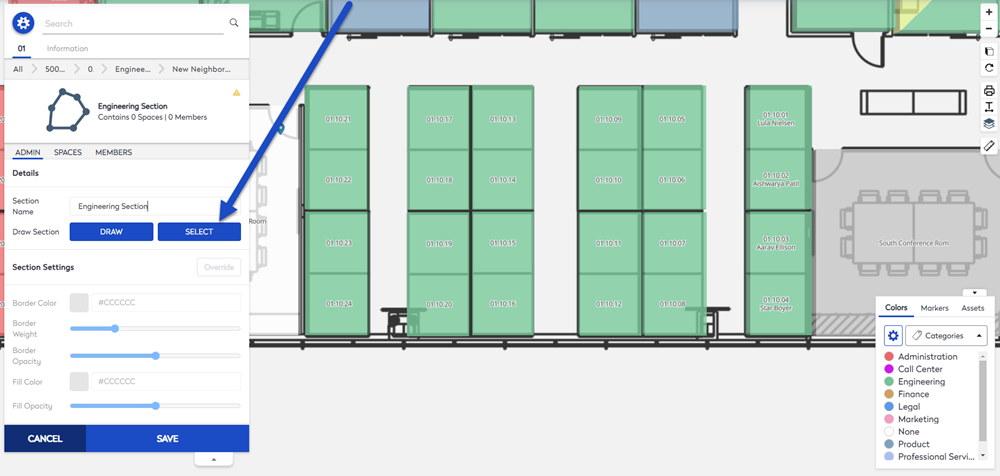
- Click the Select button.
- Click the first space you want in the selection.
- Hold down the SHIFT key on your keyboard and the LEFT mouse button.
- Drag the cursor over the spaces you want in the selection.
- Release the SHIFT key and the LEFT mouse button. The spaces are highlighted.
- Click the Finish button.
- Click the Save button and the section is saved.
Step 3. Add Members to a Neighborhood Section
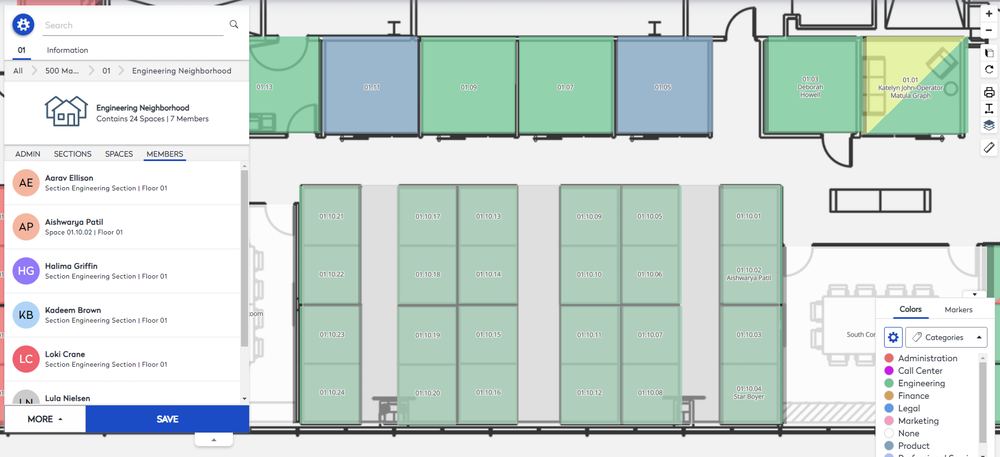
- After your neighborhood section is created and you click the Members tab, you will see there are no members.
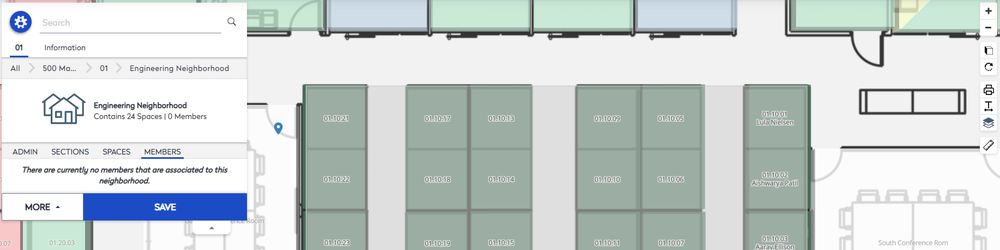
- You can add people (users) to be members of the neighborhood, and this is where you need to make sure the user is set to be Hybrid. This can be completed in Assign Hybrid User to a Neighborhood.
When you assign people as members, you will see the Member tab is populated.