Reports
The Reports allows you to access a wide variety of default reports for all modules.
- You can either search for a report or navigate the list to the report.
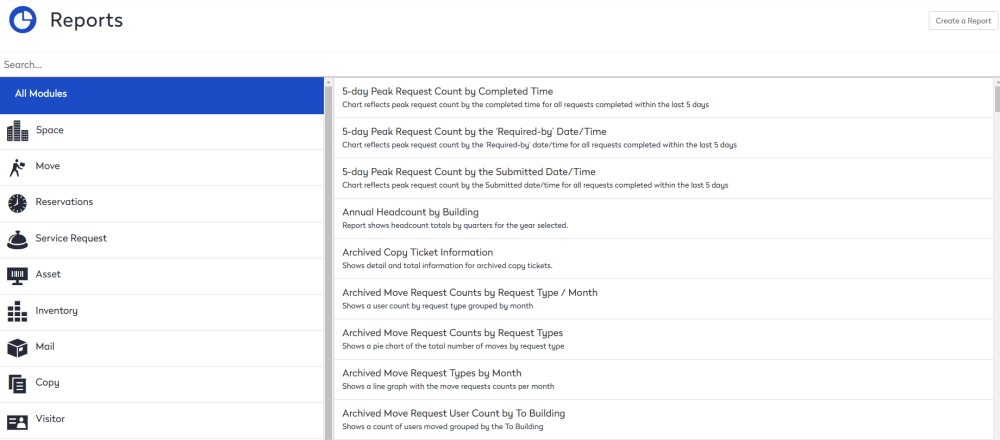
- Click the report you want to display.
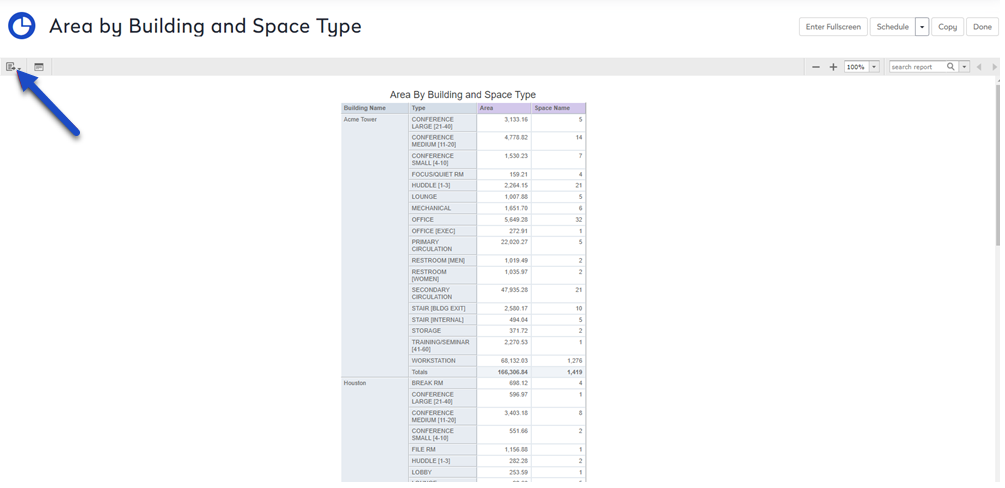
When your report displays, the following can be completed:
- Export your Report
- Filter Report Data
- Sort a Column
- Move, Resize, and Hide Columns
- Set Output Scale
- Report Pagination
In addition, you can schedule the report.
Export your Report
The Reports Module provides the ability to export your report in a variety of types. While this is optional, if you would like to export your report, perform the following:
-
After you have selected your report from the Reports Overview Screen, select the Export icon. A list of export options appears in the drop-down menu.
-
Select your preferred export type.
The preferred export types are explained in the table below.
| Option | Format Name | Usage |
|
|
Adobe Acrobat |
To prevent horizontal truncation of a report when exported, set the Actual Size option in the Report Editor. |
|
XLS |
Excel (Paginated) |
Not recommended for exporting most tables or crosstabs. Repeats headers and footers on each page. |
|
XLS |
Excel |
Ignores page size and produces spreadsheet-like output. |
|
CSV |
Comma Separated Values |
Characters outside the Latin 1 character set can cause the Excel spreadsheet to look unacceptable. Try using the file and importing it using Excel’s Import functionality. |
|
DOCX |
Word |
Do not export reports having more than 63 columns. In Microsoft Word, you cannot create tables having more than 63 columns. |
|
RTF |
Rich Text Format |
Creates a large output file, yet takes a little longer to output (e.g. a PDF output). |
|
ODT |
Open Document Text |
For best results, minimize the number of rows and columns and make sure they don’t overlap. |
|
ODS |
Open Document Spreadsheet |
Same as ODT. |
|
XLSX (Paginated) |
Microsoft Open XML Format Spreadsheet |
Ignores page size and produces a spreadsheet output. |
|
XLSX |
Microsoft Excel |
Produces a Microsoft Excel spreadsheet. |
|
PPTX |
Microsoft PowerPoint |
Allows you to export as a Microsoft PowerPoint slide. |
-
Save the report in the export file format (e.g. PDF), or open the report in the application.
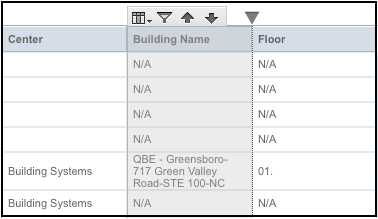
Filter Report Data
-
As you run your report, click the column you want to use for filtering the report.
-
Click the
 . The Filter column appears. By default, Show all rows is selected.
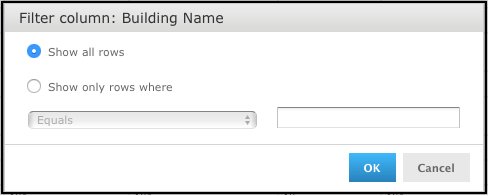
-
To build your filter, click the radio button to select Show only rows where.
-
Select a comparison operator from the drop-down.
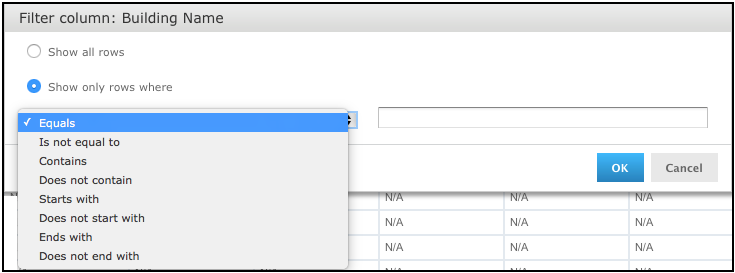
-
Enter a value for comparison with the data in the column and click the OK button. The view of report changes to show your filtered output.
-
A small star icon appears in the heading of the filtered column, to the right of the heading text. To clear the filter indicator and once again display all the accounts, reopen the Filter column dialog and select Show all rows, then click OK.
Sort a Column
You may also sort your report information alphabetically in ascending or descending order.
-
Click the column you want to use for sorting the report.
-
Click the
 (sort ascending) or
  (sort descending). The report refreshes and the data appears sorted by the selected column.
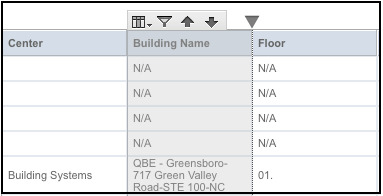
Move, Resize, and Hide Columns
Columns are easily moved, resized, and hidden in your report.
-
To move a column, click the column you want to move, then drag the column left or right into the new position. The
 indicates where the column is placed.
-
In order to resize a column, click the column you want to resize, then drag the
until the column is the size you want. -
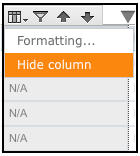
To hide a column, click the column you want to hide, then move your mouse over the
 and select Hide Column.
Set Output Scale
You can determine the display size for any report by using the report scaling options, located in the Report Viewer toolbar.
- Click
 to zoom in on the report.
 - Click
 to zoom out on the report.
 - Click
 to open the Zoom Options drop-down menu, and select the percentage by which you want to increase or decrease the size of the displayed report.
Report Pagination
If your report has multiple pages, you can use the pagination controls to move through the report quickly.
To navigate the published report:
- Use
 to navigate to the previous page.
 - Use
 to navigate to the next page.
 - Use
 to go to the end of the report.
 - Use
 to go to the beginning of the report.
 - If you know the number of the page you want to view, enter the page number in the Current Page indicator box.