Add, Edit, or Delete Asset Agreements
During implementation the initial asset agreements or contracts need to be set up and then later any new agreements or contracts can be added.
- Navigate to Admin > Assets > Agreements.
The Asset Agreement screen displays with the following tabs: Agreements, Types, and Fields.
Agreements Tab
All existing contacts and addenda are displayed.
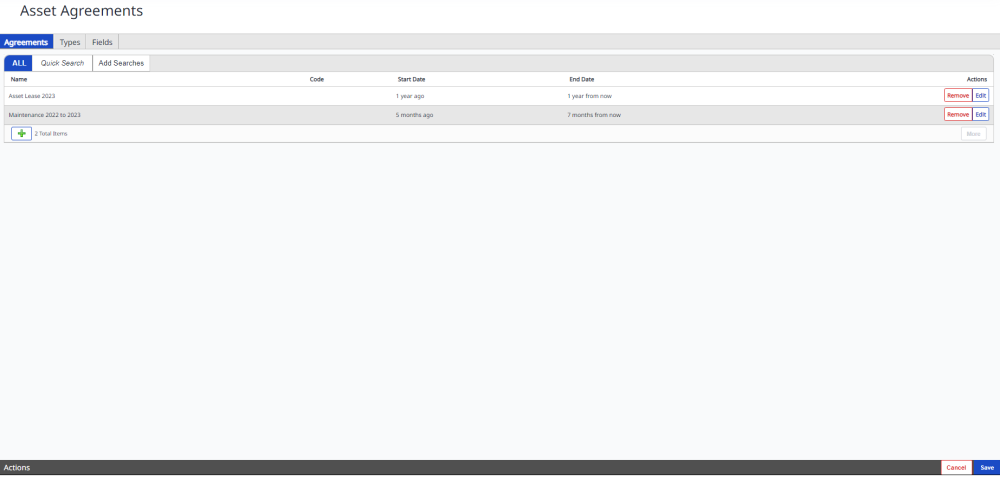
Search
-
Quick Search - can be used to locate specific agreements.
-
Add Searches - can be used to save frequently performed searches.
Add an Agreement
You can add an agreement.

-
Click the Add
icon. The Add New dialog displays.
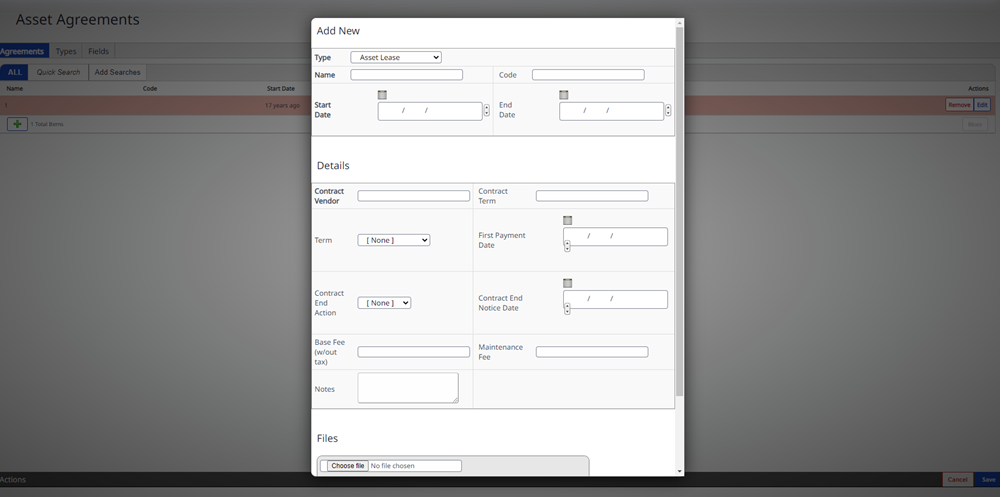
- Complete the general information such as Asset type, name, and start and end date.
- Complete the details section which includes contract vendor, term, first payment date, and contract end notice date.
- If you have any soft copies of the agreements for reference these can be uploaded. Click the Choose file button, locate the file and then click the Upload File button.
- Click the OK button.
- Click the Save button.
Edit an Agreement
You can edit an agreement.
- For the agreement you want to edit, click the Edit button.
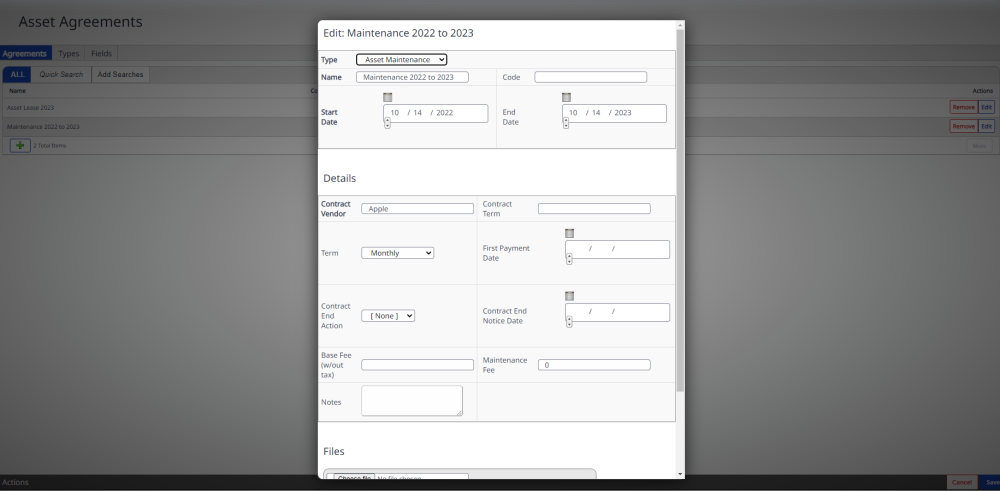
- Complete your edits.
-
Click the OK button.
-
Click the Save button.
Delete an Agreement
- For the agreement you want to edit, click the Remove button under the Actions column.
- The Remove Agreement dialog displays the message " Removing the item will remove if from the system. Any open tickets or requests using this item may become inaccessible.

- Click the Remove button and the vendor is deleted.
- Click the Save button.
Types Tab
You can add or edit the agreement types.
- Click the Types tab. The Types screen displays.
Fixed agreement types are listed and cannot be edited and there is a Lock icon under the Actions column.

Add a Type
You can add an agreement type.
- To add an agreement type, click the Add
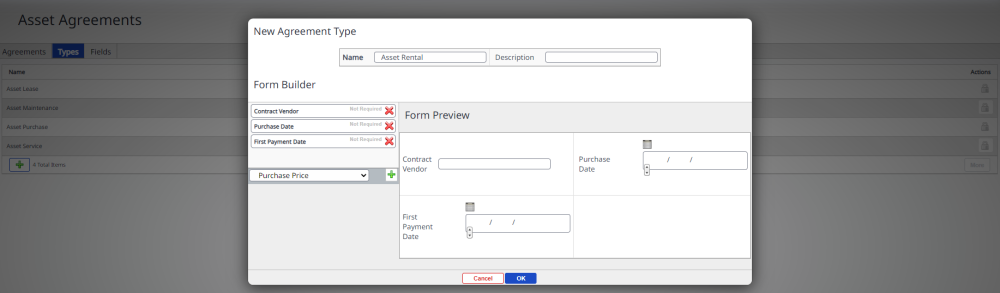
icon. The New Agreement Type dialog displays.
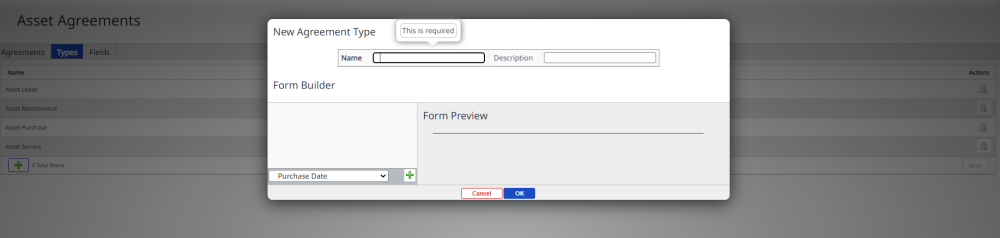
- In the Name field, enter the name.
- In the Description field, enter a short description.
- Use the Form Builder section to select appropriate fields:
- From the Purchase Date drop-down, select the field you want to add.
- Click the Add
icon to add the field to the form.
A preview of the form appears in the Form Preview section.
- When you have finished, click the OK button.
- Click the Save button.
Field Tab
You can add or edit the agreement fields.
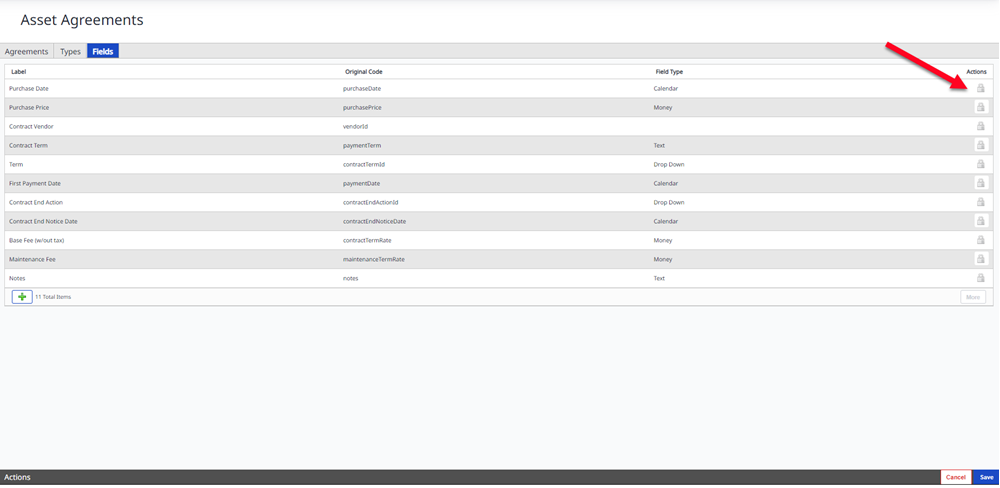
- Click the Fields tab. The Types screen displays.
Fixed field types are listed and cannot be edited and there is a Lock icon under the Actions column and note that the custom fields can added at the site level.
Add Field
You can add a field.
-
Click the Add
icon. The Add New dialog displays.
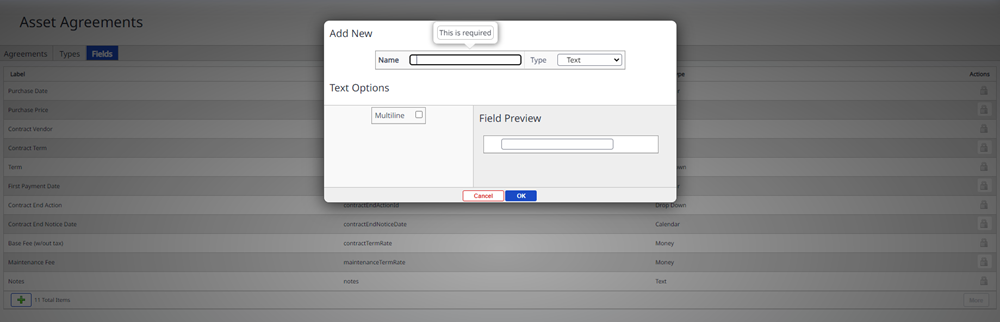
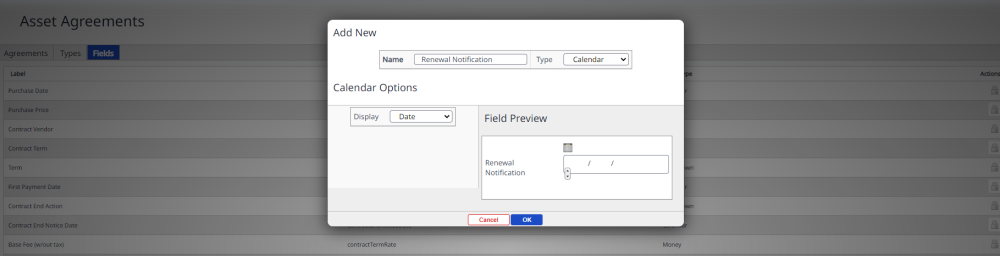
- In the Name field, enter the name of the field.
- From the Type drop-down, select either: Text, Money, Number, Live Search, Drop down, Checkbox, or Calendar.
A preview of the form appears in the Field Preview section.
- Click the OK button.
- Click the Save button.