Floor Plan Markers Enchancement - 2019 April
Administrators can now define markers on the Space Desktop, allowing administrators to add points of interest and other relevant details for each floor. Once added, markers can be used to point employees to items such as safety equipment, exits, facilities, or any other relevant item that can improve their employee experience. The addition of a marker layer is part of our continued effort to consolidate space information into a single, centralized tool.
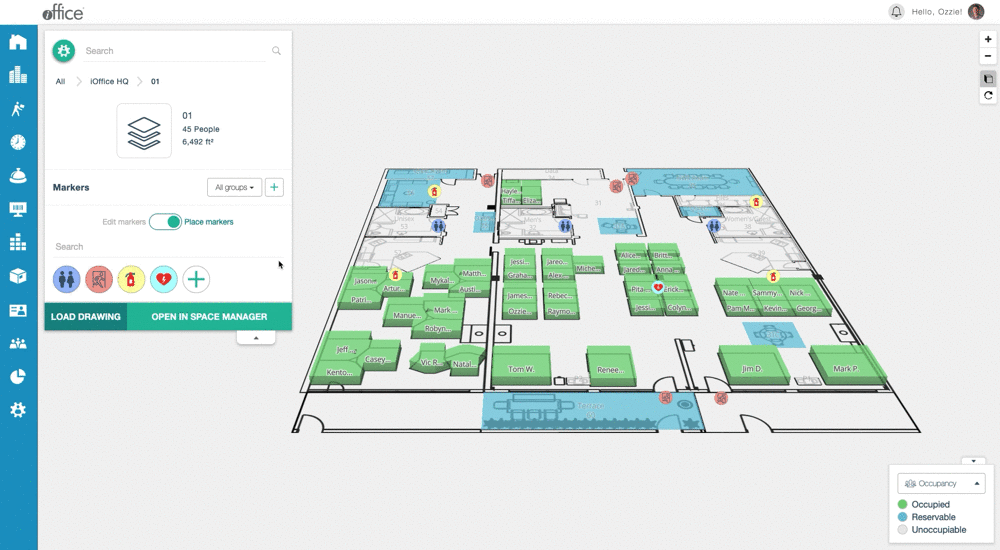
Suppose you want to add markers to direct employees to restroom facilities on a floor. First, access the floor plan where the marker should be placed and access Admin mode. The new Markers section displays.
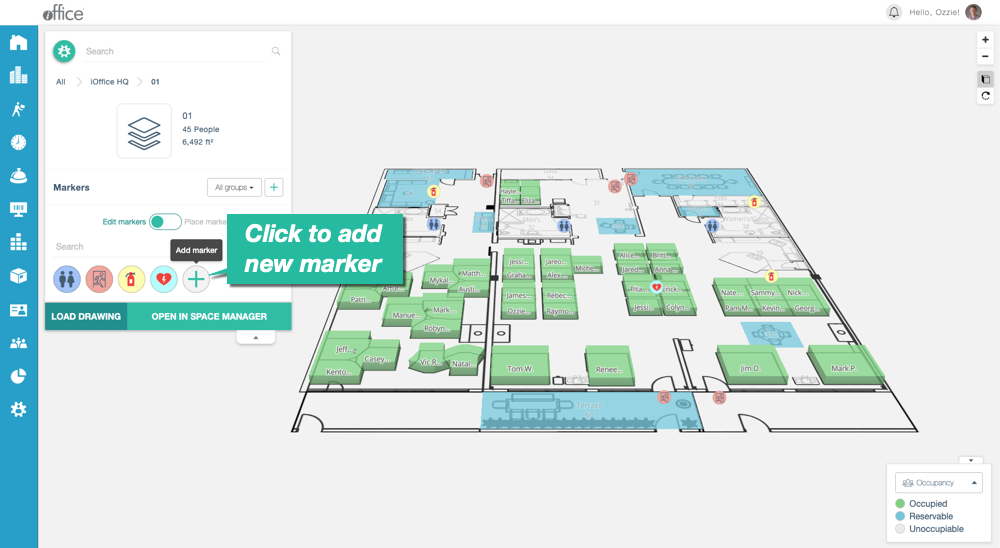
Click the  (Add Marker) button in the Markers section to add a marker type for restrooms. The Marker Type section displays, where you can enter a name and description and also assign a group for the marker type.
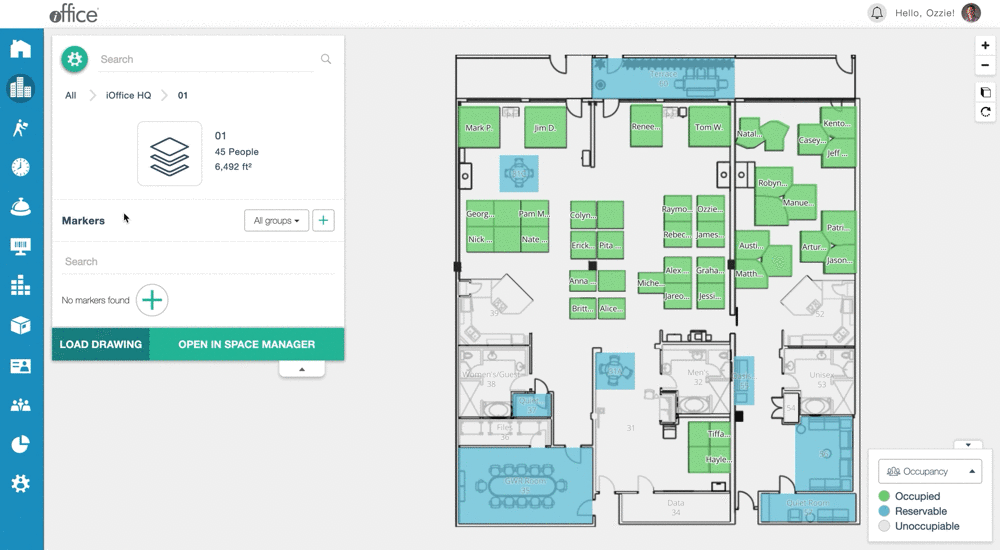
Once the name, description, and group are defined, add an icon and color for the marker and click the Save button to save the marker type. The marker type is created and displays in the Markers section.
![]()
To place a marker, activate the Place Markers option by clicking the Edit/Place Markers toggle switch and then click on the marker you want to place on the floor plan. Instructions for how to place markers display in the top-right corner of the screen. For example, to place a single marker, simply click the location on the floor plan where the marker should be placed. Once a marker is placed on the floor plan, you can click-and-drag the marker as needed to adjust the placement.

If a marker is placed on the floor plan by mistake, simply click on the marker and select the Delete button to remove the marker. A confirmation message displays in the upper-right corner, allowing you to confirm the deletion.
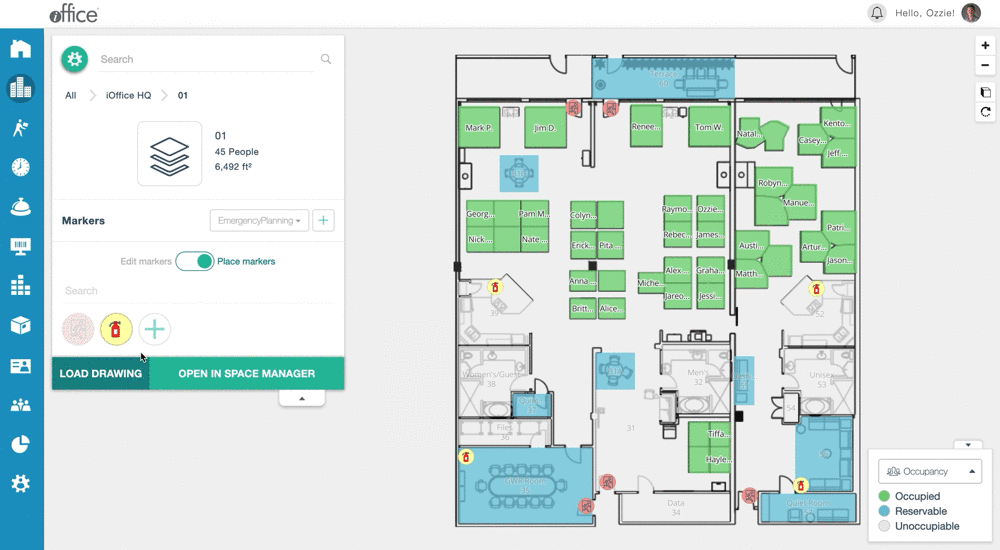
Once a marker is correctly placed on the floor plan, you can define a custom description or name specific to that marker, allowing you to provide additional clarification for employees. To edit the marker, activate the Edit Markers option of the Edit/Place Markers toggle switch and click on the marker you want to edit. You can then update the marker name and description as needed. When the Edit Marker option is used, you can also edit a marker type to apply global changes to markers of that type by clicking on the marker type rather than an individual marker.
Changes made to the marker type are applied globally to all markers of the type that have not been individually customized, allowing you to apply changes to a large number of icons with ease.
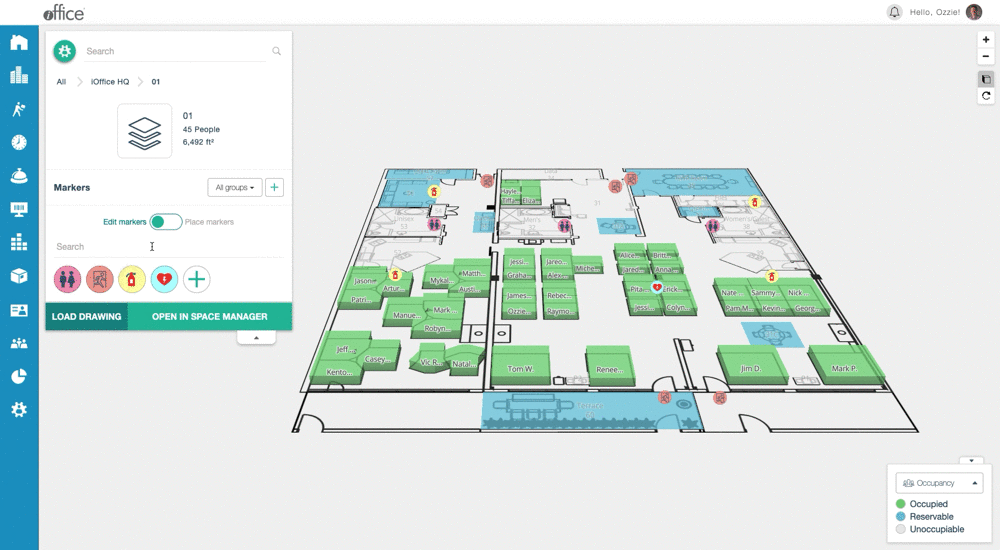
Additional options are available to you while you are adding markers to allow you to show or hide specific marker groups or lock markers in a group to their current locations. To hide a group, click on the unlabeled Groups button and then click the  (Show/Hide) button corresponding to the marker group you want to hide. Similarly, to lock a group, click the
  (Lock) button associated with the marker group. These options can help you avoid accidentally moving markers when making adjustments to markers in another group.
Note: Markers on the floor plan will display for the end-user regardless of whether the marker is shown or hidden in Admin mode. These options are for administrator use only.
The new markers feature provides administrators with a convenient and highly customizable method for conveying important floor information to employees, allowing them to locate relevant items and facilities with minimal effort. We hope you enjoy this new feature and find it helpful in providing your employees with the information they need to efficiently navigate your facility. If you have any questions, please call 713-526-1029 or send an email to support@iofficecorp.com.