Edit, Copy, or Delete an Existing Dashboard
If you don't want to create a dashboard from scratch, you can copy an existing dashboard and modify it. When you have a custom dashboard, then you can edit it or if needed, delete it.
Contents
- Copy a Dashboard
- Edit a Dashboard's Details (Name and Description)
- Edit a Legacy Dashboard
- Edit Dashboard
- Delete a Dashboard
- Preview a Dashboard
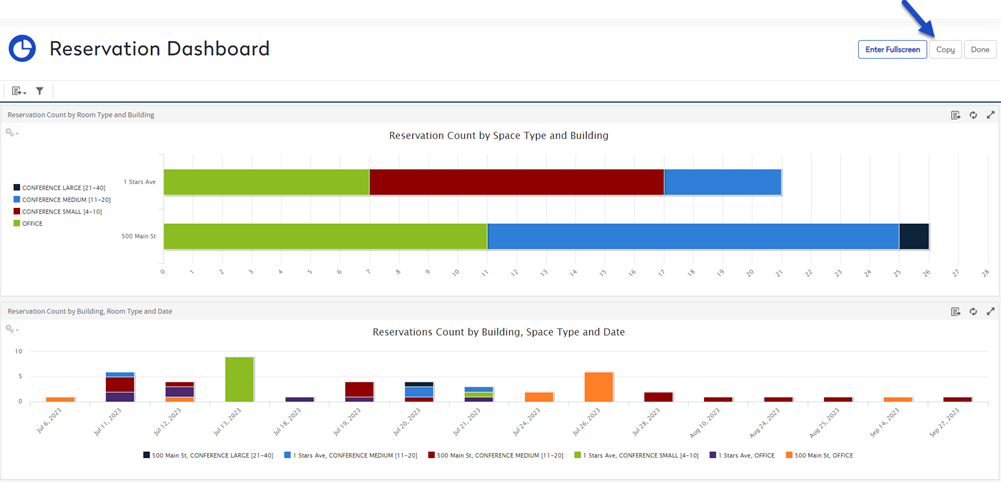
Copy a Dashboard
- Navigate to Reports > Dashboards.
- From the list of dashboards, click on the dashboard you want to copy. The dashboard displays.
- Click the Copy button.
- The copied dashboard displays in the Dashboard Editor, where you can make changes to the dashboard.
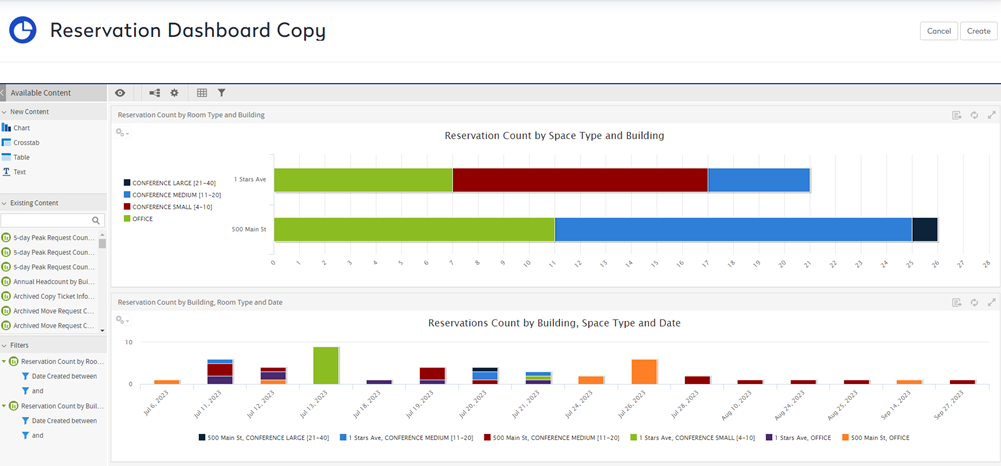
- When you are finished, click the Create button. The Save Dashboard dialog displays.

- In the Name field, enter the dashboard's name.
- In the Description field, enter the description.
- If the dashboard is private then check the Private? checkbox.
- Click the Save button.
- Click the Done button and the dashboard displays in view mode.
Edit a Dashboard's Details (Name and Description)
You can edit the dashboard's name, description,
- Navigate to Reports > Dashboards.
- From the list of dashboards, click the one you want to edit. The Dashboard displays.
- Click the Edit drop-down and select Details.

The Edit Dashboard Details dialog displays.
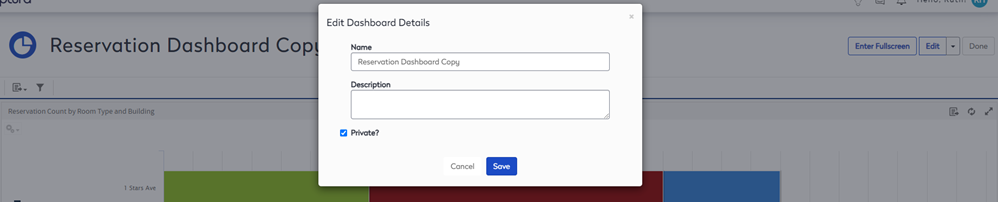
- In the Name field, enter name of your dashboard.
- In the Description field, enter information about your dashboard.
- If you want your dashboard to be only available to you, check the Private check box.
- Click the Save button to save your dashboard. The custom dashboard is saved.
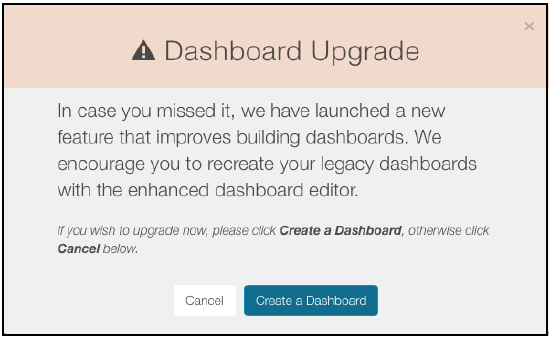
Edit a Legacy Dashboard
The Dashboard functionality has been updated. Previous dashboards created are now called Legacy Dashboards, so when you open a legacy dashboard, you will receive the message below. In order to make the most of these changes, we encourage you to recreate your legacy dashboards with the enhanced dashboard editor.
Edit Dashboard
- Navigate to Reports > Dashboards.
- From the list of dashboards, click the one you want to edit. The Dashboard displays.
- Click the Edit button.

The Dashboard Editor screen opens.
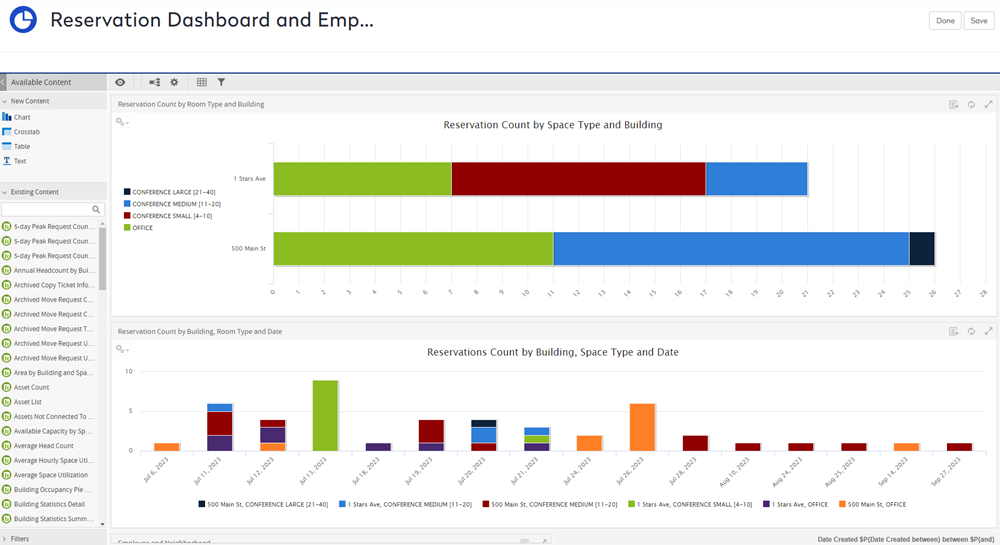
- Modify the dashboard:
- New Content
- Exiting Content
- Filters
- Delete Content
- Properties
- Show Parameter Mapping
- Dashboard Properties
- Show/hide Grid Overlay
- Filter Group
- Preview Dashboard
- Add any content from the Available Content section and drag onto the dashboard canvas. Likewise, to remove any content already on the canvas, right-click the item and select Delete.
- When you have finished, click the Save button.
Delete a Dashboard
- Navigate to Reports > Dashboards.
- From the list of dashboards, click the you want to delete. The Dashboard displays.
- Click the Edit drop-down and select Remove. The message "Are you sure you want to permanently remove this?" displays.

- Click the Remove button and the dashboard is deleted.
Preview a Dashboard
Previewing a dashboard allows you to view it as an end-user would see it.
In order to preview your dashboard, perform the following steps:
-
Click Reports > Dashboards. The Dashboard screen displays.
-
Click the dashboard you would like to preview. The selected dashboard displays.
-
Click the preview
 icon. The dashboard opens in preview mode.
 -
In order to close the preview and return to the Dashboard Designer, click the preview
 icon.
icon.
Add Controls to a Dashboard
You add a report that has input controls to a dashboard; the controls don't appear on the dashboard until you explicitly add them, one-by-one. After the report runs, dashboard users provide input using the control. Data based on user input appears in the dashboard.
In order to add controls to a dashboard, perform the following steps:
-
Click Reports > Dashboards.
-
Click the dashboard you want to add controls. Or, click the Create Dashboard button to create a new dashboard.
-
In the Filters section, expand the folder (click the + sign next to the folder) of the filter you want to add. The available input controls for that filter are now listed.
-
Drag the control you want to add onto the canvas and place it where you want it to appear in your dashboard. The added input control and its label appear where you placed it.
-
Click the Save As icon and select Save Dashboard, then click the preview
button. -
When you click the control, this provides you with a variety of options (based on the control). You also have the following options:
-
All: selects all available values in the input control
-
None: deselects all available values in the input control.
-
Inverse: deselects any selected values, and selects the unselected values.
-
Click Apply to save any changes.
-
Click
to return to the Dashboard Editor.
You may also change the labels, or display names, of individual input controls and filters within a dashlet.
Rename an Input Control or Filter
In order to rename an input control or filter, perform the following steps:
Filter
-
Right-click the input control dashlet and select Properties. The Filter Properties dialog opens.
-
Change the Filter Label to the name of your choice and click OK.
Input Control
-
Right-click the input control and select Properties.
-
Change the filter label to the name of your choice and click OK. The input controls are updated.