Create a Transfer
Transfers are used to move inventory from one warehouse to another if a part you require is in stock at another warehouse.
To create a new Transfer, follow the steps below:
- Navigate to Transfers. The Inventory Transfer Management screen displays.

- Click the New Transfer button. The Create Transfer form displays.
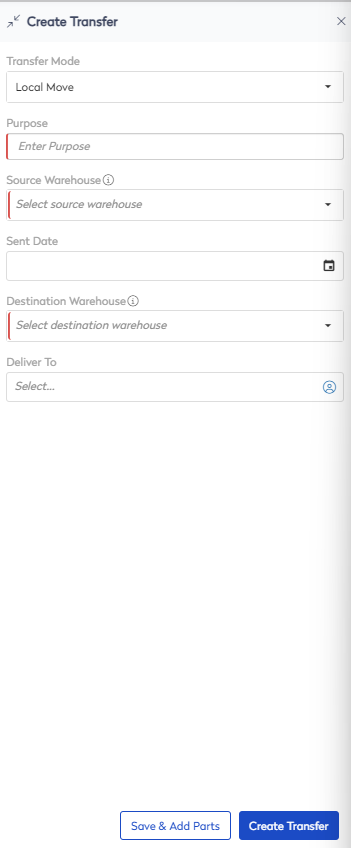
- From the Transfer Mode drop-down, select one of the following transfer modes:
- Local Move - Transfer parts between warehouses within the same site.
- Remote Transfer - Transfer parts between warehouses within separate sites.
- In the Purpose field, enter the Purpose of the transfer.
- From the Source Warehouse drop down, select the warehouse the parts will be transferred from.
- If the transfer has already been sent, click the Sent Date calendar, select the date the transfer was sent.
- From the Destination Warehouse drop-down, select the warehouse the parts have been sent to.
- From the Deliver To field, enter the name of the recipient of you require a specific recipient to receive the transfer.
- From the Tracking # field, enter a tracking number.
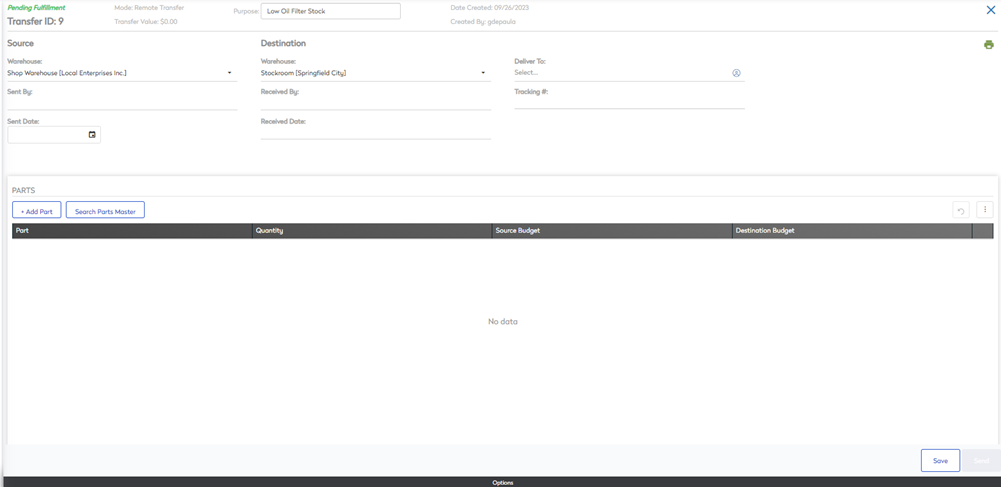
- Click the Save & Add Parts button.
The new transfer displays. You can now add parts to the transfer.