Set up the Barcode Client
The Barcode client is a cloud printing service that needs access to the barcode printer and the internet and will need to always remain running. This article will walk you through the setup, and accessing the Barcode Client.
Download and Install the Barcode Client
Before you download the Barcode Client, contact your IT Administrator to make sure you are set up as a local admin on your computer. When this is completed, you will be able to install the Barcode Client software on your computer.
- From the menu, click Settings.
- Under the Tools and Support section, click Barcode Client.
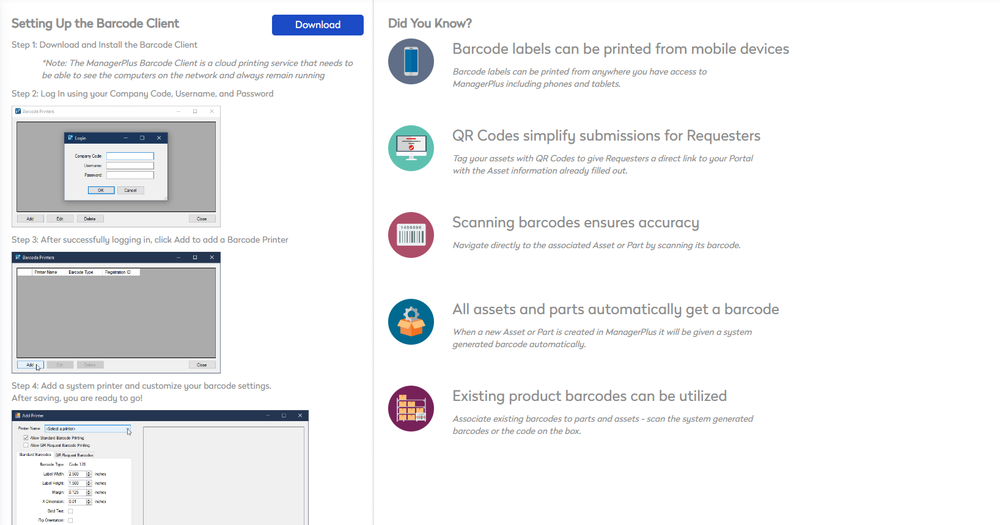
The Setting Up the Barcode Client screen displays.

- Click the Download button. The Barcode Client is downloaded as a file called MPlusBarcodeClientInstall.msi.
- Navigate to your download folder and then double click the filename to install.
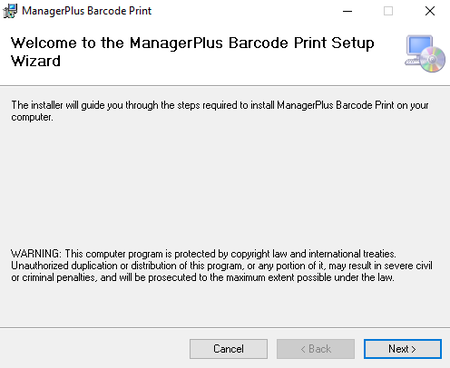
The ManagerPlus Barcode Print wizard dialog displays.

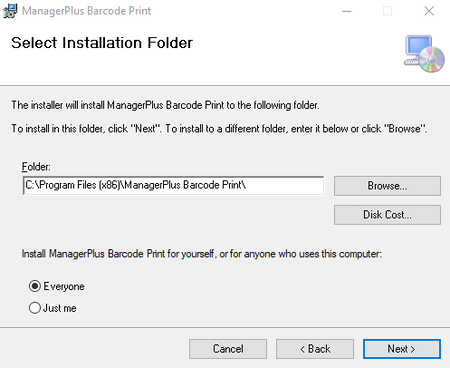
- Click the Next > button and the Select Installation Folder dialog displays.

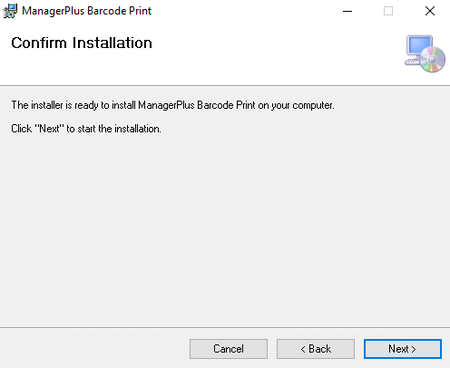
- Click the Next > button and the Confirm Installation dialog displays.

- Click the Next > button and the Barcode Client is installed.
Log into the Barcode Client and add a Printer
- Open the Microsoft Start menu and then start the Barcode Printer Setup.

When the Barcode Printer dialog displays, you will be prompted to login.

- In the Company Code field, enter the the first part of your Eptura Asset instance's URL. For example, if the URL is https://testcompany.managerpluscloud.com/ then the your company's code is
testcompany - In the Username and Password fields, enter your Eptura Asset instance's credentials.
- Click the OK button.

- After successfully logging in, click the Add button to add a Barcode Printer.

- From the Printer Name drop-down select a system printer.
- Either use the defaults of customize your barcode settings.
- Click the Save button.
After saving, you are ready to go!
