Add an Image to an Asset
You can upload multiple images to an asset, and this gives users a quick view of what the asset looks like. Additionally, you can set an image to be the default display image.
Upload more images
- From the menu, click the Asset module. The Asset Management screen displays.
- From the asset list, click an existing asset.
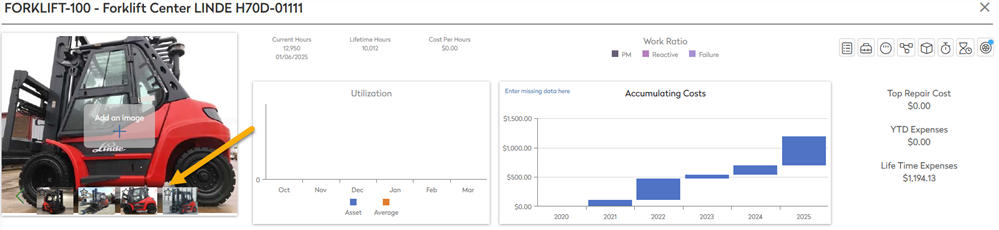
- Hover over the image of the asset and then click the Add an Image icon.

- Navigate to the image and select the image.
- Click the Open button to upload the image.
Make an image the default
- Hover over an image.
- For the image you want as the default, click the Star icon, found on the top left corner.

The image carousel and the default image displays with a gold star.

Delete an image
- Hover over the thumbnail image.
- Click the X icon, found on the top right corner and the image is deleted.
