Set up General Settings for Purchase Orders
Level: Administrator
All changes to your Purchase Order Settings will impact ALL users.
- Navigate to Settings.
- Under the Module Settings heading, click Purchase Orders. The Purchase Order Settings screen displays.
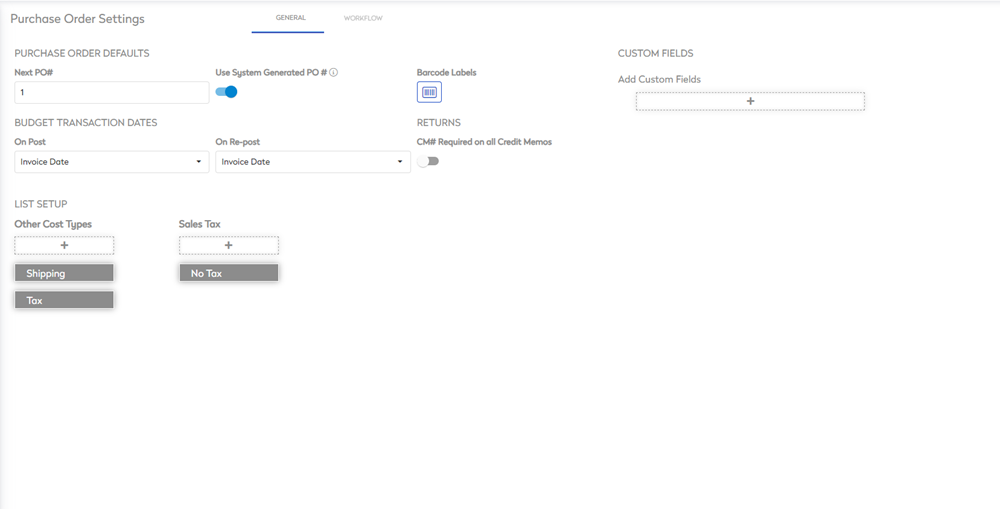
The General tab displays by default, and this contains:
Purchase Order Defaults
The Purchase Order Defaults include:
|
Next PO # field |
Enter or select the next purchase order number. Subsequent purchase order numbers will increase by 1. For example, 200020 and then this will increase the number from this starting number. |
|
Use System Generated PO # toggle |
Either toggle:
Most organizations keep this option on unless they are correlating their PO numbers with another system.
|
|
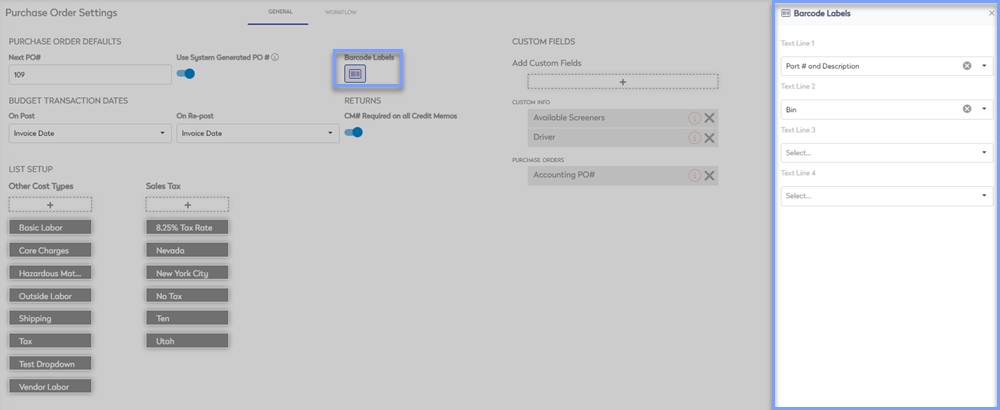
Barcode Labels button |
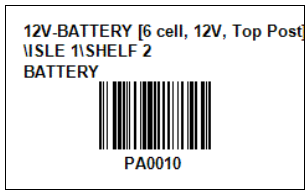
Click the button to display the Barcode Labels form. Barcode labels contain up to 4 text lines, use the form to configure which fields display on the barcodes used for parts within a purchase order. |
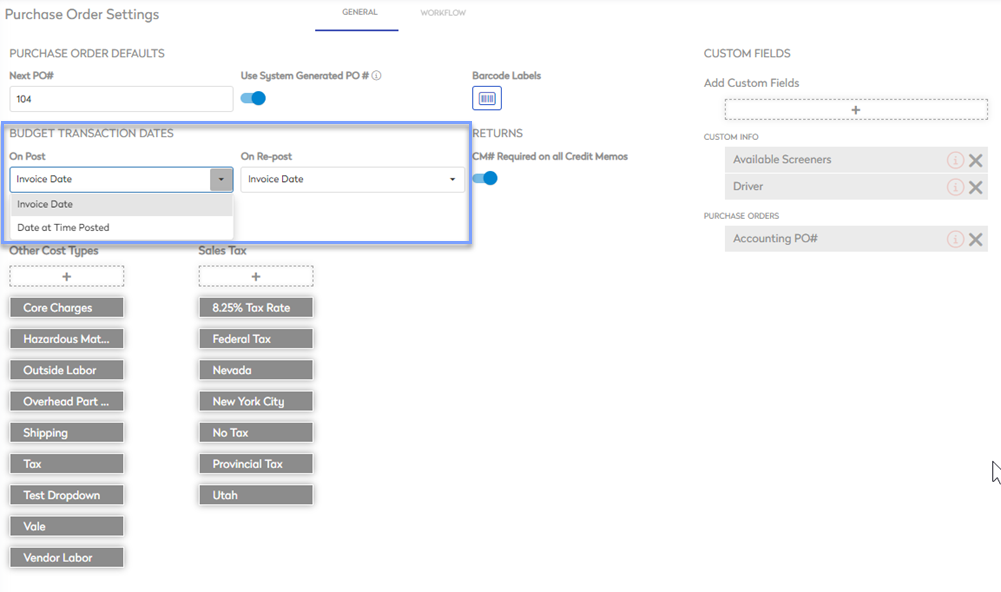
Budget Transaction Dates
The following budget transaction dates can be set up:
- On-Post: Select either the original invoice date or date at time of posting to be displayed when posting a transaction.
- On Re-post: Select either the original invoice date or date at time of posting to be displayed when re-posting a transaction.
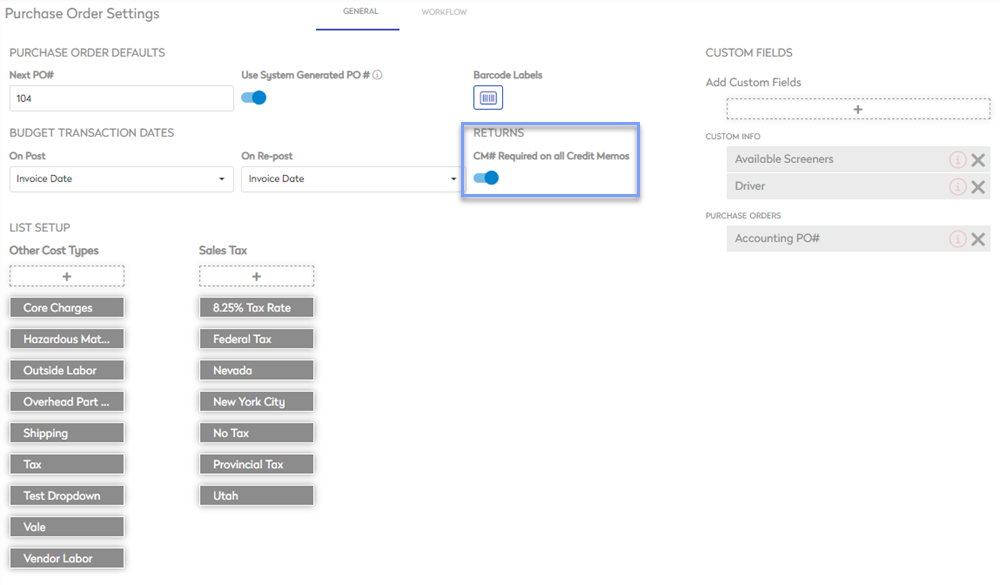
Returns
This allows you to set whether or not a credit memo number is required on all credit memos.
Toggle the CM# Required on all Credit Memos to ON.
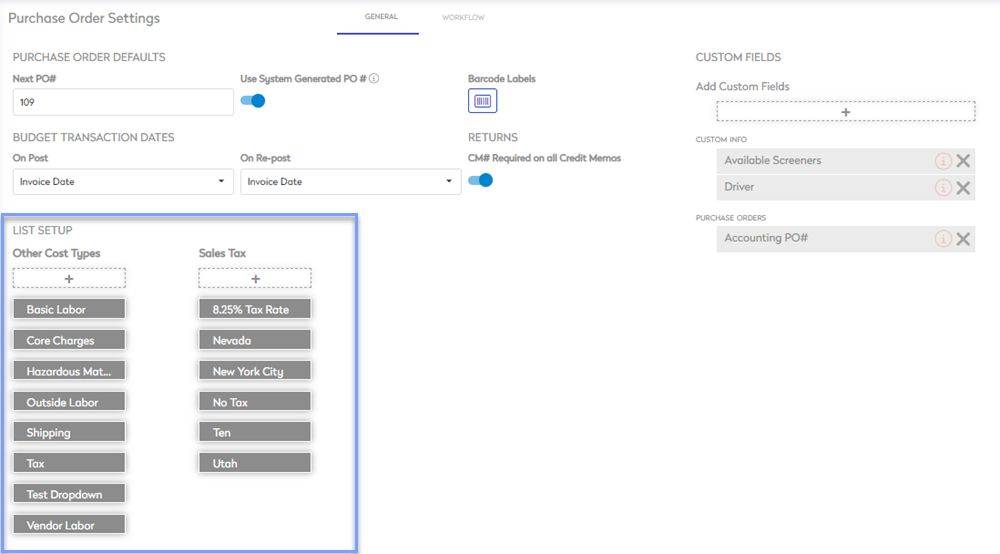
List Setup
The following lists can be set up:
- Other Cost Types: Establish your choice of line-item expense options, that can appear on a purchase order.
Work Orders and Purchase Orders share this library.
- Sales Tax: Establish your choice sales tax options, that can appear on a purchase order.
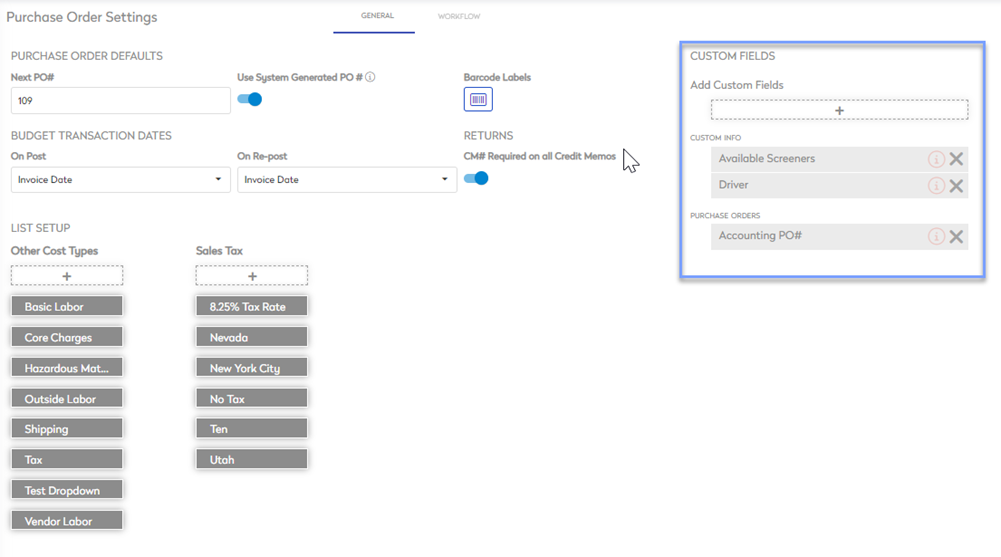
Custom Fields
Custom Fields are available for any information needed that is not within the default fields.
