Edit your Company Information
Level: Administrator
It is important to set up your company information, including your address, logo, and time offset. Your address and logo will show up on reports and the time offset will set up your time zone.
- Navigate to Settings > Company > Administration.
- Complete the following:
| Setting | Description |
|---|---|
|
Default Company Locale drop-down |
From the drop-down, select your company's locale. This will determine the language used in the system. Such as, English (United States); English (Australia), Italiana (Italia), etc. See below for Company Locale Examples. Your users can override the company setting in their profile. Learn how to change your language preference setting in the Update your Preferences article. |
|
Time Zone drop-down |
From the drop-down, select the company's time zone. The time zone offset refers to the Coordinated Universal Time (UTC). The offsets for the most common time zones for the US are:
Each user can set their own time zone override, which will override the time zone chosen by the company. For example: Your company is in Texas, USA, and sets the database's Time Zone to Central. However, you work remotely in Florida, USA. Since you want to see all the entries displayed in the Eastern Time zone, you use the Time Zone Override, to override what the company's default displays. |
|
Default Sales Tax drop-down |
From the drop-down, select the default sales tax.
|
|
Fax field |
Enter your company's fax number. |
|
Phone field |
Enter your company's phone number. |
| Address field |
Enter your company's address. |
| City field |
Enter your company's city. |
| State drop-down |
From the drop-down, select the state. |
| Zip field |
Enter your company's zip code or postal code. |
| Country drop-down | From the drop-down, select your company's country. |
| Custom Printable Work Order drop-down |
From the drop-down, select the custom printable work order.
|
|
Custom Printable Purchase Order drop-down |
From the drop-down, select the custom printable purchase order. |
|
Custom Printable Inspection drop-down |
From the drop-down, select the custom printable inspections. |
|
Custom Printable Invoice drop-down |
From the drop-down, select the custom printable invoice. |
|
Start fiscal year in drop-down |
From the drop-down, select your company's fiscal year start month. |
|
Currency drop-down |
From the drop-down, select your company's currency. If you change this setting, it will only change the currency symbol that is displayed. The currency amounts entered will not be converted. |
- Click the Save button and the settings are updated.
Company Locale Examples
The selected default company locale also affects the way date and time display throughout the application. Let's look at the examples for Date Format, Time Format, and Currency.
Date formats are displayed according to the selected default company locale.
| English (United States) | Français (Canada) |
|---|---|
English (United States) displays "MM/DD/YY".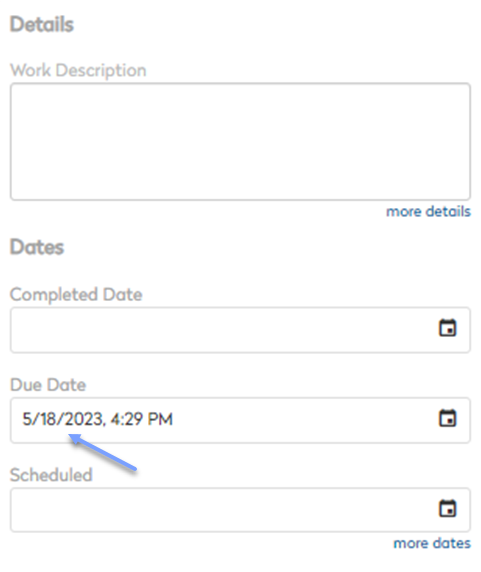 |
Français (Canada) displays "YYYY-MM-DD".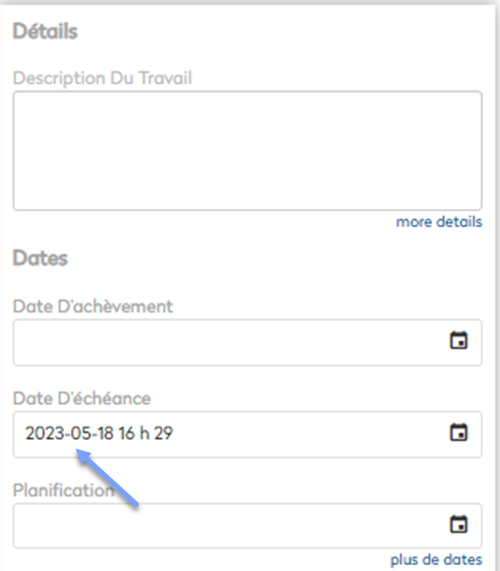 |
Time formats are displayed according to the selected default company locale.
| English (United States) | Français (Canada) |
|---|---|
English (United States) displays "h:mm a".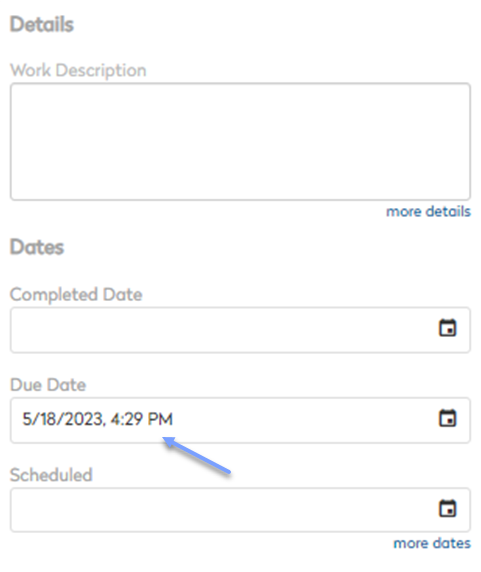 |
Français (Canada) displays "HH'h' mm".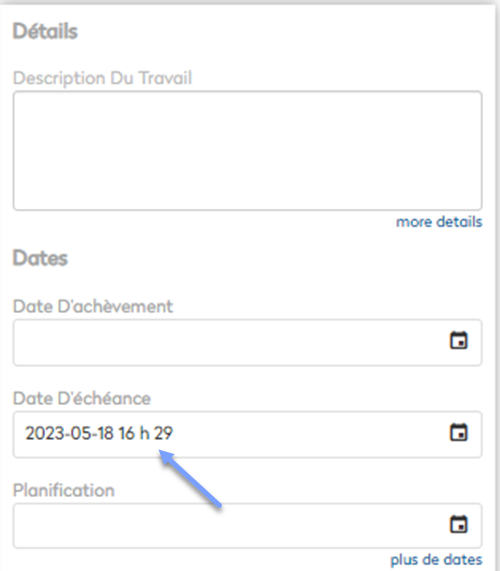 |
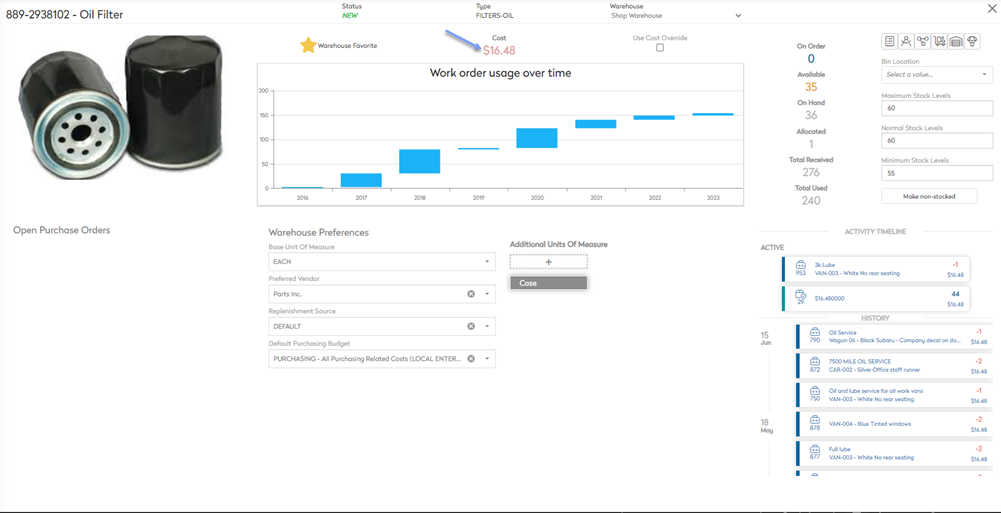
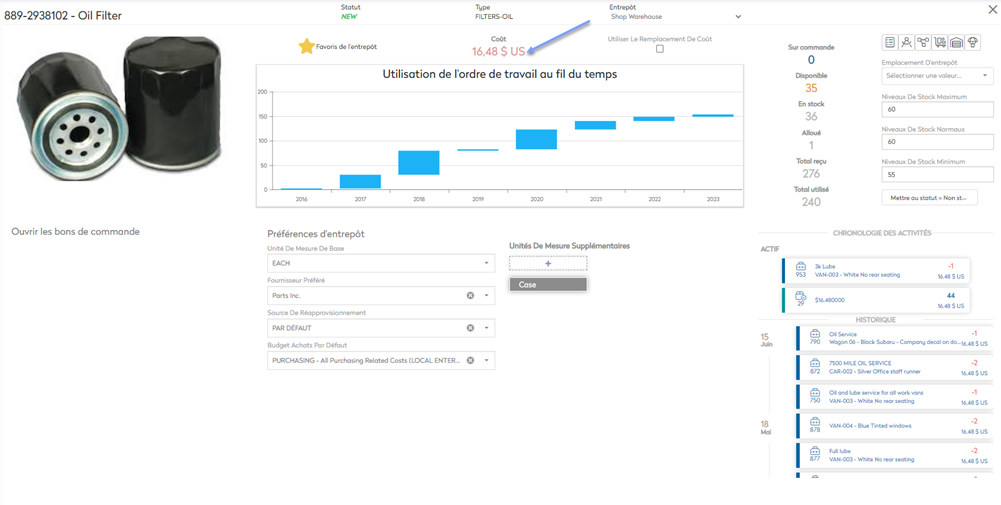
Numbers and values such as the placement of the currency symbol are displayed according to the selected default company locale.
|
English (United States) |
English (United States) displays $16.48.
|
|---|---|
|
Français (Canada)
|
Français (Canada) displays 16,48$ US.
|

