Search and Filter Transfers from the List View
The list view is where you can see the full list of your Transfers, along with the transfer details at a glance.
Each user can arrange the layout of the screen according to their own preferences and liking.

Search
Search allows you to find any field within the Transfers list. The example below shows results populated for South Warehouse.

- In the Search field, enter the search term.
Search results automatically populate.
Saved View - Filter a Column Example
When viewing the Transfers list, you may want to change the Transfers columns and sort order. The Save View let's you set up the Transfers listing and then save it for next time.
This is best explained using an example. I want to create a saved list view for transfers originating from the Shop Warehouse and add the Transfer Mode column to the list view.
Step 1. Reorder Columns
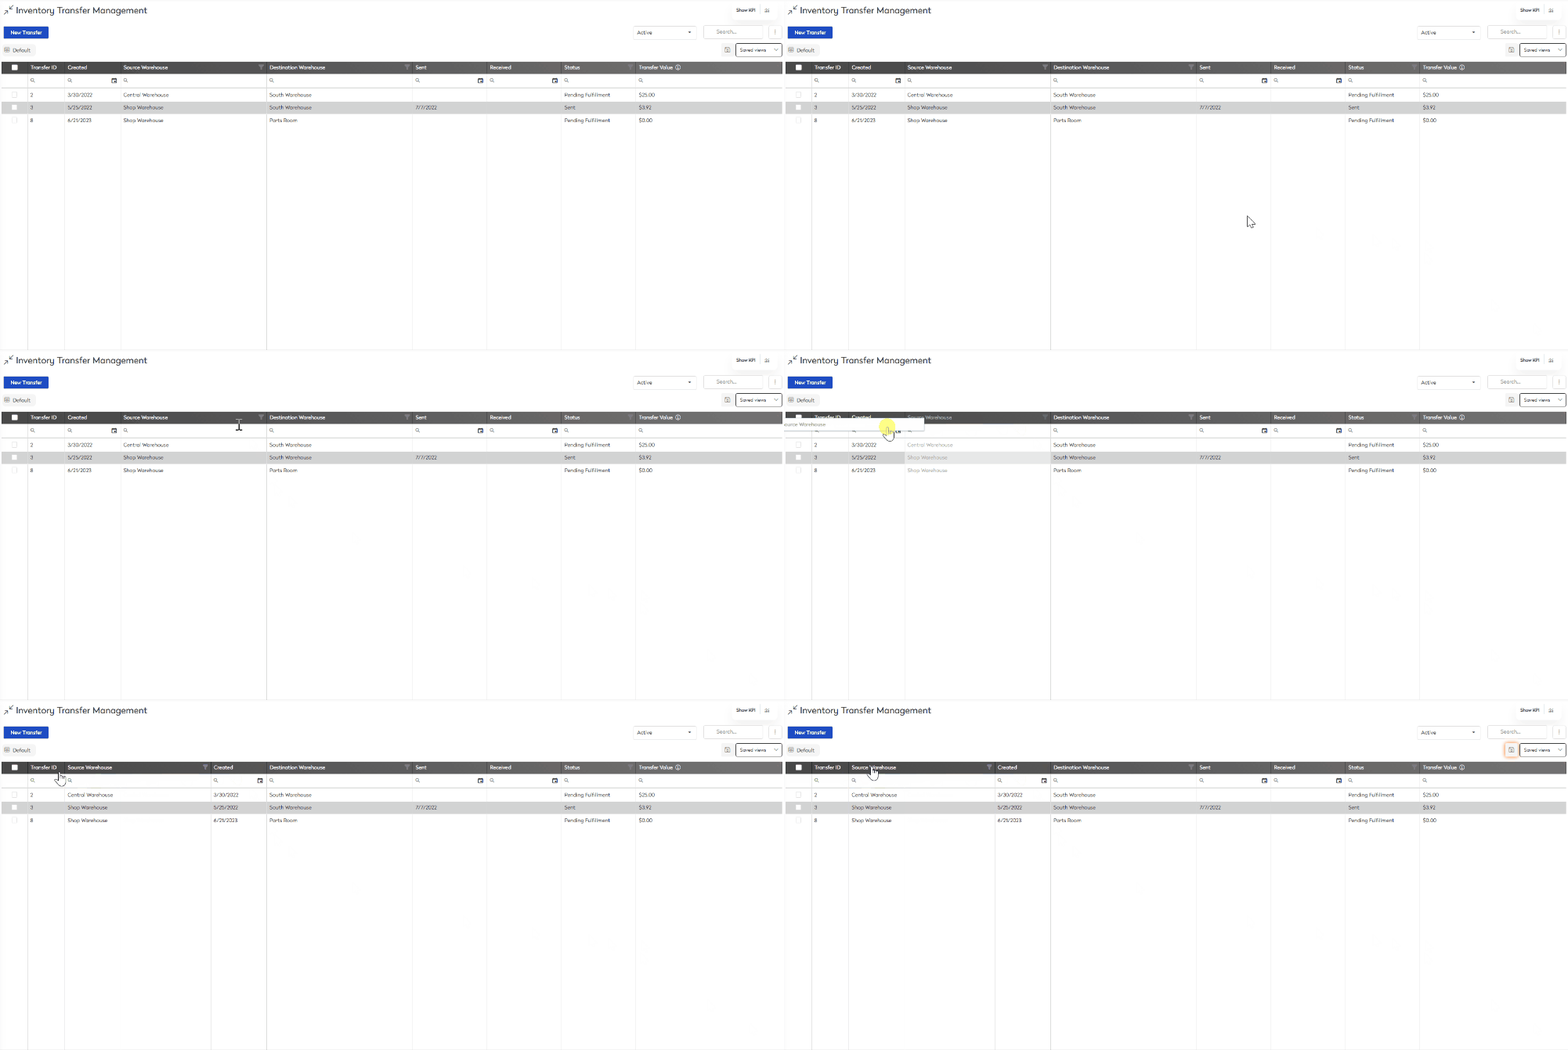
- Drag and drop the Source Warehouse column to the front of the list.

Step 2. Filter the Column
- Click on the filter
 icon within the Source Warehouse column. The list of Warehouses display.
 - Select Shop Warehouse.
- Click the OK button. The Source Warehouse column is filtered.
Step 3. Add a column from the Column Chooser
- Click the more actions
 icon.
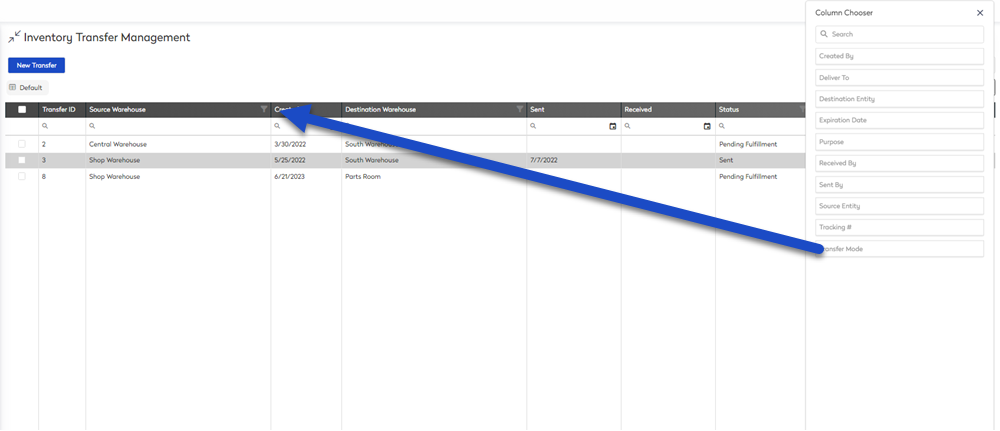
icon. - Select Column Chooser. The column chooser displays.
- Drag and drop the Transfer Mode column to the Transfers column headings. The Transfer Mode column displays on the inventory list.

Step 4. Save your View
- Click the save
 icon. The create new view dialog displays.
 - In the View Name field, enter the name of the saved view.
- Select a who can access this view option, either:
- Private- Don't share this view with anyone.
- Everyone - Share this view with everyone.
- Security Roles - Share this view with specific roles in your organization.
- Teams - Share this view with specific teams in your organization.
- Click the Save View button.
Saved View -Toggle List Grouping Example
When you view the asset list, you may want to group the list view by a column. This let's you see the asset listing in a different way. Let's look at the example where we group by Source Warehouse.
Step 1. Group by a Column
- Click the more actions
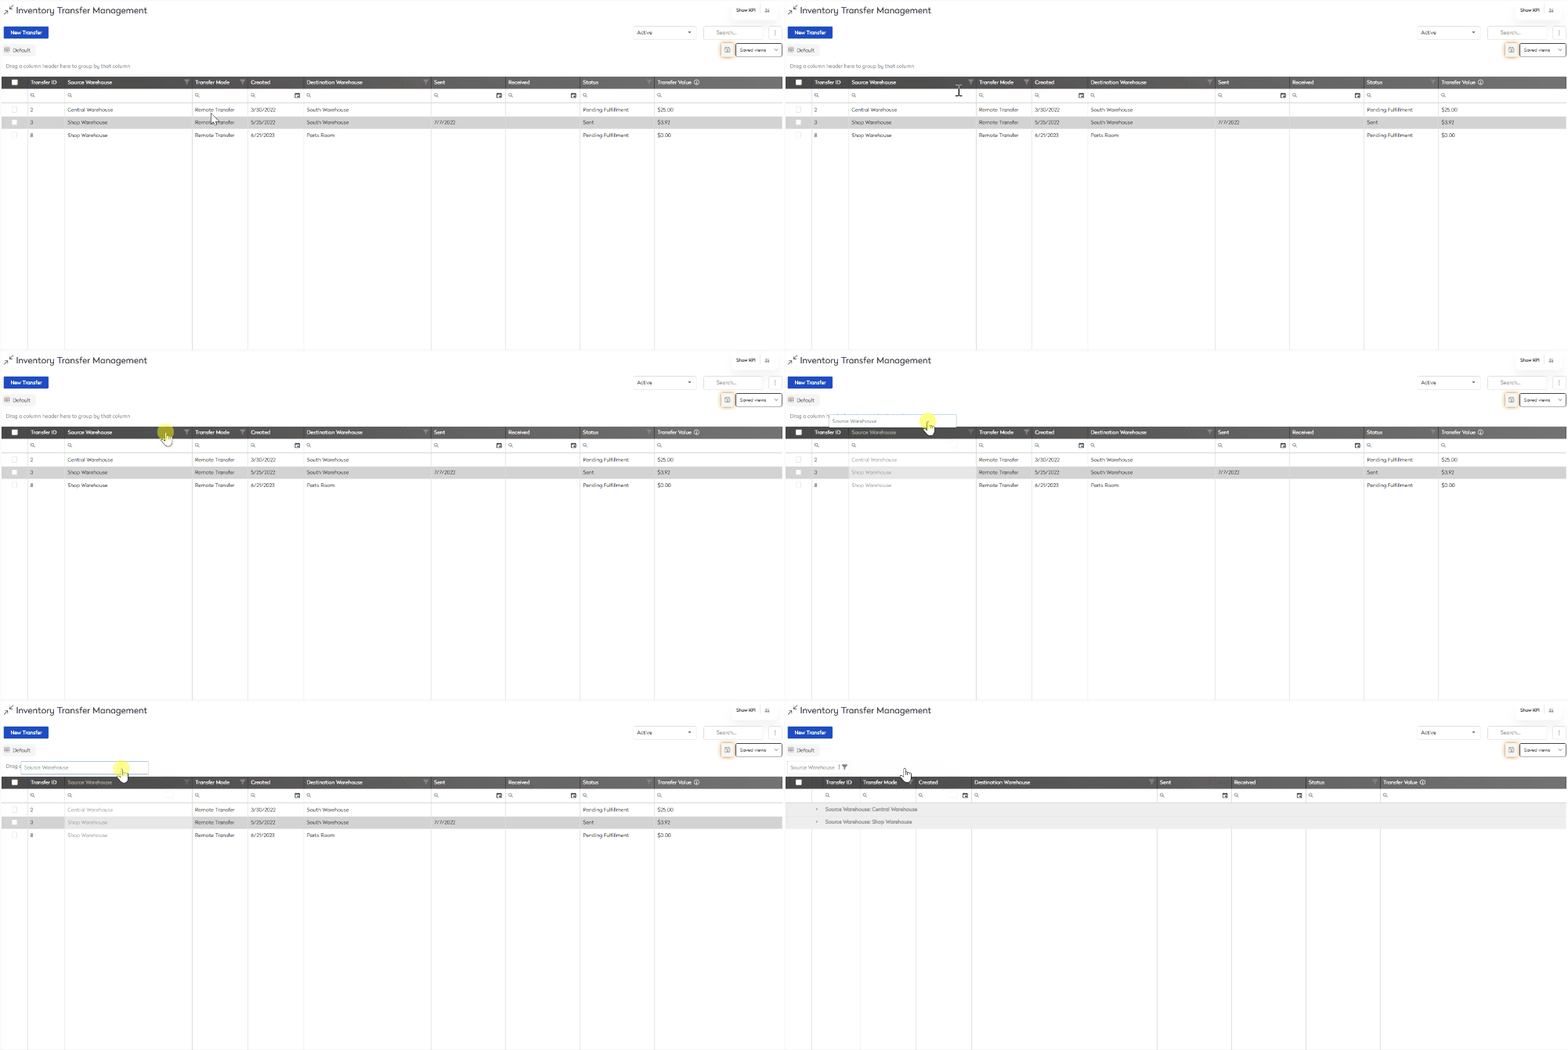
 icon .
 - Select Toggle List Grouping.
- Drag and drop a column header to the group by. The transfer list is toggled by group.

Step 2. Save view
- Click the save
 icon. The create new view dialog displays.
 - In the View Name field, enter the name of the saved view.
- Select who can access this view options, either:
- Private- Don't share this view with anyone.
- Everyone - Share this view with everyone.
- Security Roles - Share this view with specific roles in your organization.
- Teams - Share this view with specific teams in your organization.
- Click the Save View button.
Display your Saved View
The next time you want to use the saved view you can display it.
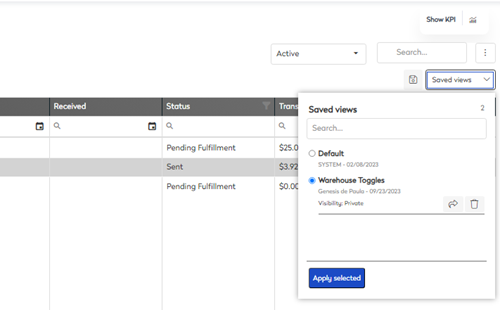
- Click the Saved views drop-down. The saved views pop-up displays.

From this you can see a list of saved views, and the default view.
- Select a saved view.

Remember, you can share a view that is private to you. Click the share  icon
icon
- Click on apply selected. The saved view displays.
