Import your Assets
Level: Administrator
The Assets Import is used to add new categories, site structure, etc.
Step 1. Download our sample file
- Navigate to Settings.
- From Tools and Support, click on the Import
 icon. The Import Tool dialog displays.
 - Click Assets.The Asset Import Screen displays.
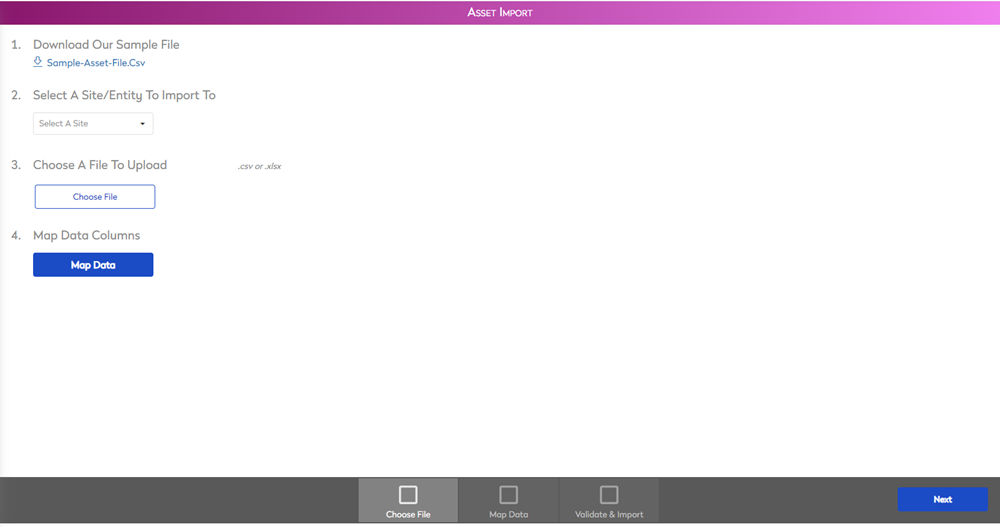
- Click on Sample-Asset-File.Csv to download the sample import template.
Step 2. Complete the sample file
- Open the Sample-Asset-File.csv file in Microsoft Excel.
- Remember the data in this file is a sample, you must delete these rows as you do not want to import these in.

- Under each of the Column Headers, complete the row data. For details on the data, see Assets Import Template Data.
- After all the data has been entered on the sheet, save the file to your computer.
Step 3. Upload the completed sample file
- Click the Choose File button.
- Navigate to the file and select it. The file name displays in the screen.
- Click the Map Data button. The import file fields display.
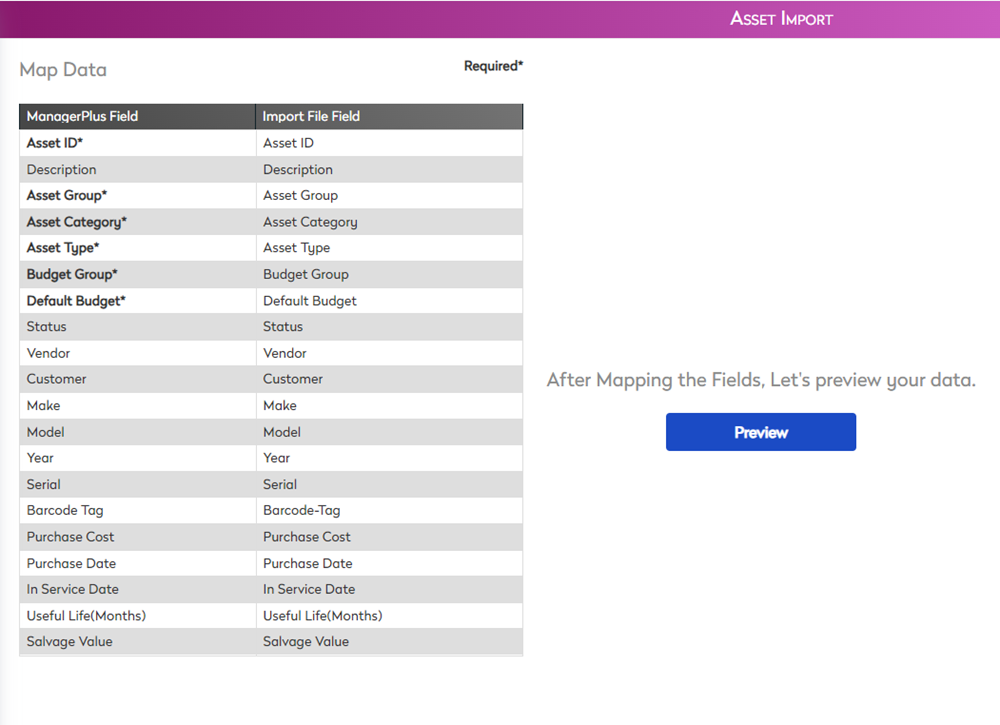
Step 4. Map the data
The Map Data table shows which fields from the import file are being mapped to the fields in the application. Use the Map Data table to align the correct fields from the import file to the application. In this example, Status is mapped to Serial, which needs to be corrected.
- Verify that all ManagerPlus Fields are matched with the correct Import File Fields.
- When you find a discrepancy, click on the incorrect import field and the drop-down arrow displays.
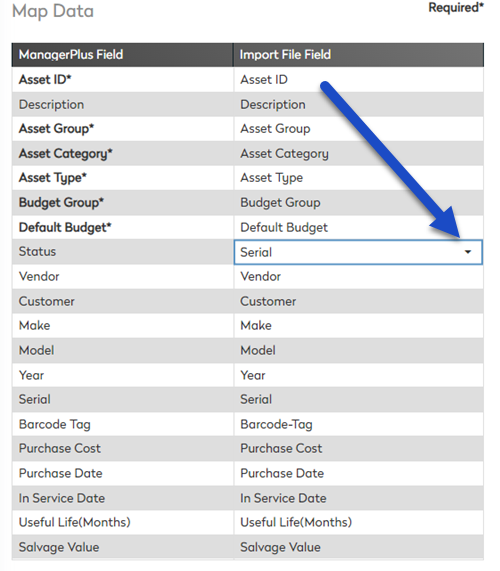
- Click the arrow to display the import file field drop-down.
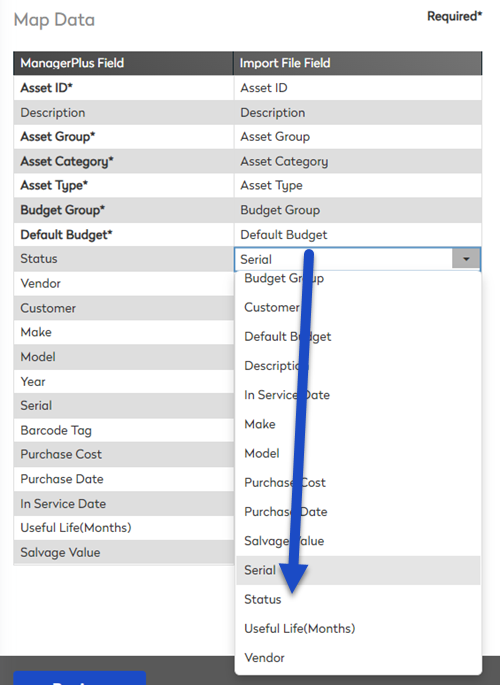
- From the import file field drop-down, select Status. The data is now mapped correctly.
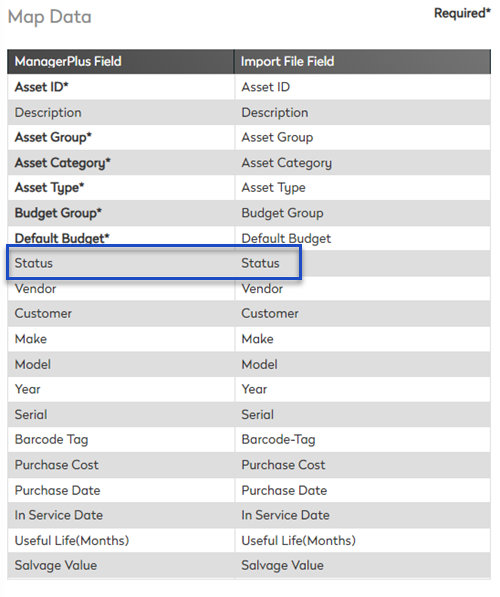
- Click the Preview button. The Review Your Data screen displays.
Step 5. Validate and import
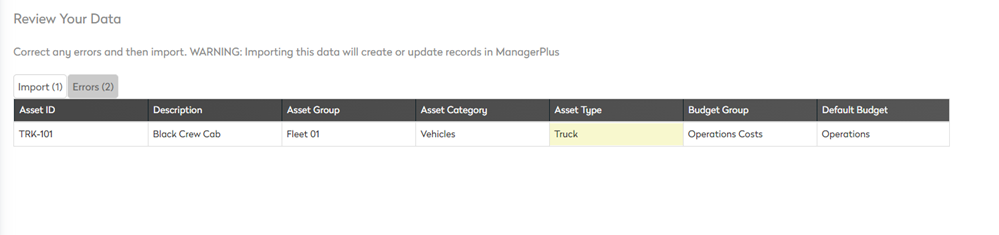
Use the Import and Errors tabs to validate and review your data before importing.
- The import tab displays successful line items. In this example, one truck will be imported successfully.
- Click on the Errors tab. The line items with errors display. All records can be edited before importing. In this example, two of the trucks have errors present in the file. This must be corrected before the trucks can be imported.
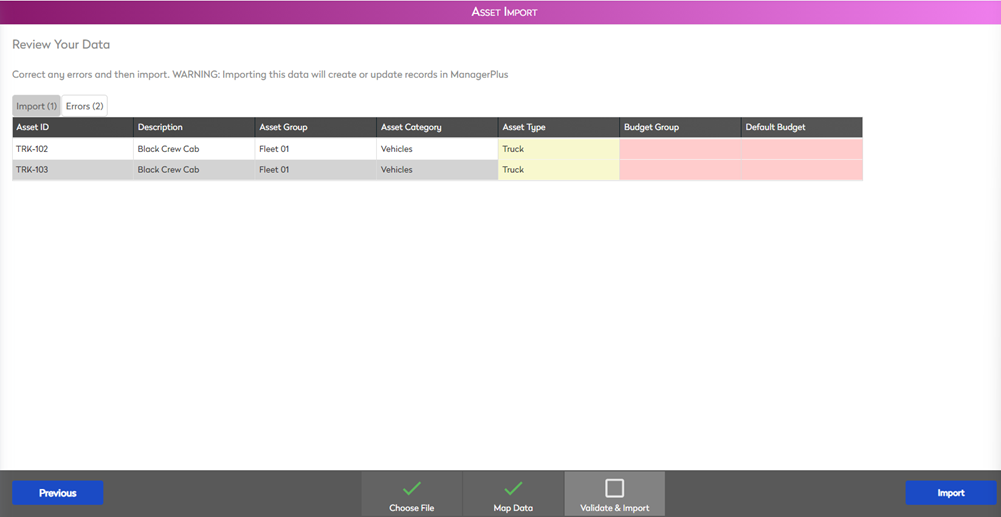
Fields highlighted in:
- Red, such as Budget Group, indicates that a required field is missing information and must be filled in.
- Yellow, such as Asset Type, indicates that the entered asset type does not exist but will be created upon importing.
Let's look at how to correct the errors.
- In the row Asset ID TRK-102, click in the Budget Group field. Now you can edit the field.
- In the Budget Group field, enter the budget group, for example: Operations Costs.
- Click in the Default Budget field. Now you can edit the field.
- In the Default Budget field, enter the budget, for example: Operations.
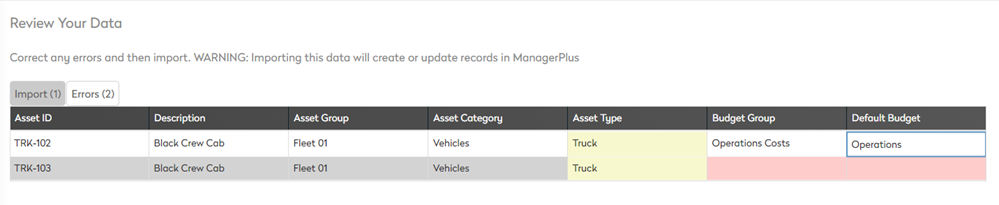
- Click anywhere to exit the Default Budget field. The text saves automatically and the line moves to the import tab.

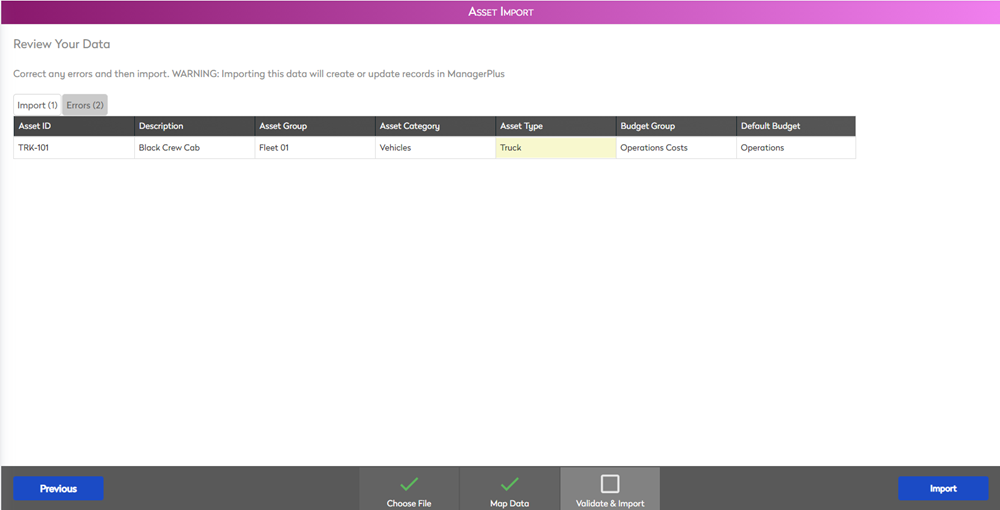
- Review all the data in the import tab and correct any errors. Drag the scroll bar from left to right in the bottom row to view all the mapped fields.

- Now you are ready to import. Click on the Import button.
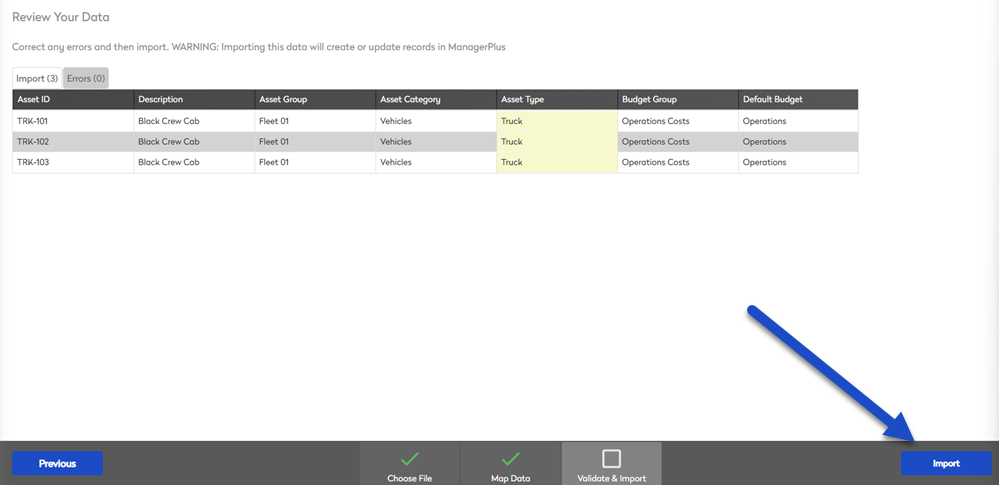
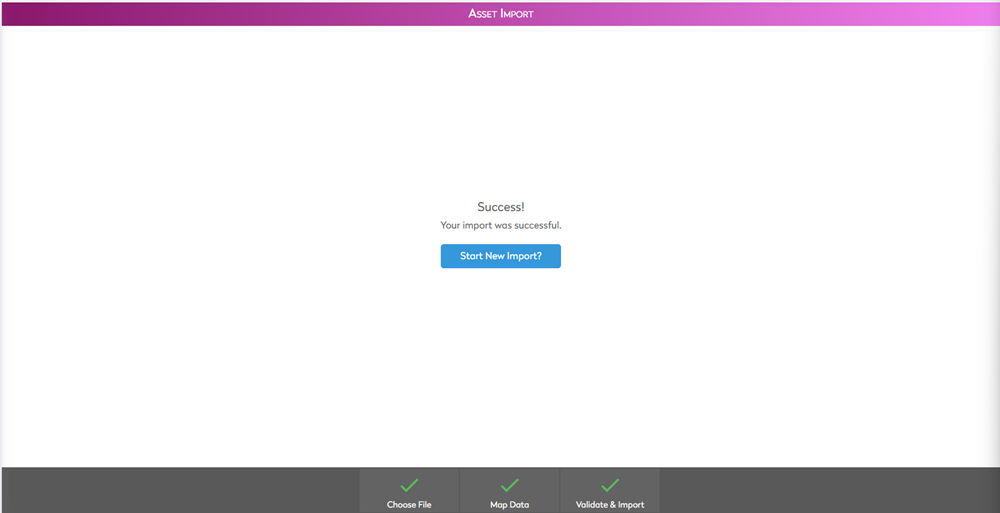
The trucks are now imported and available in the assets module.