Adjust Inventory
Normally, your inventory is adjusted as parts are consumed and purchased, through work orders and purchase orders. However, it is sometimes necessary to make manual inventory adjustments to account for loss, miscounts, or purchases made outside the system.
Watch the Video
Audio: Sound Video Length: 1:41 minutes
Watch the video in ...
Disclaimer: This video is translated from English using an AI tool; you may notice that the length of the speech may be slightly out-of-sync with the user interface recording.
Learn more
- Click the part you want to adjust.
- In the Part Detail screen, click the Adjust inventory
 icon and the Adjustment dialog displays.

- The section lets you adjust for:
- Gain - This is selected by default; use this when you want to add parts due to miscounts or transfers that took place outside the system.
- Loss - This is selected when you want to decrease part count due to missing parts, damage, or other reasons.
- Purchase - This is selected when you buy parts without a purchase order, For example, when you have quickly run to the hardware store for a last-minute purchase.
|
|
|
|


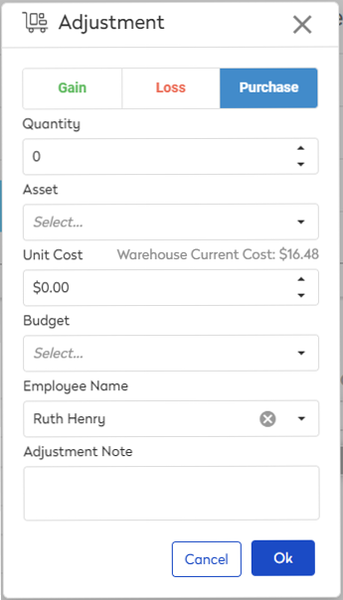
- In the Quantity field, enter the quantity.
- Optional - From the Assets drop-down, select the asset.
- Only for Gain and Purchase - In the Unit Cost field, enter the unit cost.
- From the Budget drop-down, select the budget.
- In the Adjustment Note field, enter the reason for the adjustment.
- Click the OK button.
The change will be reflected in the on-hand quantity and will be logged in the activity timeline.