Create a Work Order (Mobile)
Using the Eptura Asset App, you can quickly create a work order.
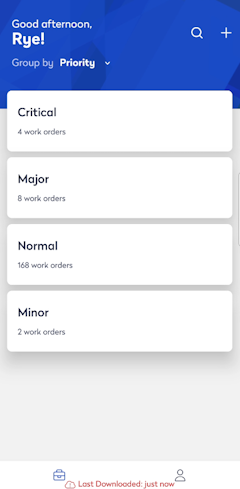
- From the top of the home screen, tap the Add
 icon.
icon.
The Create a Work Order screen displays.
Page 1 for 3 screen

- Tap the Site field and the Site selection screen displays.

- Either search or browse to find the site you want.
- Tap the Site's name.
- Next, you can either look up the asset or scan the asset's barcode.
Scan Barcode
- Tap the barcode
 icon and the camera is activated.
 - Scan the asset's barcode and then the asset displays.
Lookup Asset
- Tap the Asset field and the Asset selection screen displays.
Page 2 for 3 screen
- Tap the Next button to display the Page 2 screen.

- In the Purpose field, enter the purpose of the work order.
- Tap the Work Type drop-down and then either tap Corrective, Predictive, or Preventive.
- Tap the Failure drop-down and then tap the failure.
- Tap the Priority drop-down and then tap the priority.
- In the Description field, enter the description of the work order.
Page 3 for 3 screen
- Click the Next button to display the Page 3 screen.

- Tap the Date Due field, and then select the date.
- After you have entered the date, then you can select the time due.
- Tap the Budget field, and select the budget.
- Tap the Customer field, and select the customer.
- Tap the Submit and Next button and the Add Photos screen displays.
- If you want to add photos, then tap the + icon.
- Either take a photo or upload a photo from your library.


- If you want to include a photo, then tap the Skip button.
The new work order is created and you can see the Work Order number on the screen.

Finally, you can add another work order or return to the My Work screen.