Create a new Vendor Record
You can quickly create a new vendor record, and Eptura Asset gives you the option to open the vendor record so that you can complete the details.
If you want to bulk upload your vendors, then go to Import your Vendors.
Watch the Video
Audio: Sound Video Length: 5:34 minutes
Learn More
- Navigate to Vendors and the Vendor Management screen displays.
- Click the New Vendor button and the New Vendor form displays.
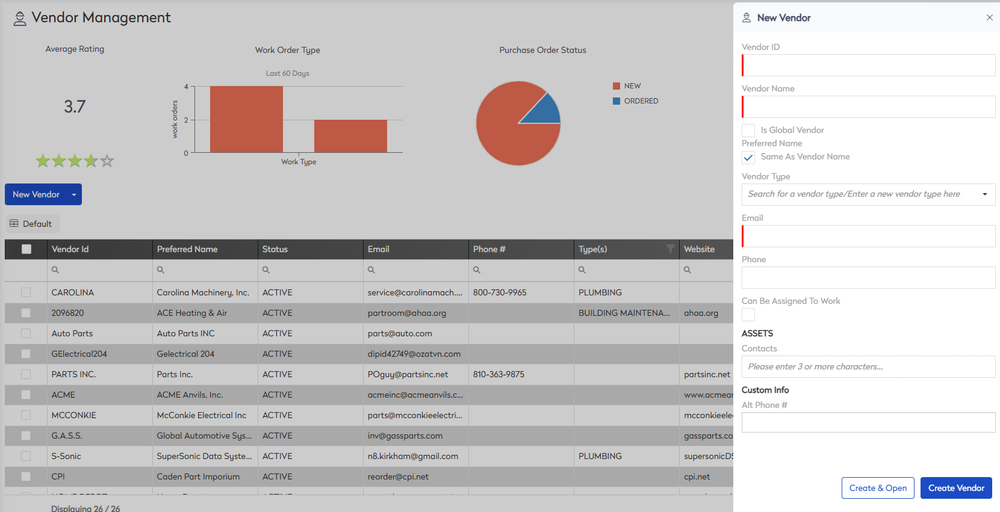
- Complete the following fields:
| Field | Description |
|---|---|
|
Vendor ID |
Unique identification code for the vendor. It can contain letters, numbers, or a combination of both, and can be up to 24 characters long. The Vendor ID must be something meaningful to you since the Vendor List is sorted by this ID by default. |
|
Vendor Name |
Full or official name of the vendor. It can contain letters, numbers, or a combination of both, and it can be up to 50 characters long. |
|
Preferred Name |
Name of the vendor as filed. For example, if the vendor is Ken’s Chevron, you might prefer to file that vendor as Chevron, Ken’s or That-One-Place. |
|
URL |
URL of vendor website. |
|
Vendor Type |
Type of vendor. |
|
Rating |
Rate your vendors on a one-to-four star rating. |
|
Can Be Assigned To Work |
Leave blank if your vendor is only a supplier. Check the box if you want to assign the Vendor to a Work Order. |
- Either:
- Click the Create Vendor button and the customer is created.
- Click the Create & Open button and the edit vendor form displays.