Update your Preferences
Within your profile, there are several preferences:
- Language (Region) Override
- Time Zone Override
- Only Show Active Records on the Planning Board
- Notification Sound
- Work Order Notifications
Access your Preferences
- From the top left corner of the screen, click your Profile Name or Image > Preferences.
Your profile screen displays the Preferences tab.

Language (Region) Override
You can override the default Company Locale setting in your preferences. For example, if your company's default language is English (United States) and you want to view the application in Français, then you can change this to display the language.
- From the Language (Region) Override drop-down,select the language.
- Click the Save Changes button and the application now displays the selected language.
Notes:
- This only affects your own user profile and is not a global setting.
- Any manually entered information by a user remains in the original language and is not displayed in the selected language.
Time Zone Override
Each user can set their own time zone override, which will override the time zone chosen by the company.
For example: Your company is in Texas, USA, and sets the database's Time Zone to Central. However, you work remotely in Florida, USA. Since you want to see all the entries displayed in the Eastern Time zone, you can use the Time Zone Override, to override what the company's default displays.
- From the Time Zone Override drop-down, select the time zone.
- Click the Save Changes button.
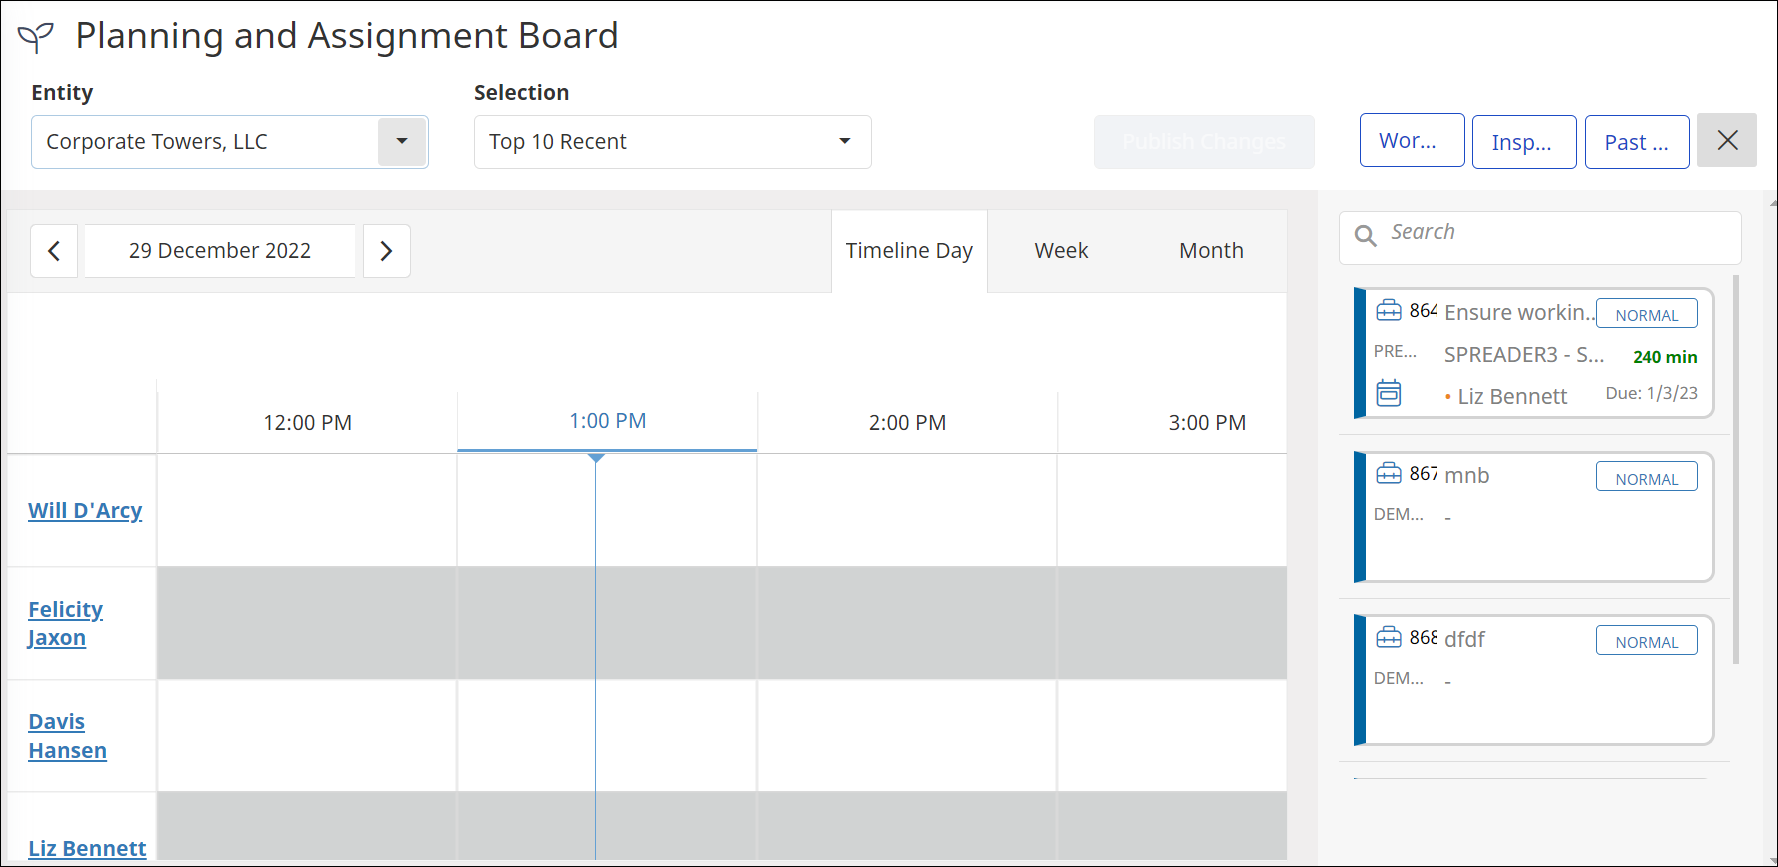
Only Show Active Records on the Planning Board
- Toggle the setting to ON to indicate that only Active Work Orders will appear on the Planning Board.
- Click the Save Changes button.
Now, when the Work Order is completed, it disappears from the Planning and Assignment Board.
Notification Sound
- Toggle the setting to ON to sound a chime every time a new pop-up notification displays on screen.
- Click the Save Changes button.
This setting can be toggled to OFF, when you don't want the chime sound.
Work Order Notifications
When you are working in the Work Order Module, you may find the consistent notifications distracting.
- The User Preferences is where you will find the Work Order Notifications, which will be ON by default, and you can toggle the setting to OFF.
- Click the Save Changes button.
This setting can be toggled to ON, when you need the notifications again.