Set up a Site's Location
When you have a site containing assets within multiple buildings, locations, or floor plans, your assets must be grouped to distinguish where they belong. The Site Structure is where groups are created to further organize your assets in the application.
Each Site can have multiple groups below it.
|
|
This will help you to:
- separate assets by Location.
- narrow down work orders when filtering by Group.
- increase reporting accuracy.
Create a Group
- Navigate to Settings.
- Under the heading Administration, select Sites.
- Click the Site Structure tab.
- Select the site.

- Click the + icon. The What type of location is this? dialog displays.
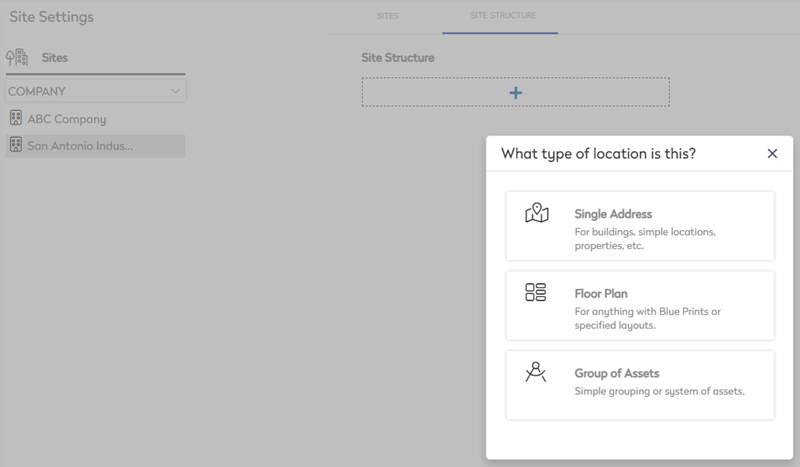
- Select the type of location from:
- Single Address - For buildings, simple locations, properties, etc.
- Floor Plan - For anything with blue prints or specified layouts.
- Group of Assets - For when you want to group assets.
Single Address
- Select the Single Address.
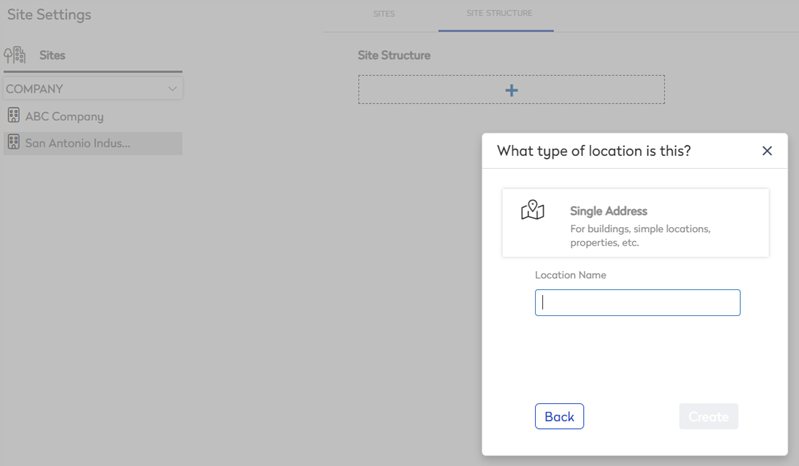
- In the Location Name field, enter the name.
- Click the Create button.
Floor Plan
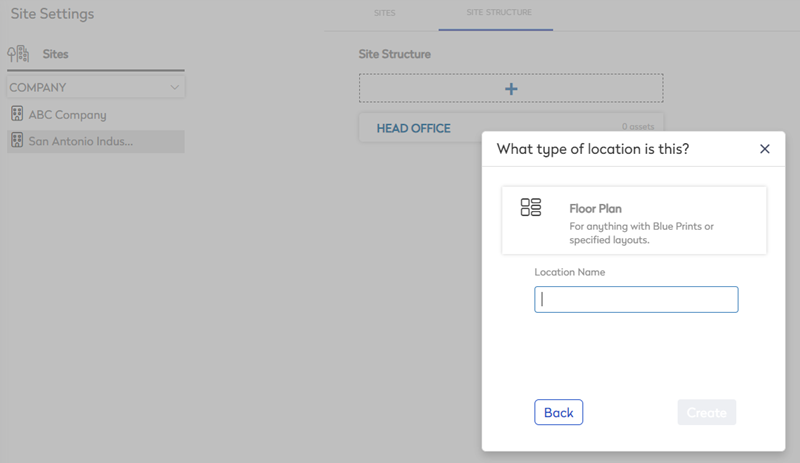
- Select the Floor Plan.
- In the Location Name field, enter the name.
- Click the Create button.
Group of Assets
- Select the Group of Assets.
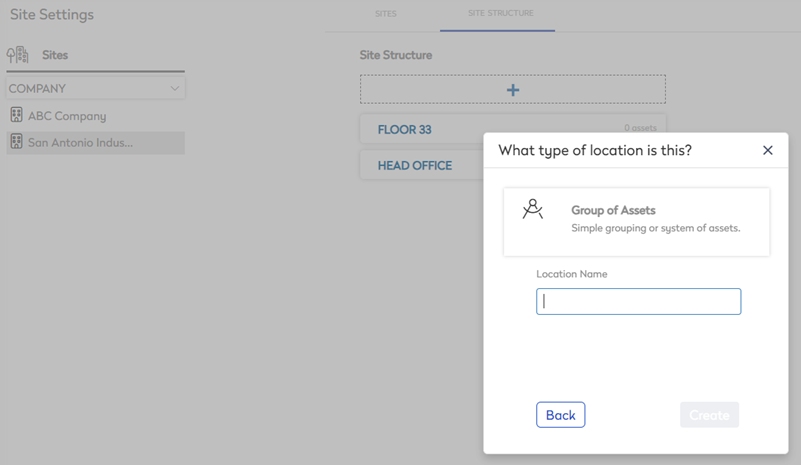
- In the Location Name field, enter the name.
- Click the Create button.
Add a Sub Group
For general locations that contain more specific locations within them such as a building with multiple rooms or a 100 acre farm with separate fields and buildings, sub groups are created to accommodate more specific locations.
- Hover over the group's name.

- Click the Add
 icon. The Add Location dialog displays.
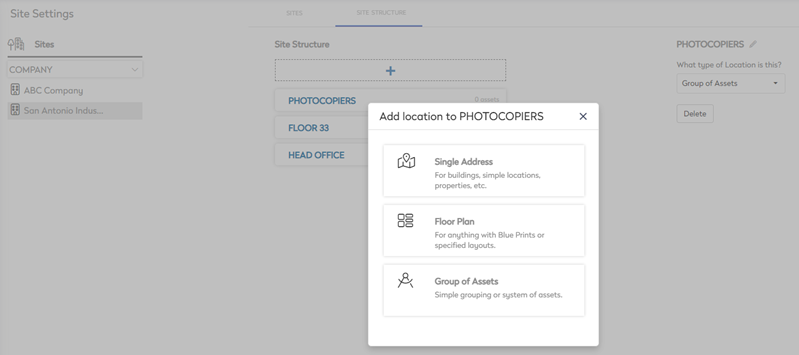
- Select the type of location.
- In the Location Name field, enter the name.
- Click the Create button.
The sub group displays.
